Random Day Projects: Quick Remodels = Major Impact
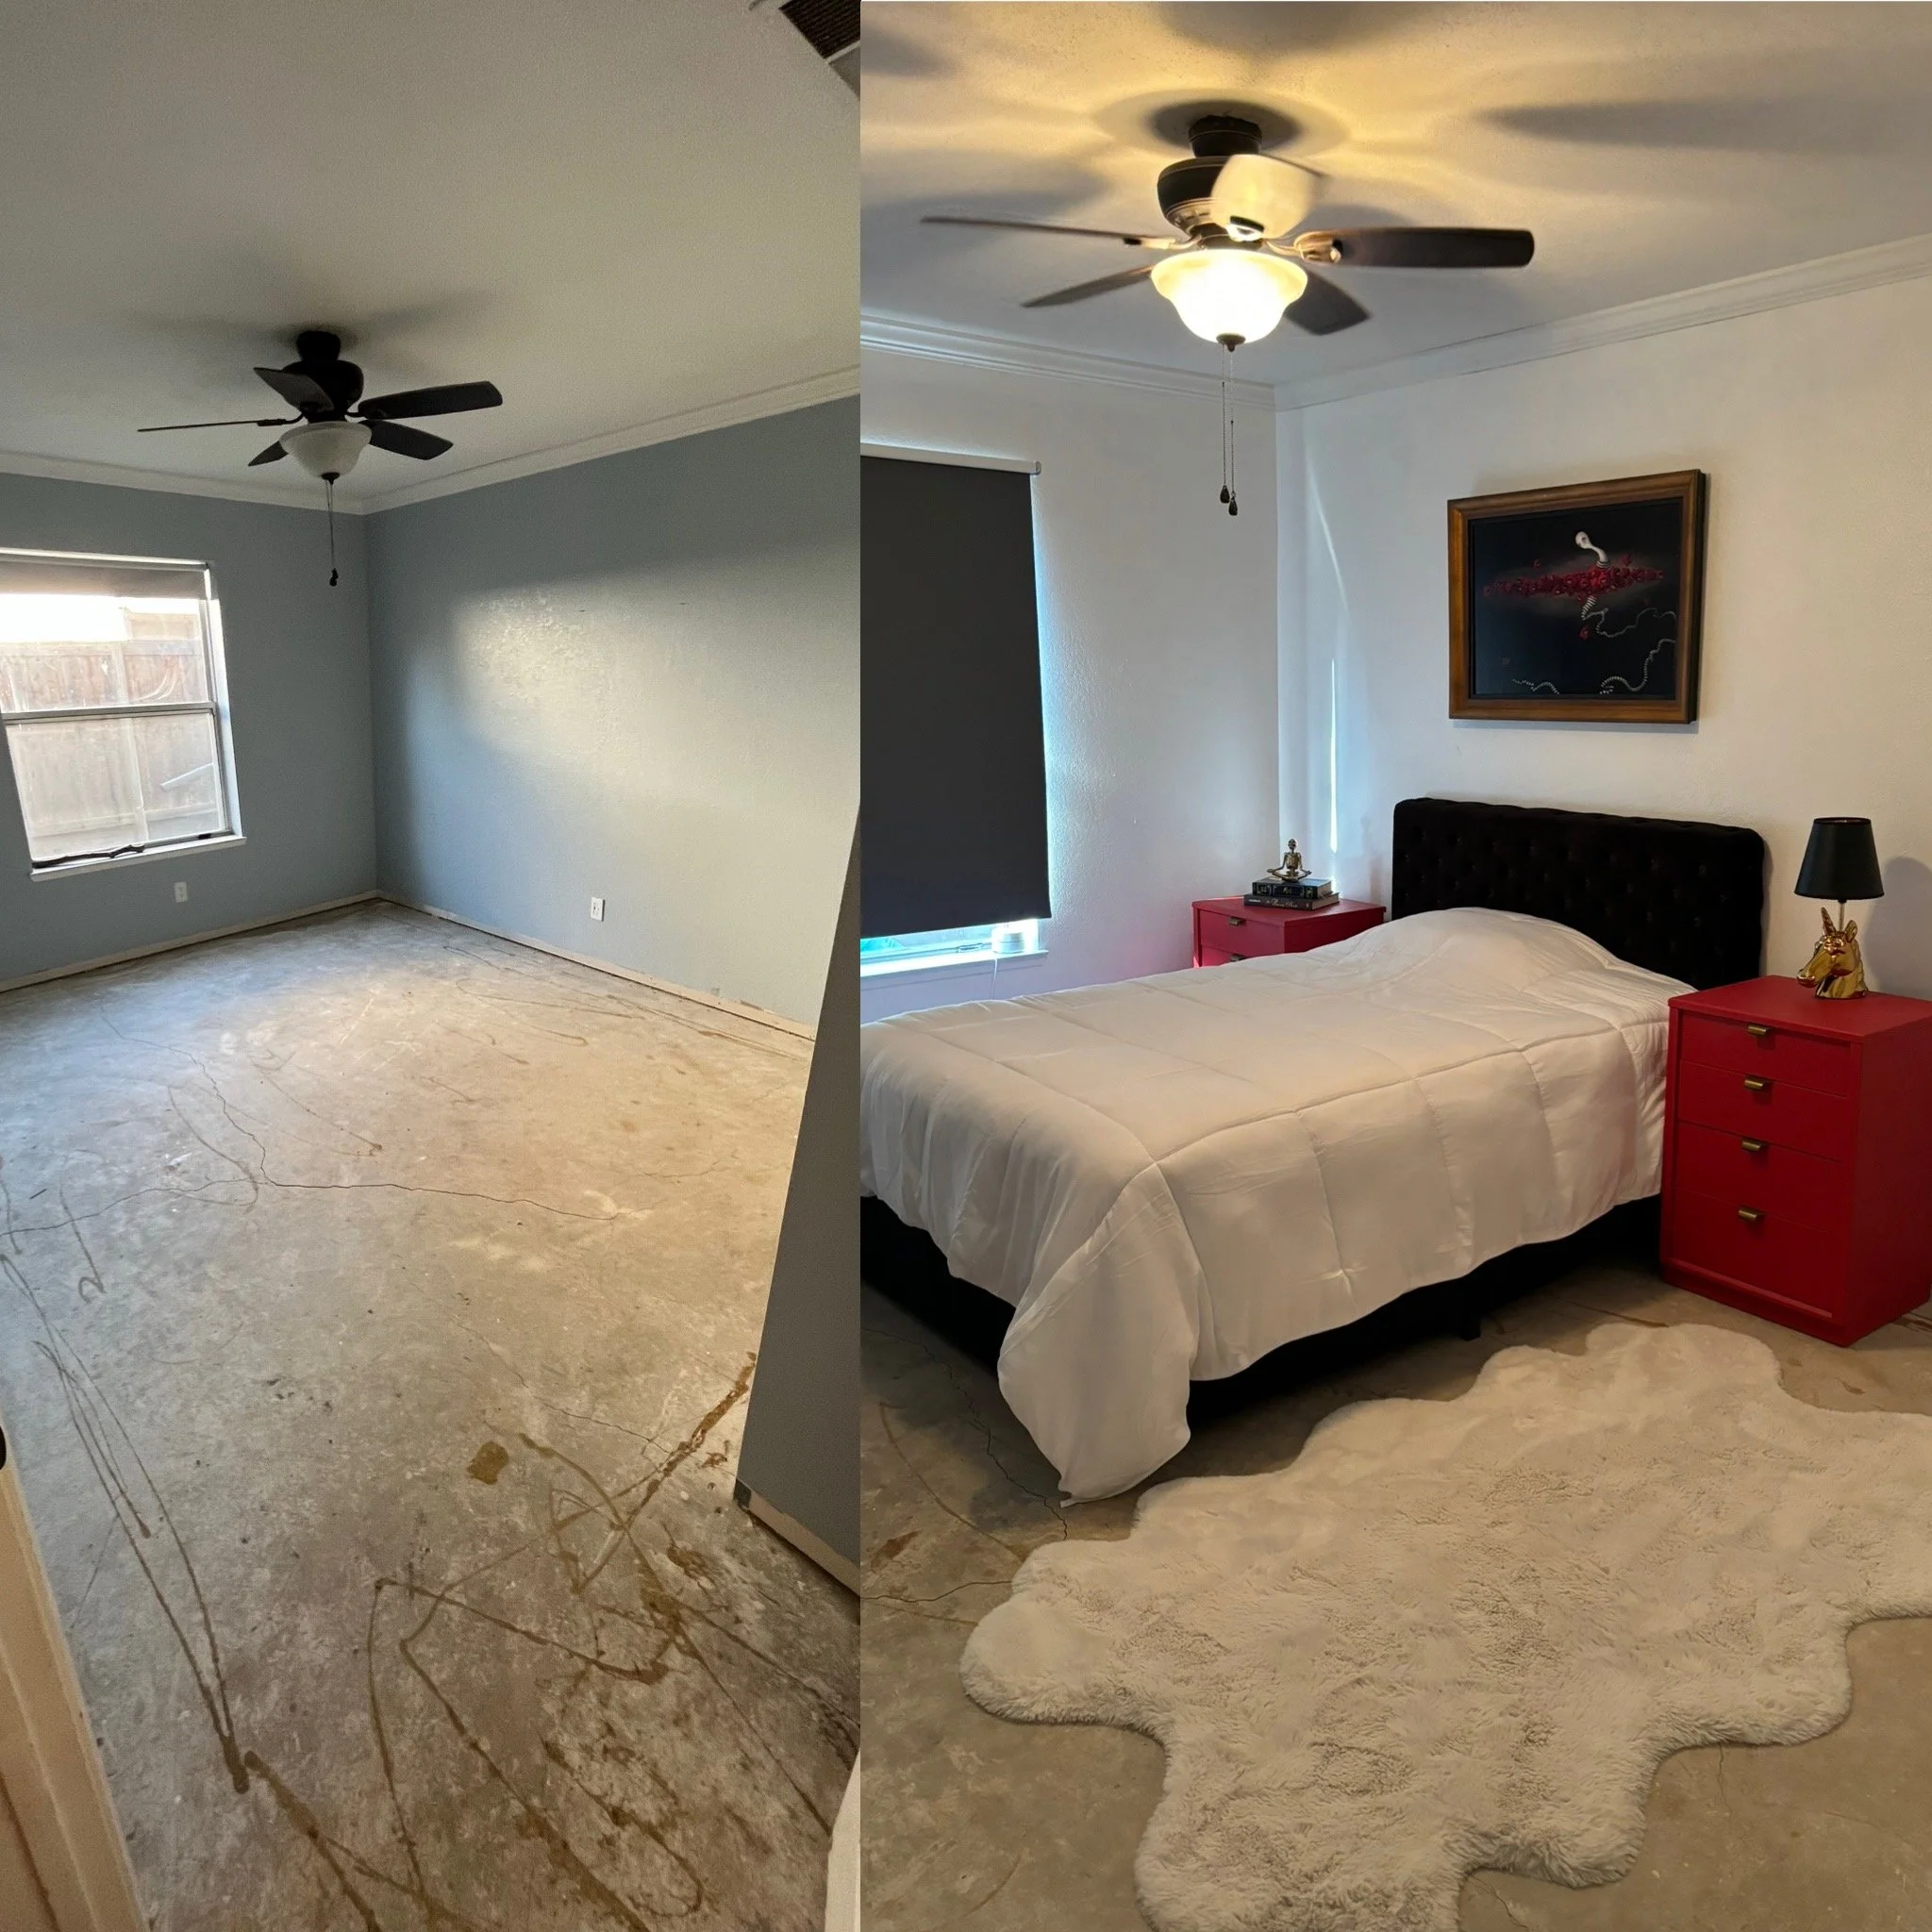
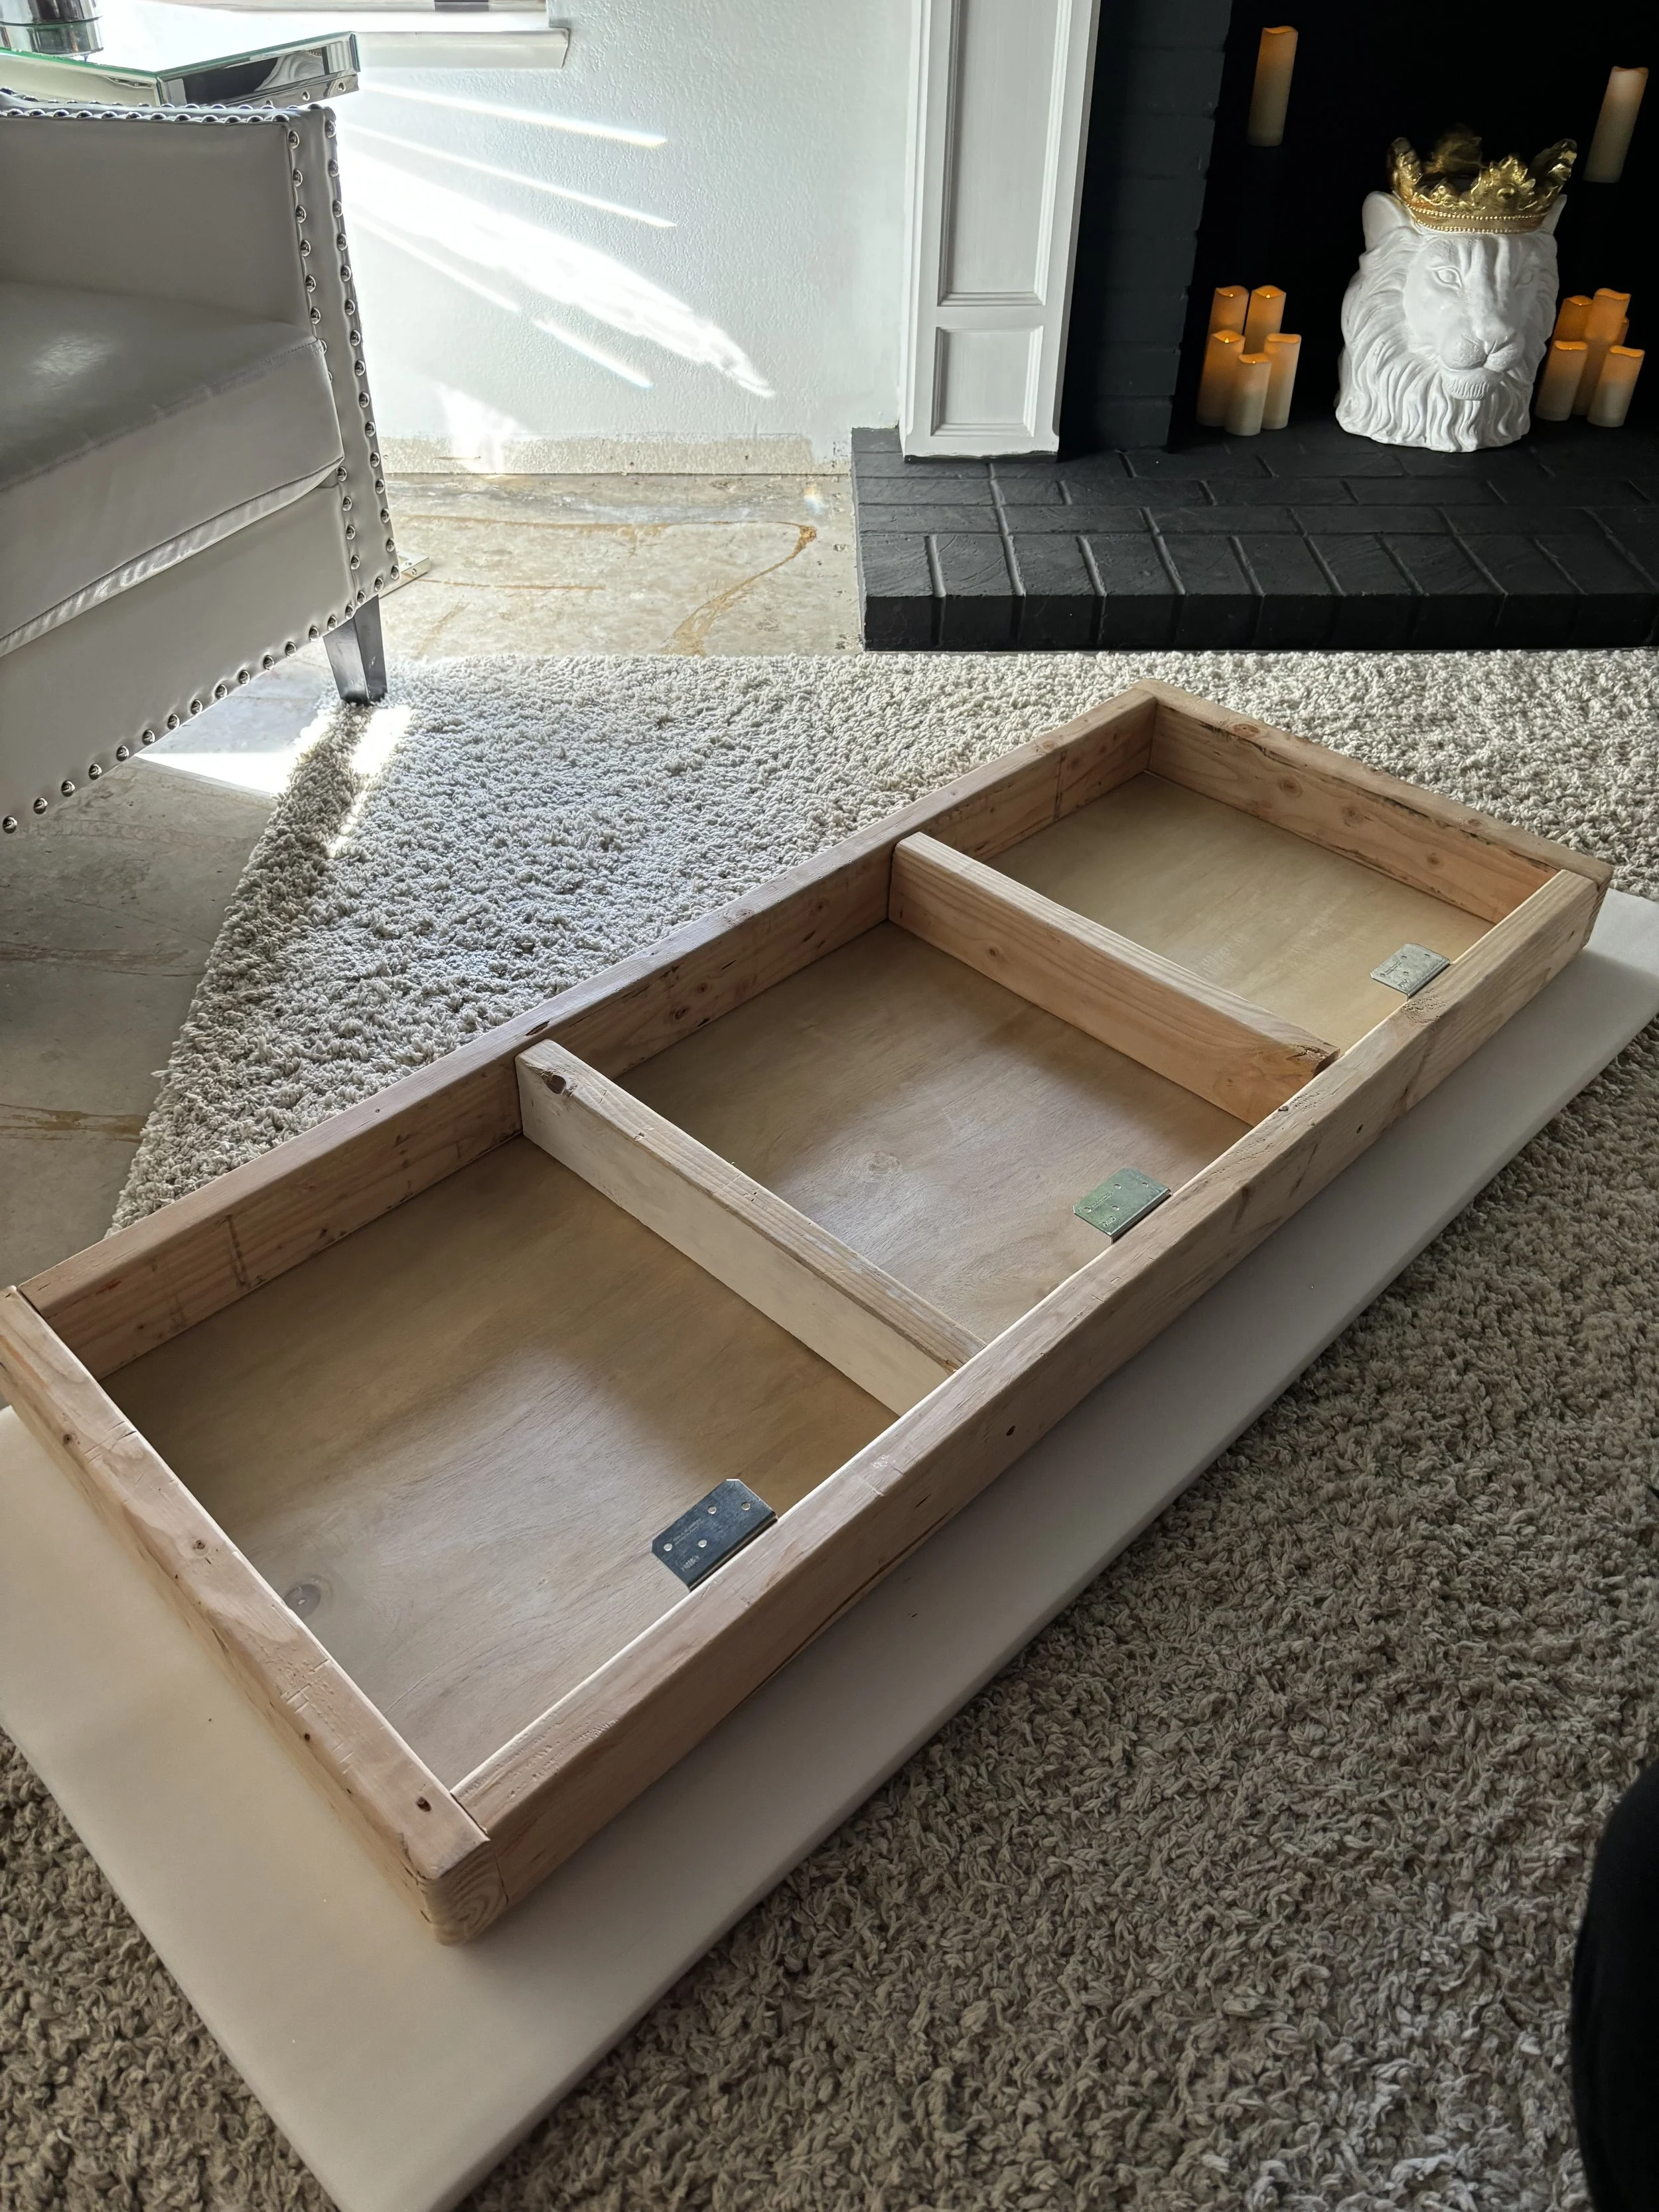
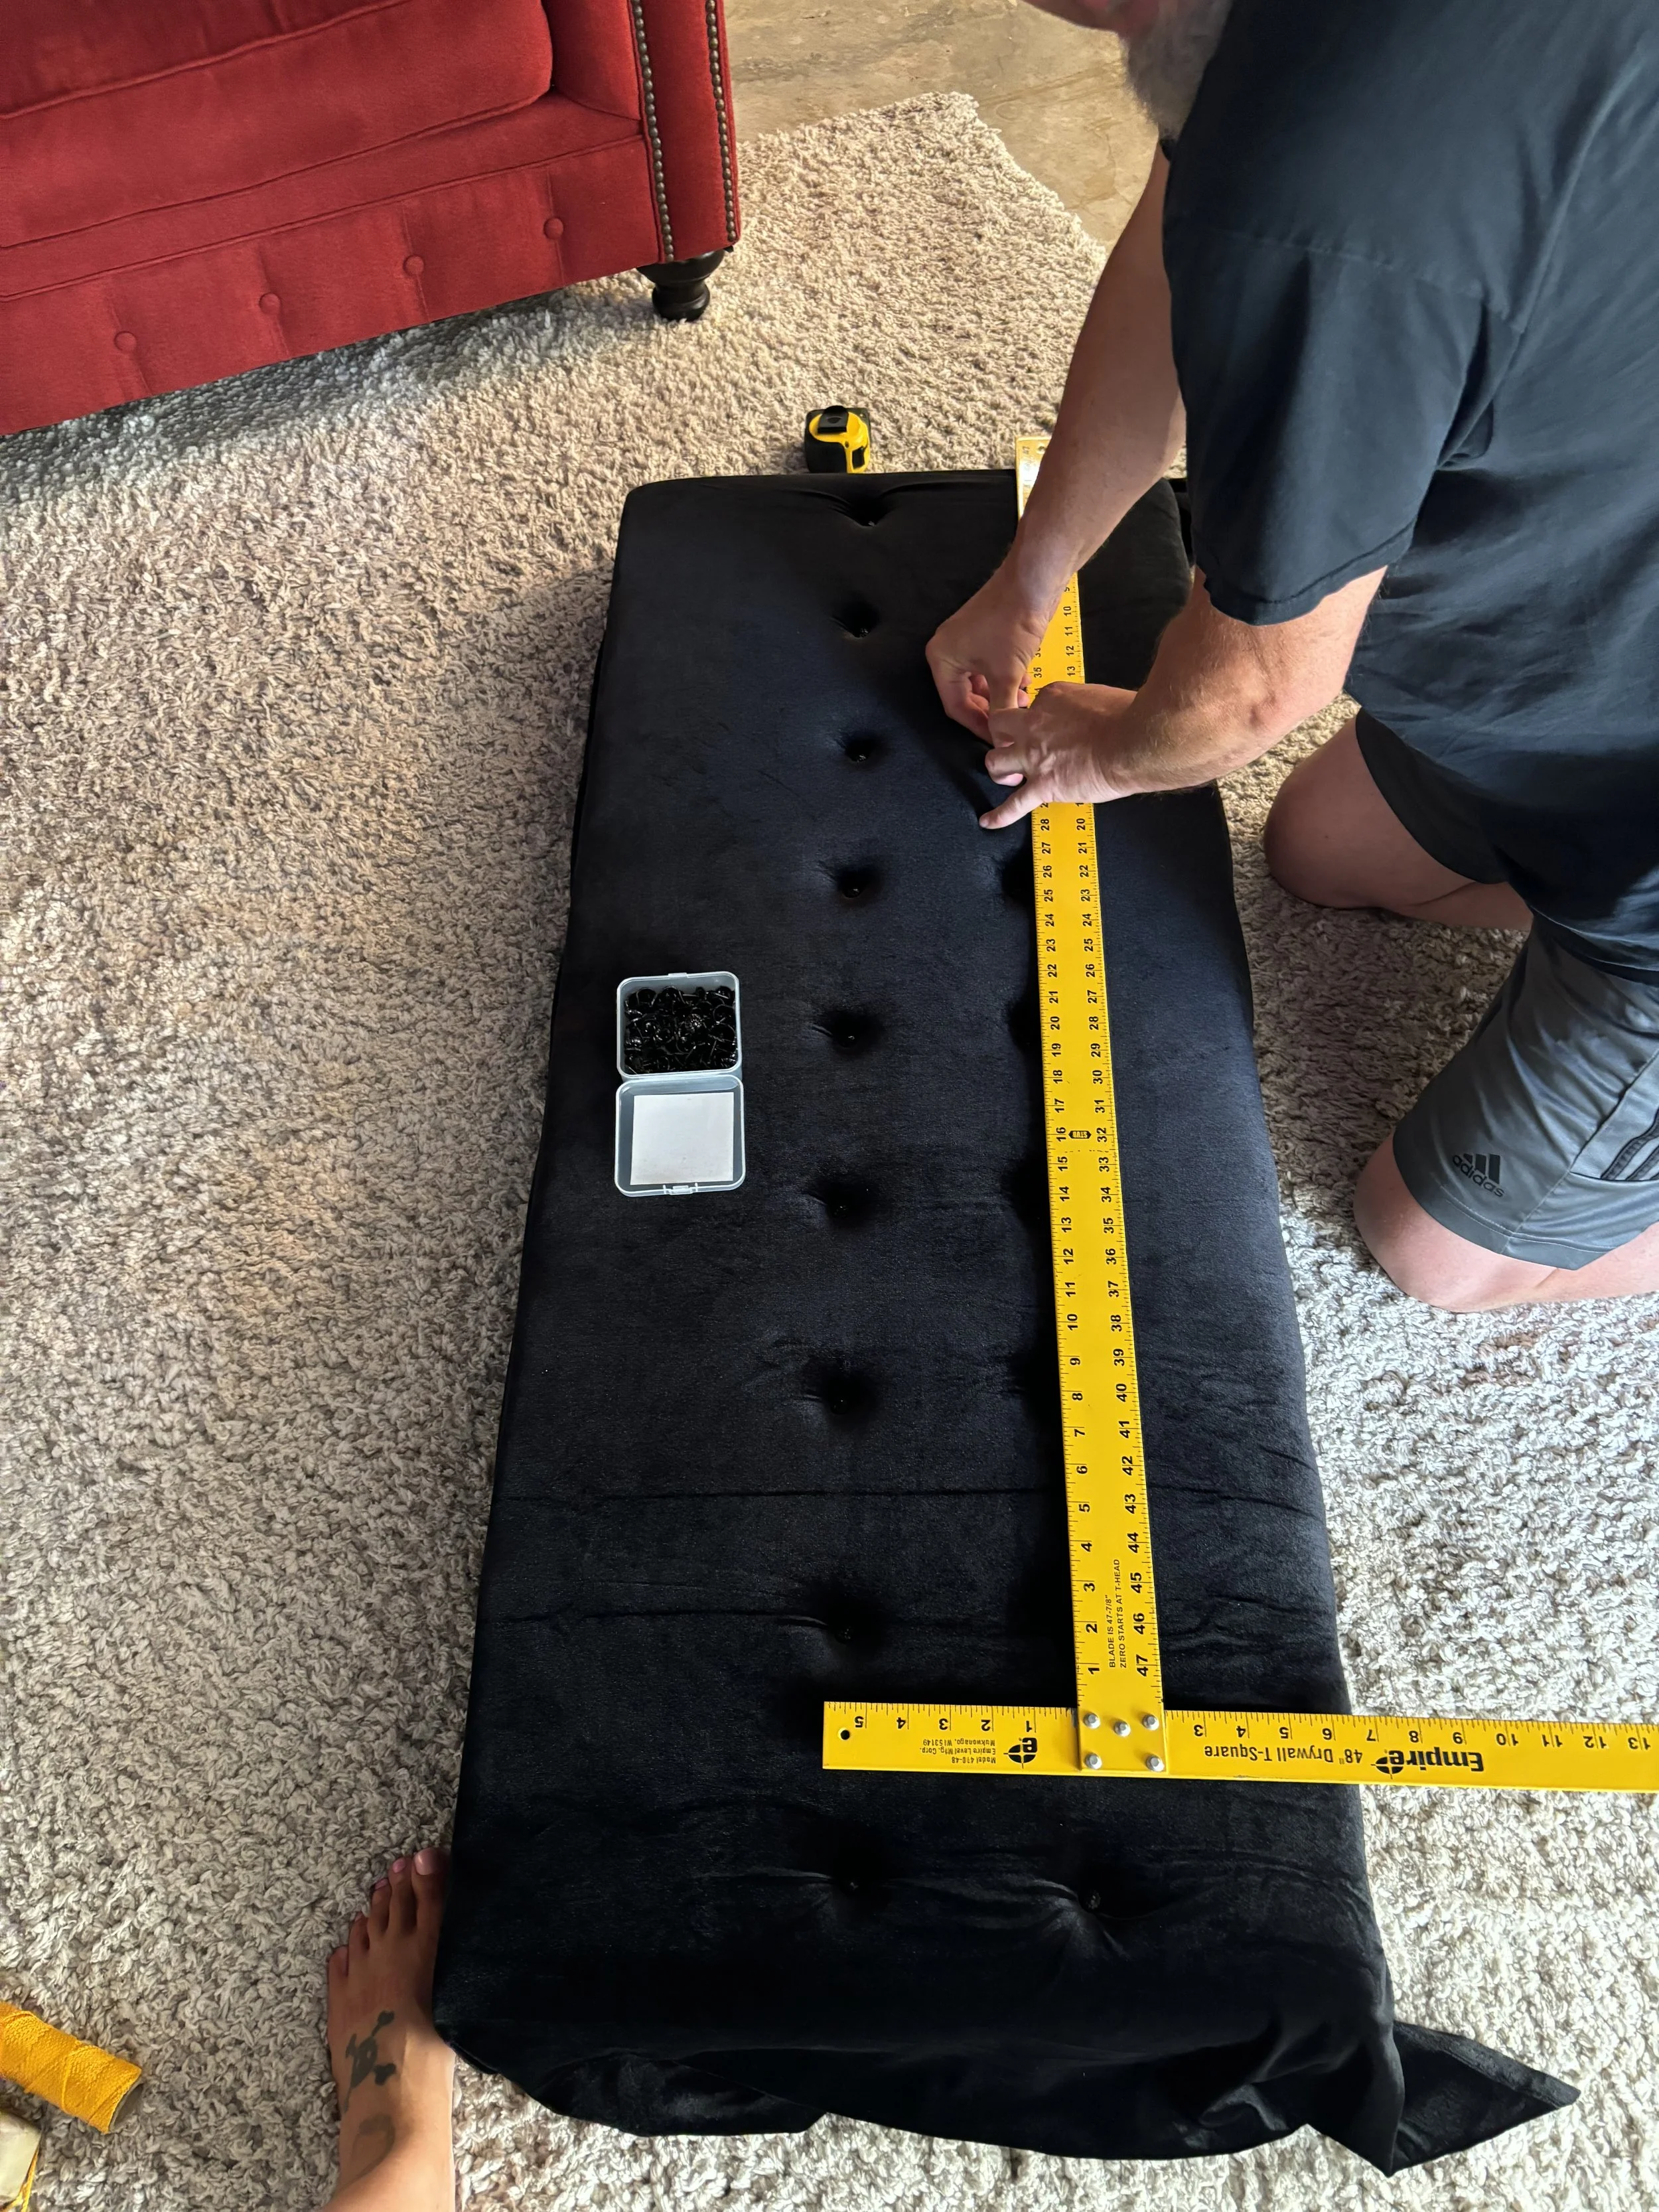
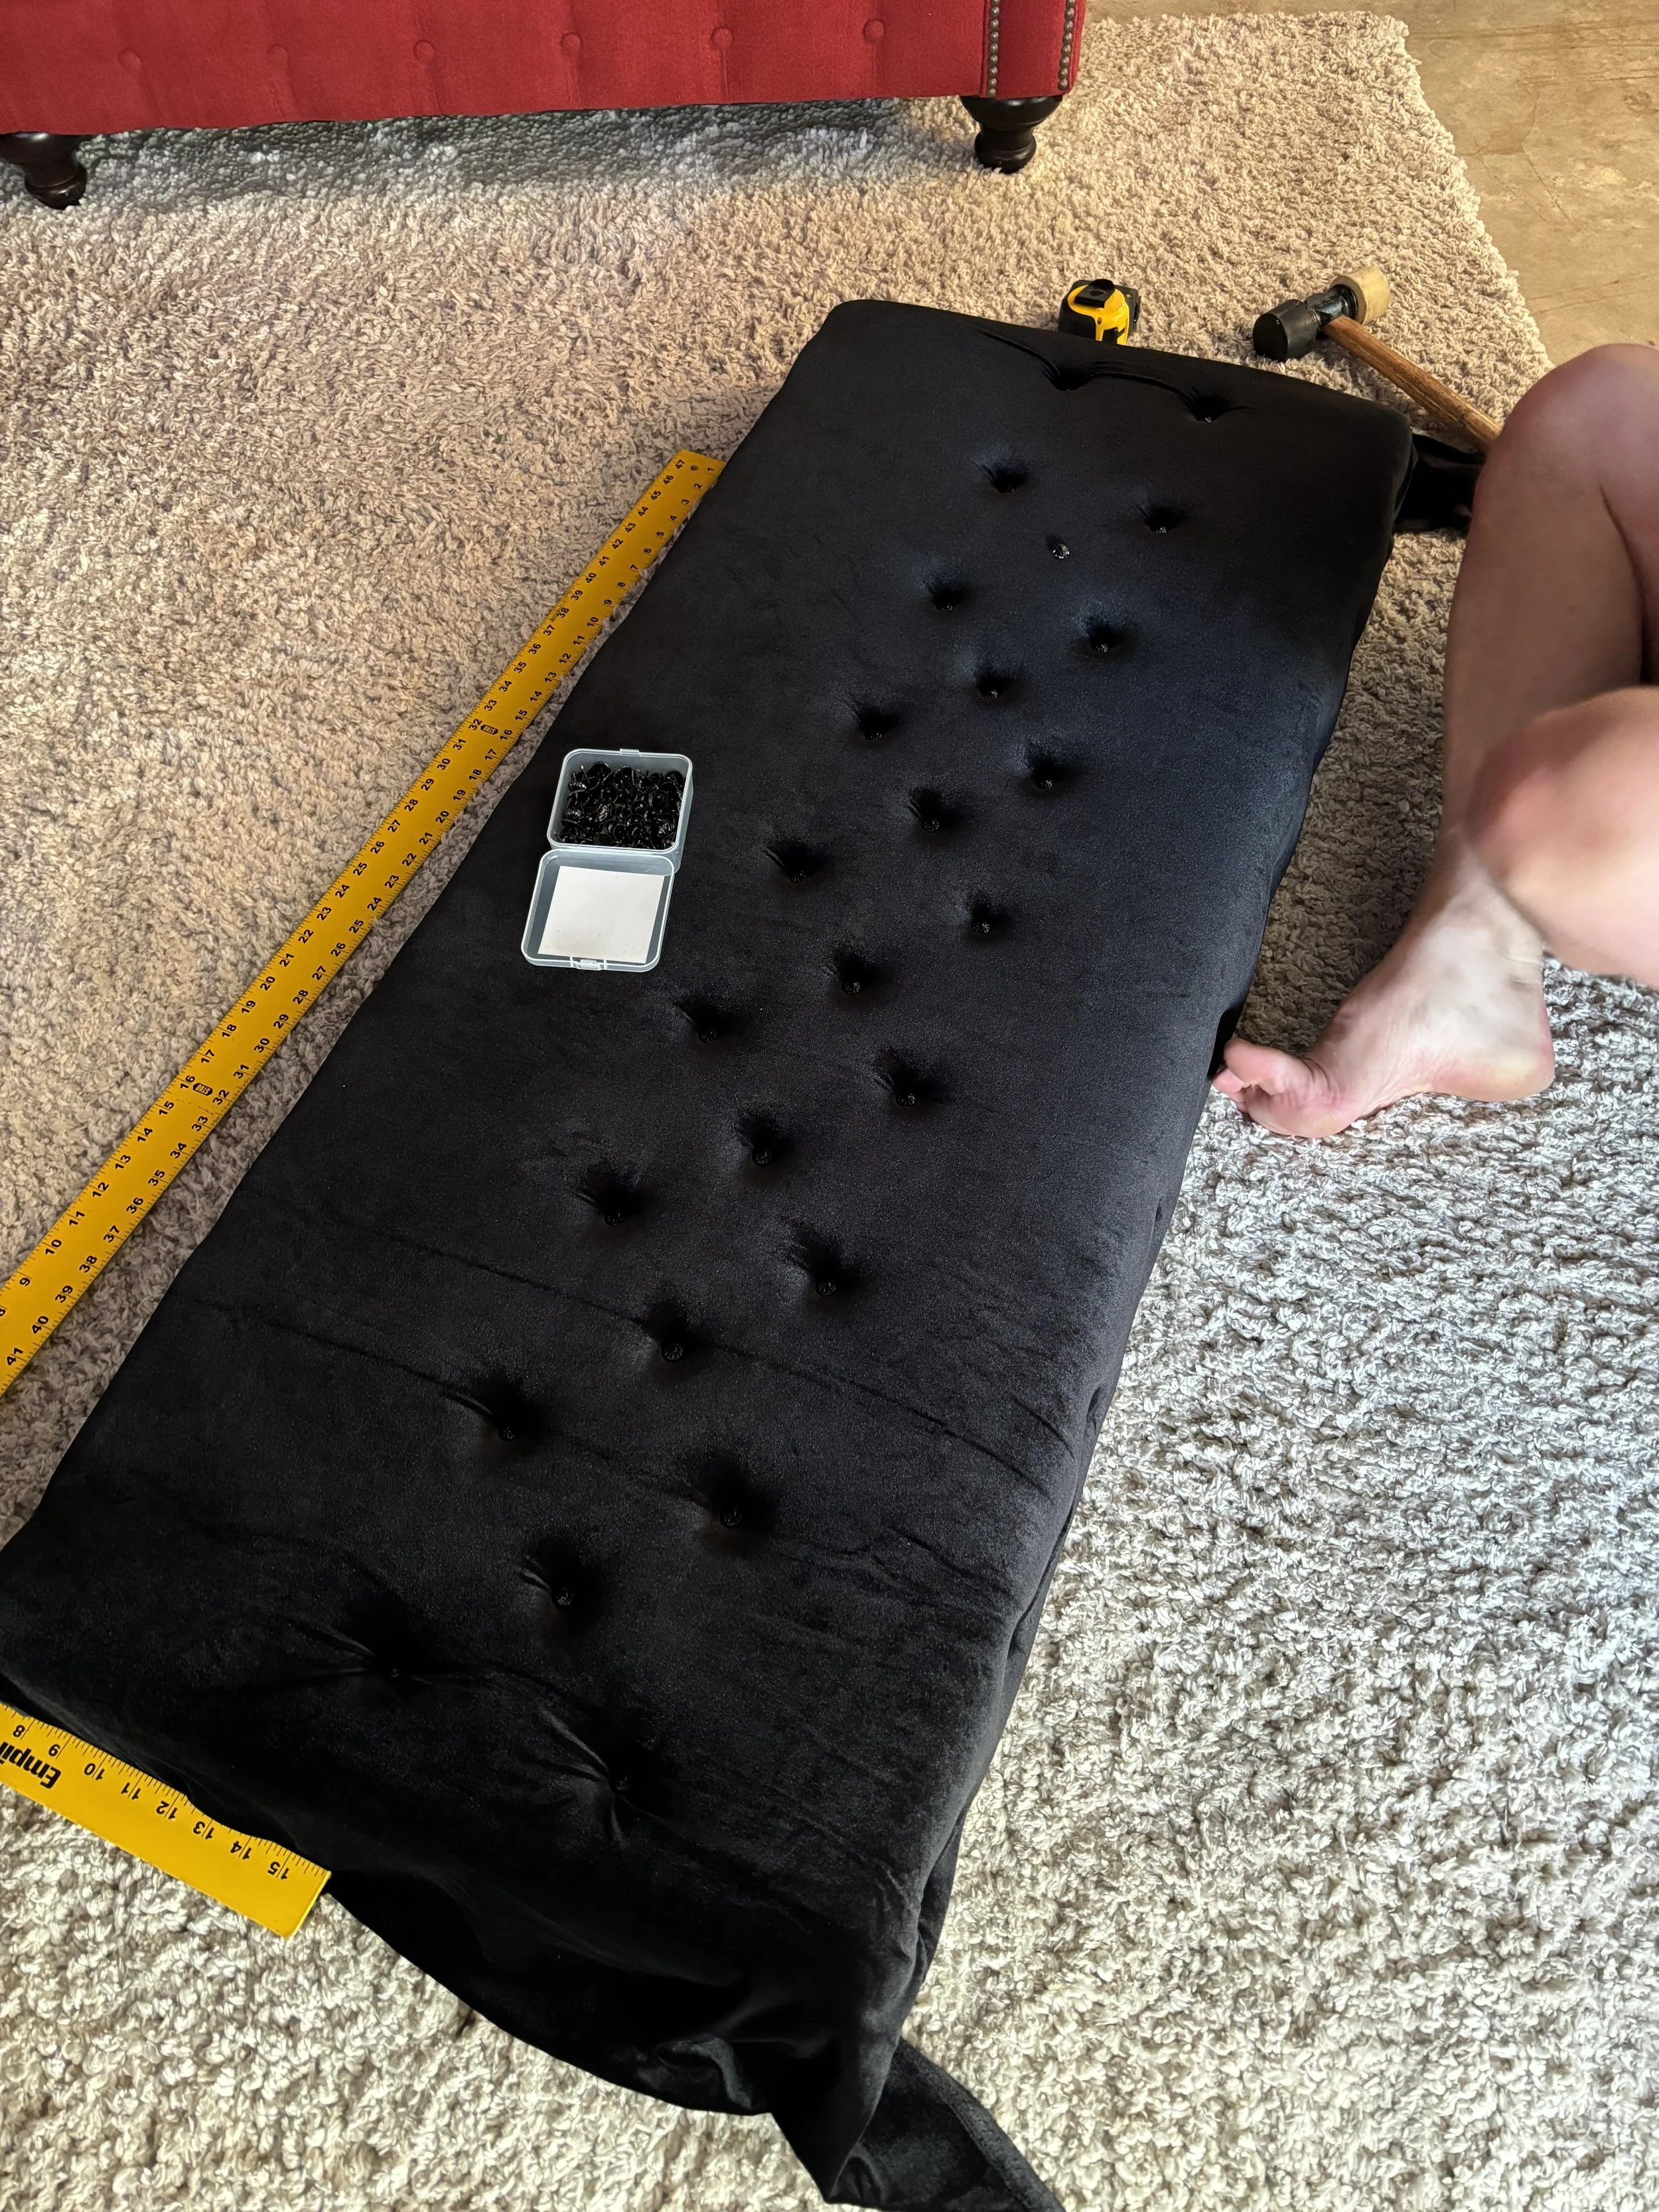
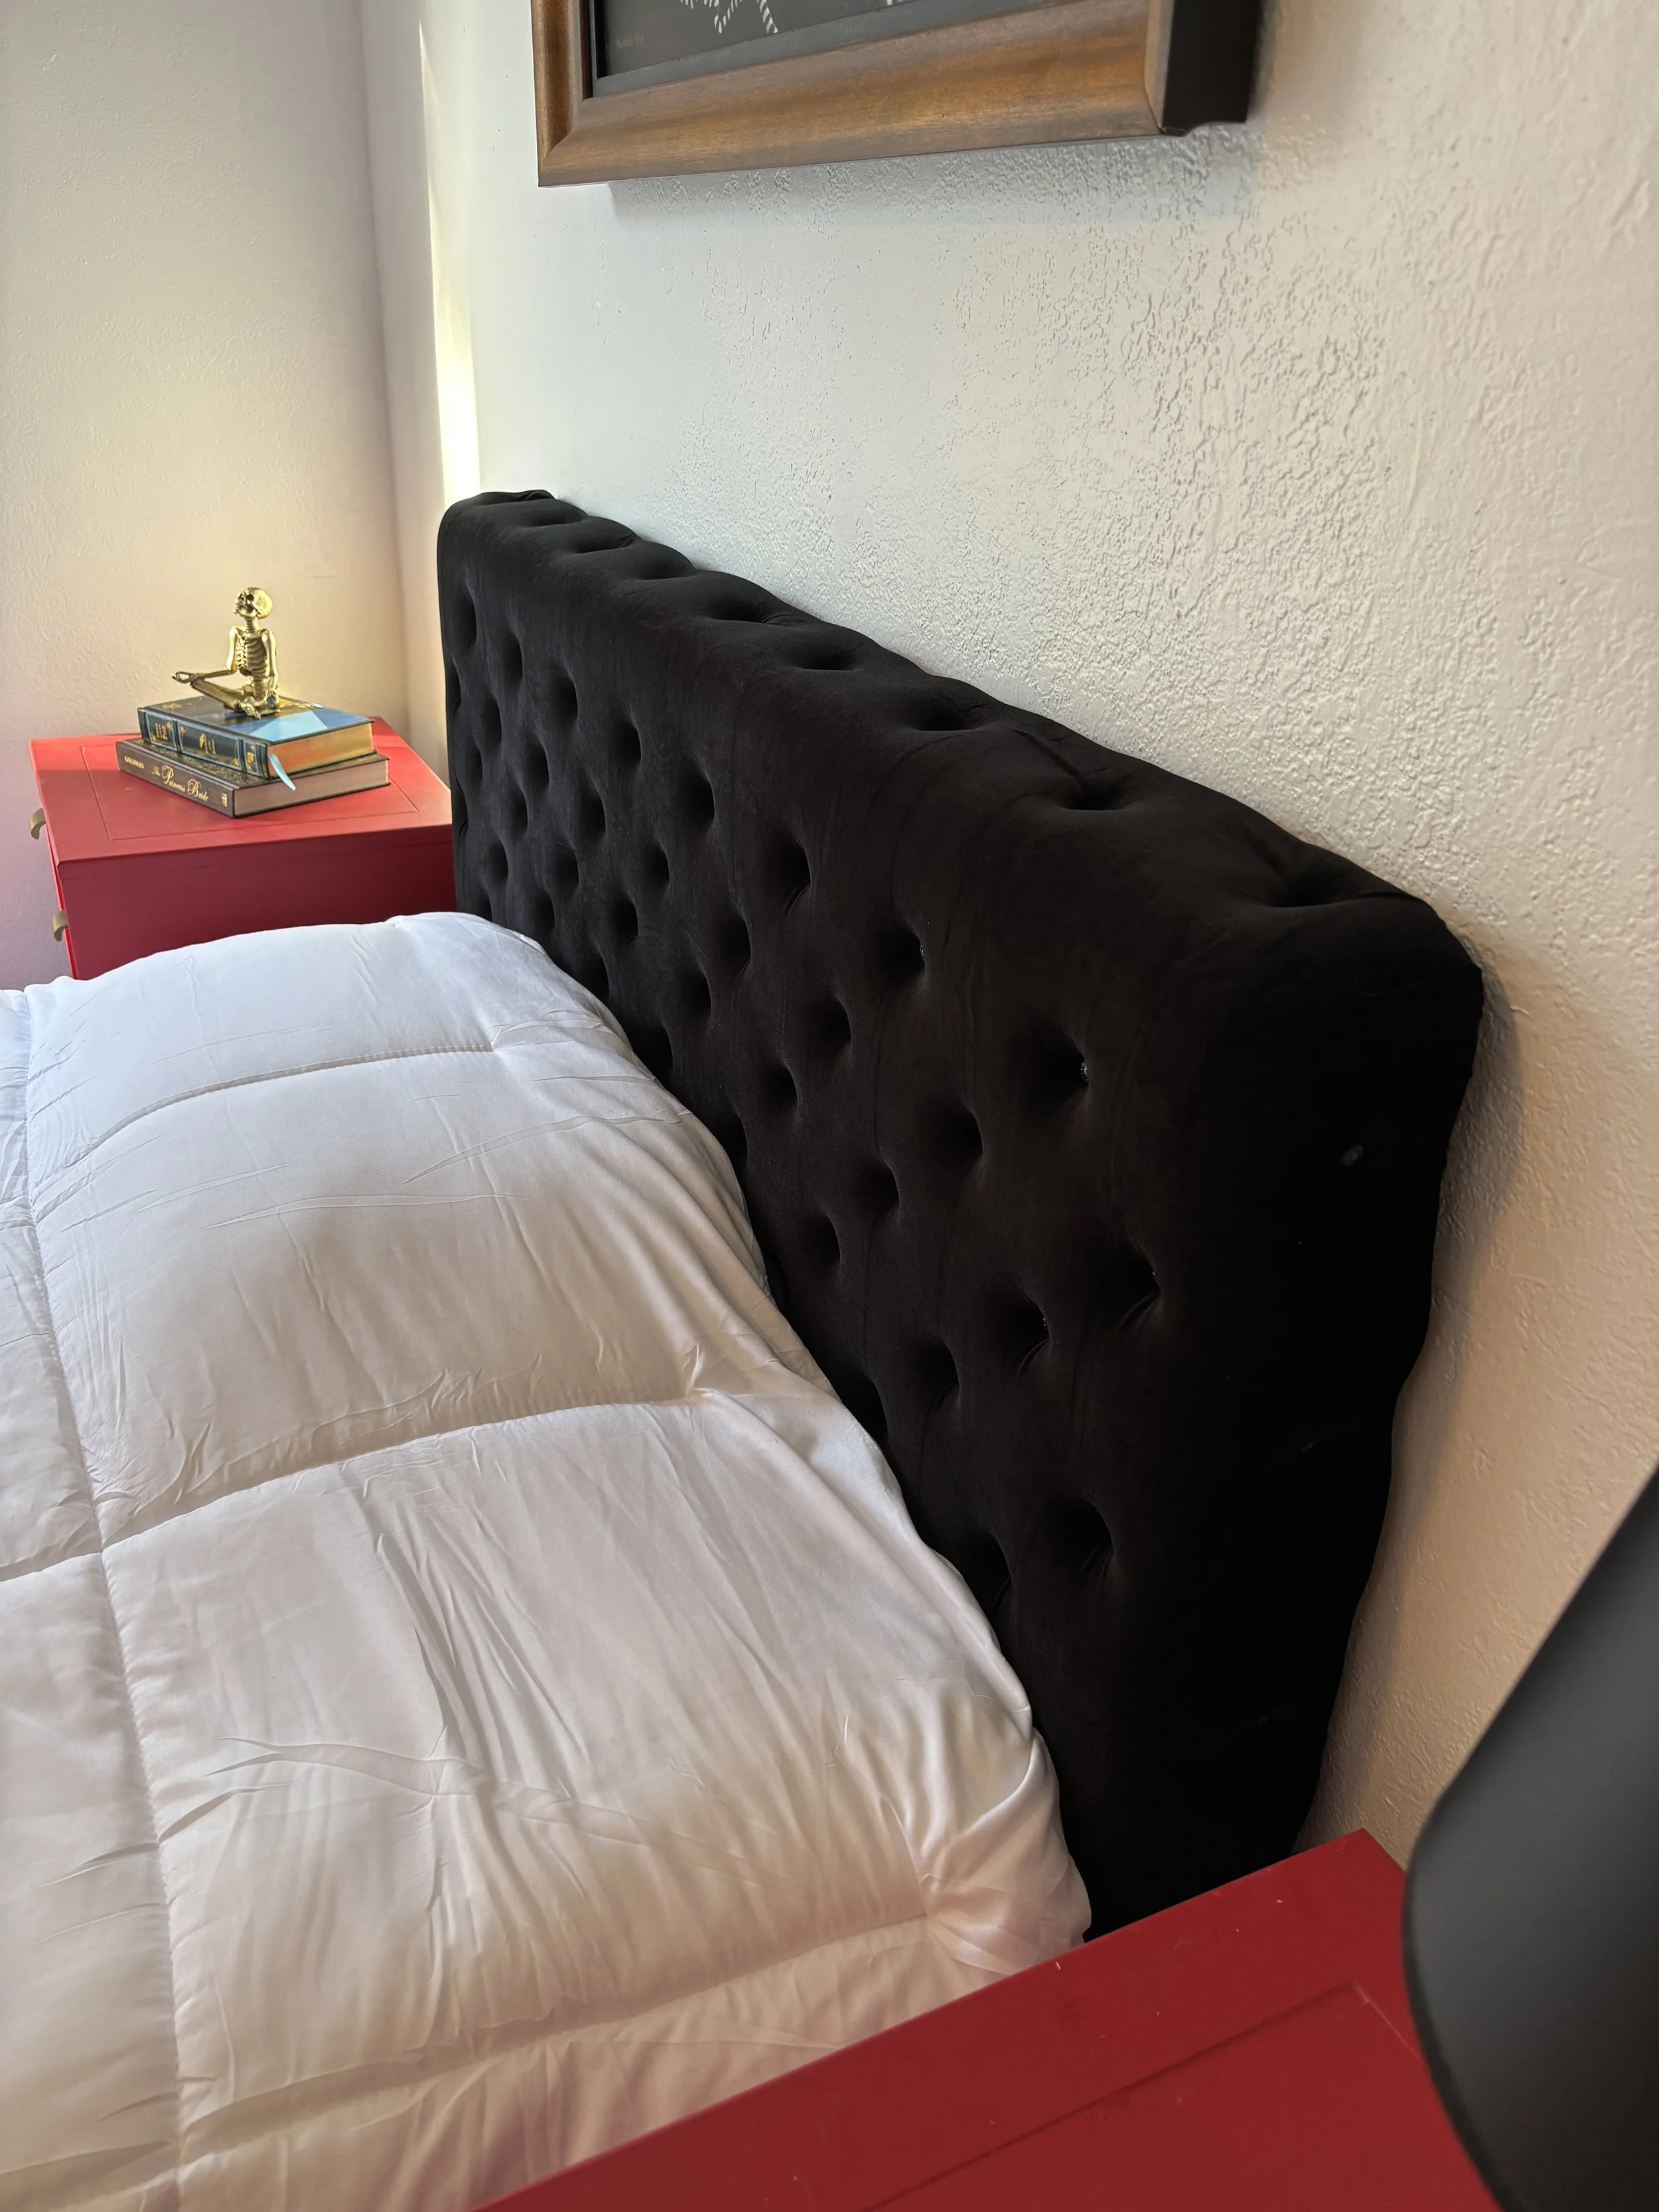
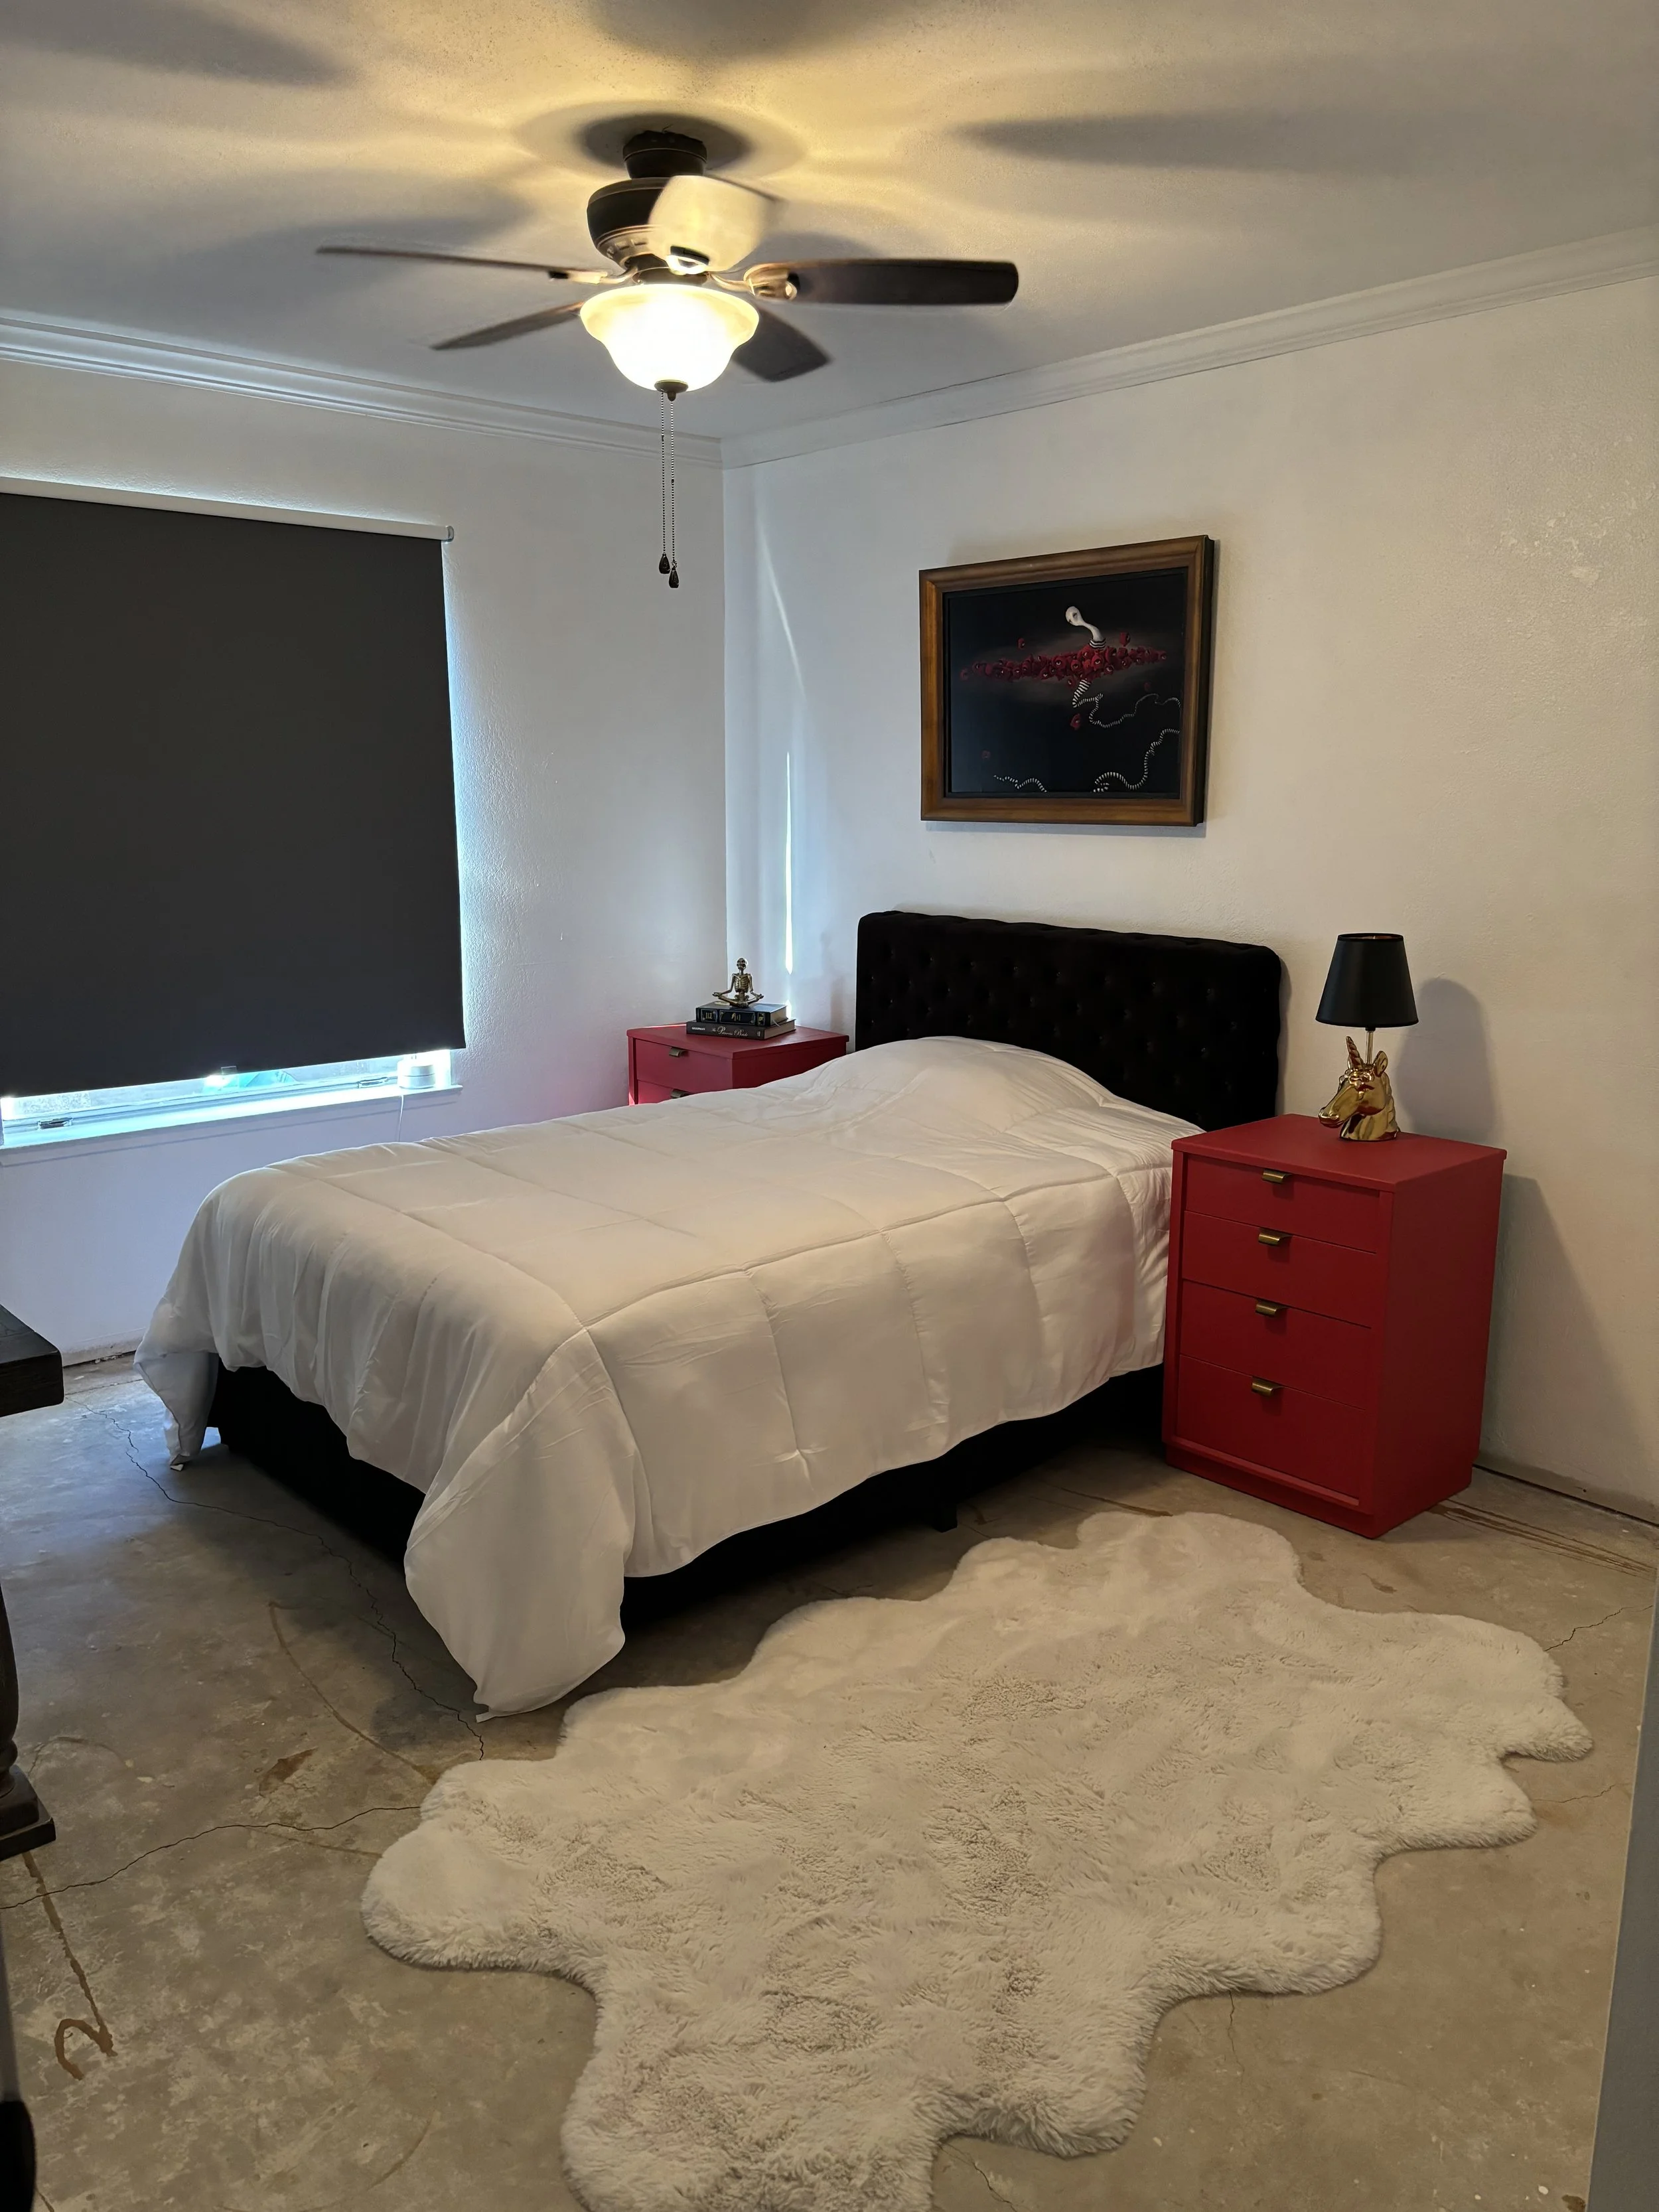
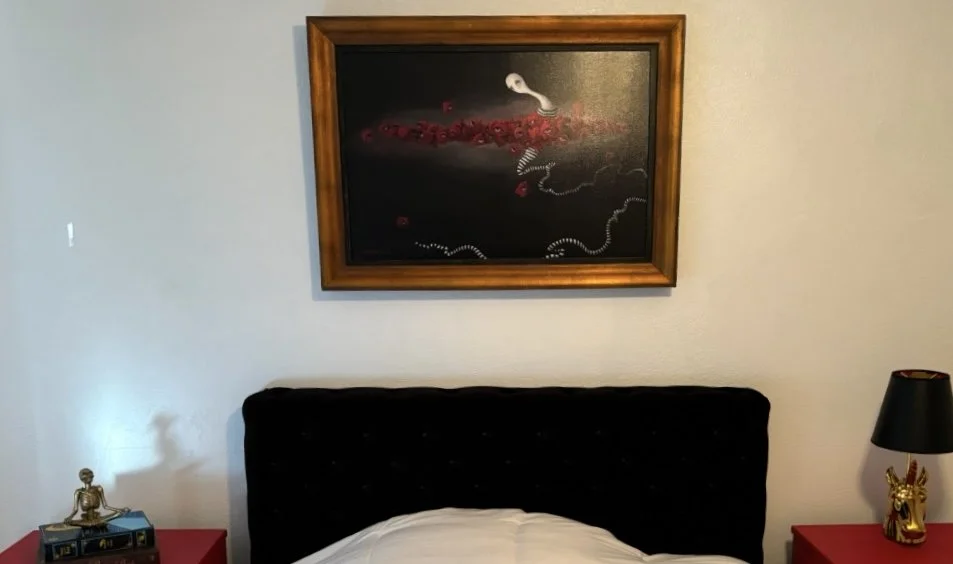
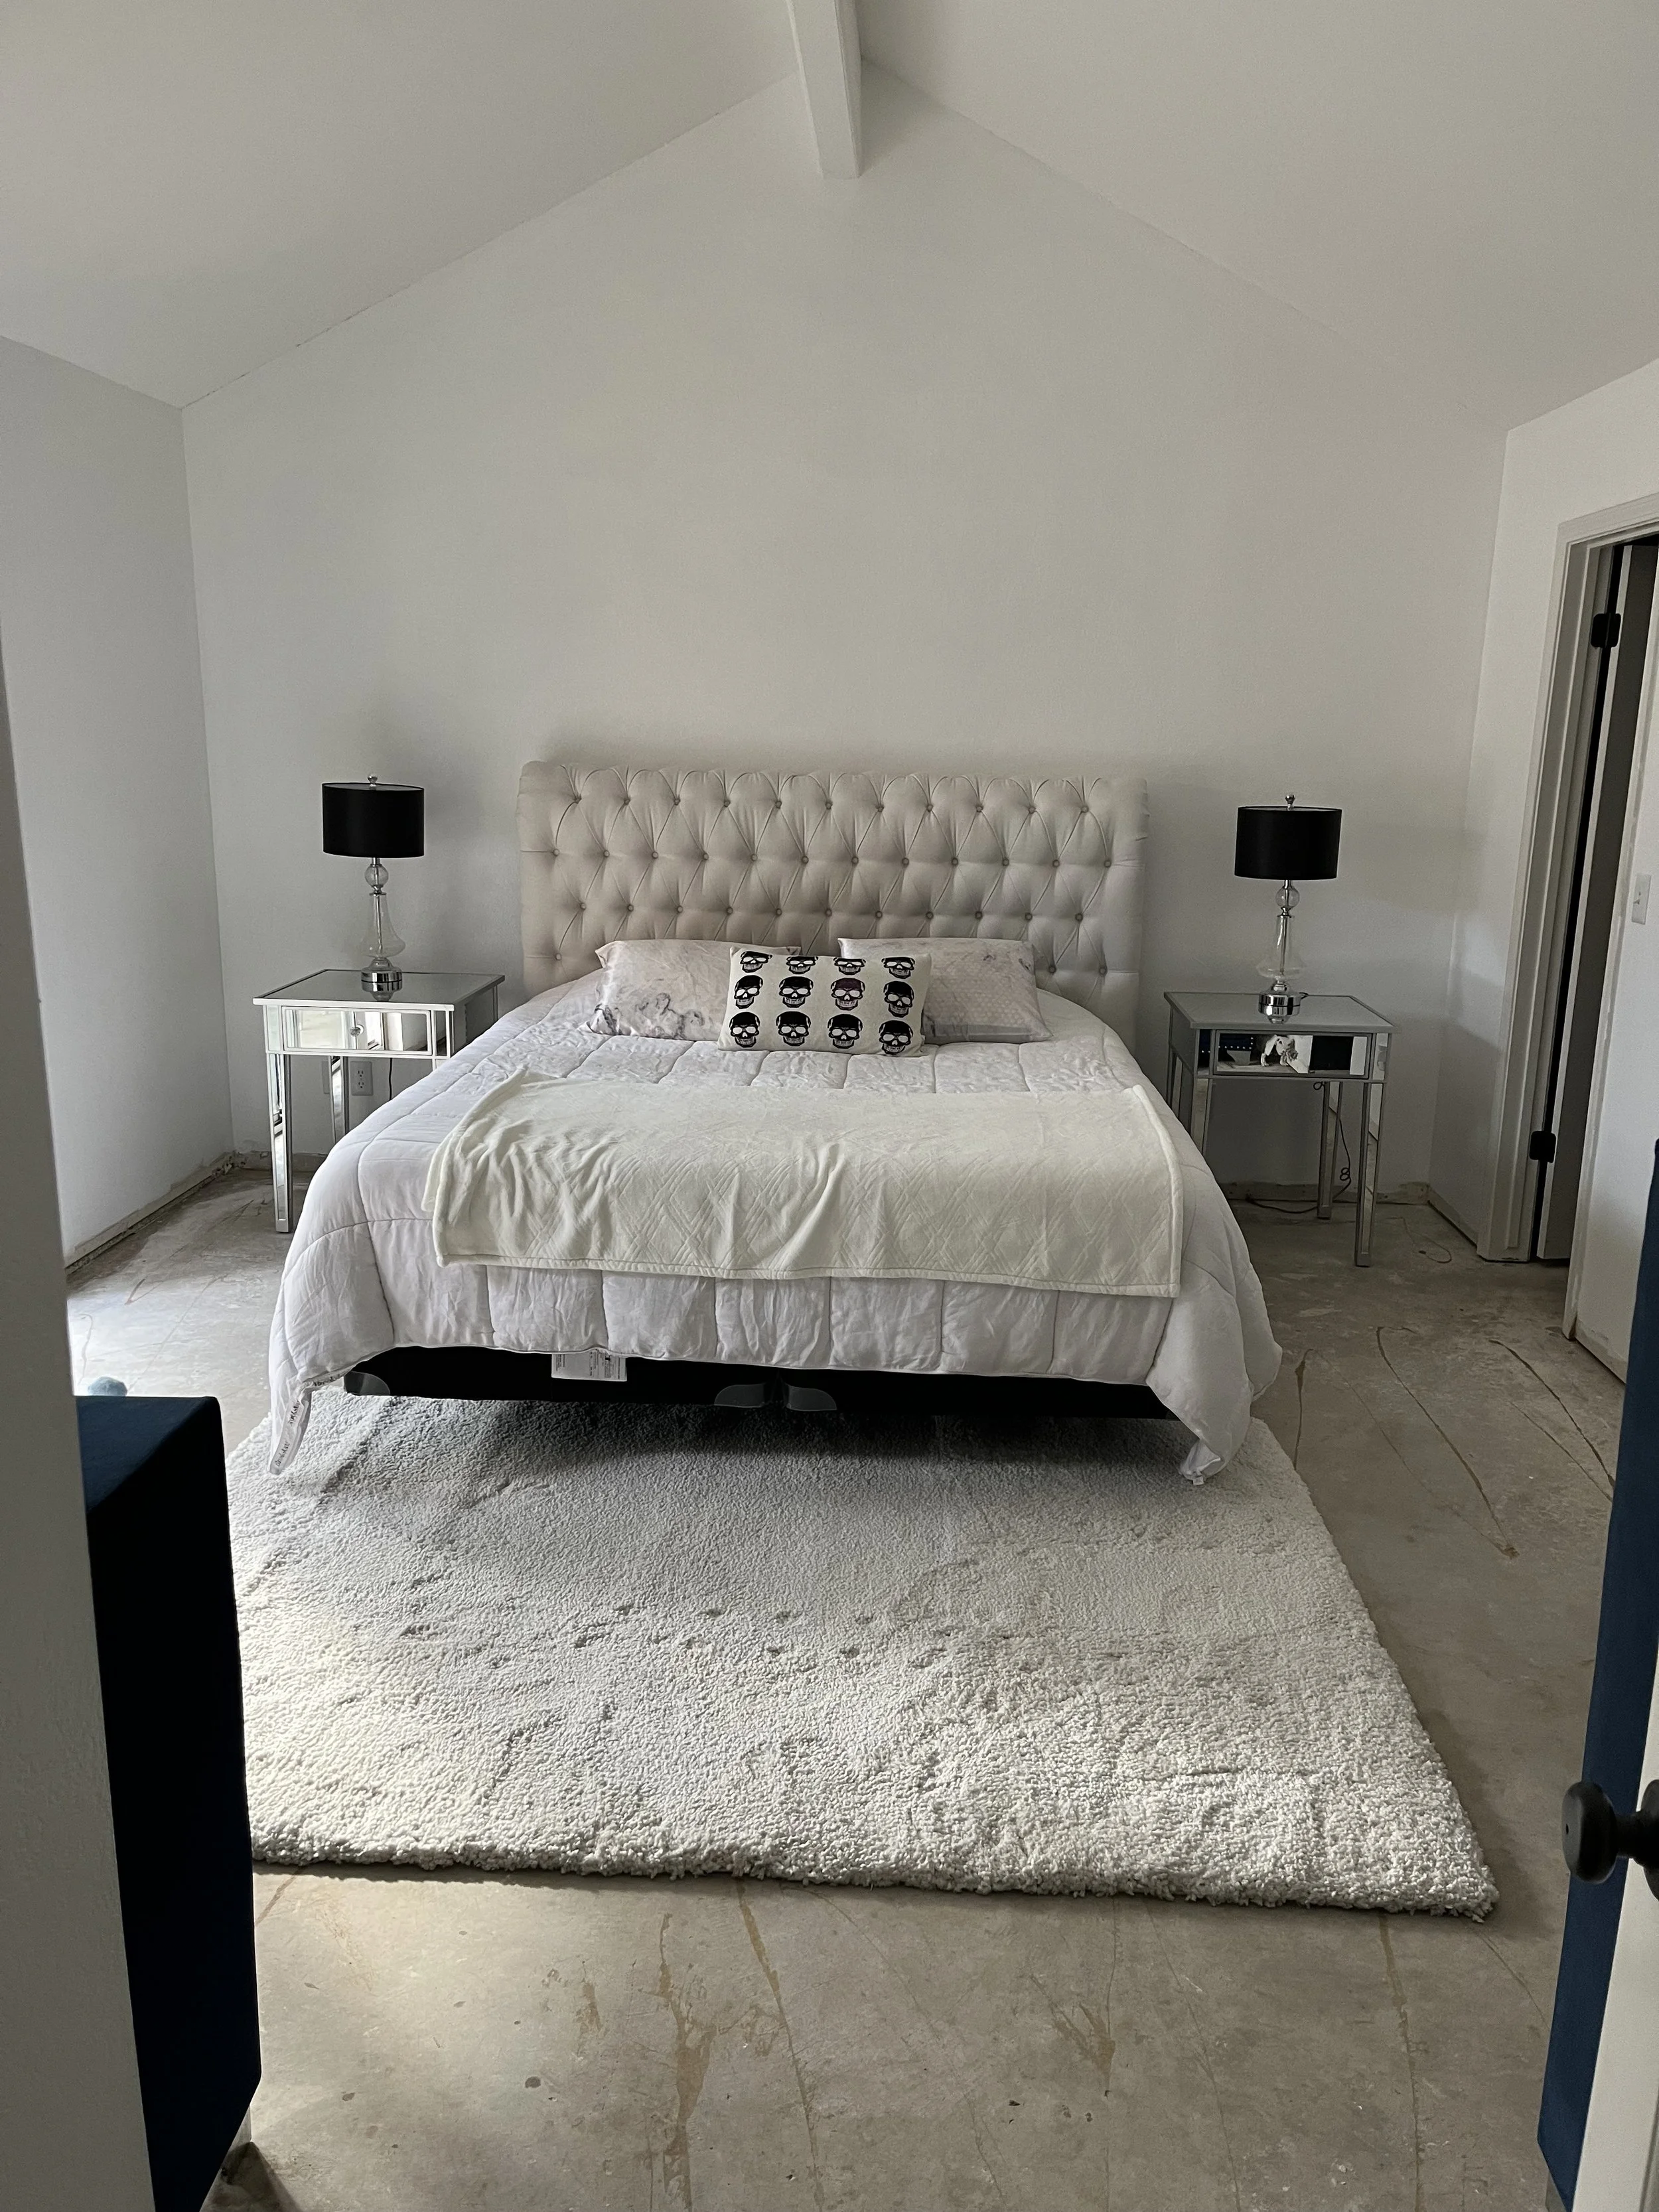
guest room + custom headboardOur guest room is, admittedly, a little macabre due to the dramatic colors, custom art by our brother James Naccarato, and other design details such as the gilded skeleton in ohm position sitting atop a hardcover of Edgar Allan Poe’s collective works on the side table. To create balance, and soften the overall feel of the room, we play with other details like the unicorn lamp, fur rug, and black velvet headboard. Clean white paint finishes the aesthetic and keeps the spotlight on the decorative details.
I love this room so much and can’t wait for our friends and family to come for weekend visits!
Products used:
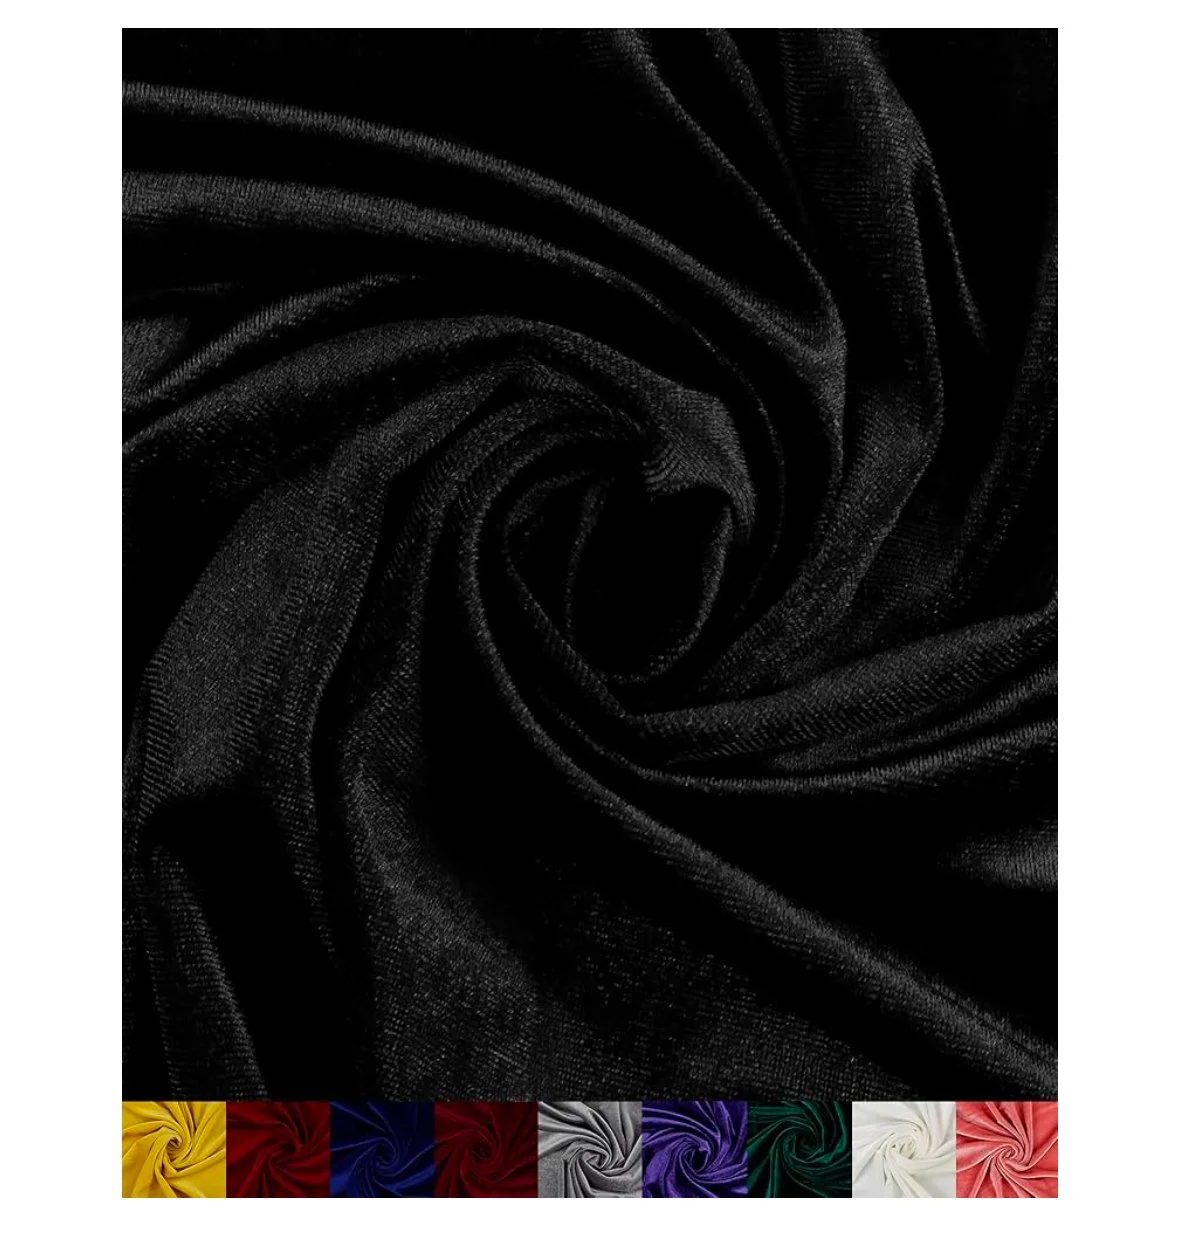
2 yards stretch velvet fabric - black
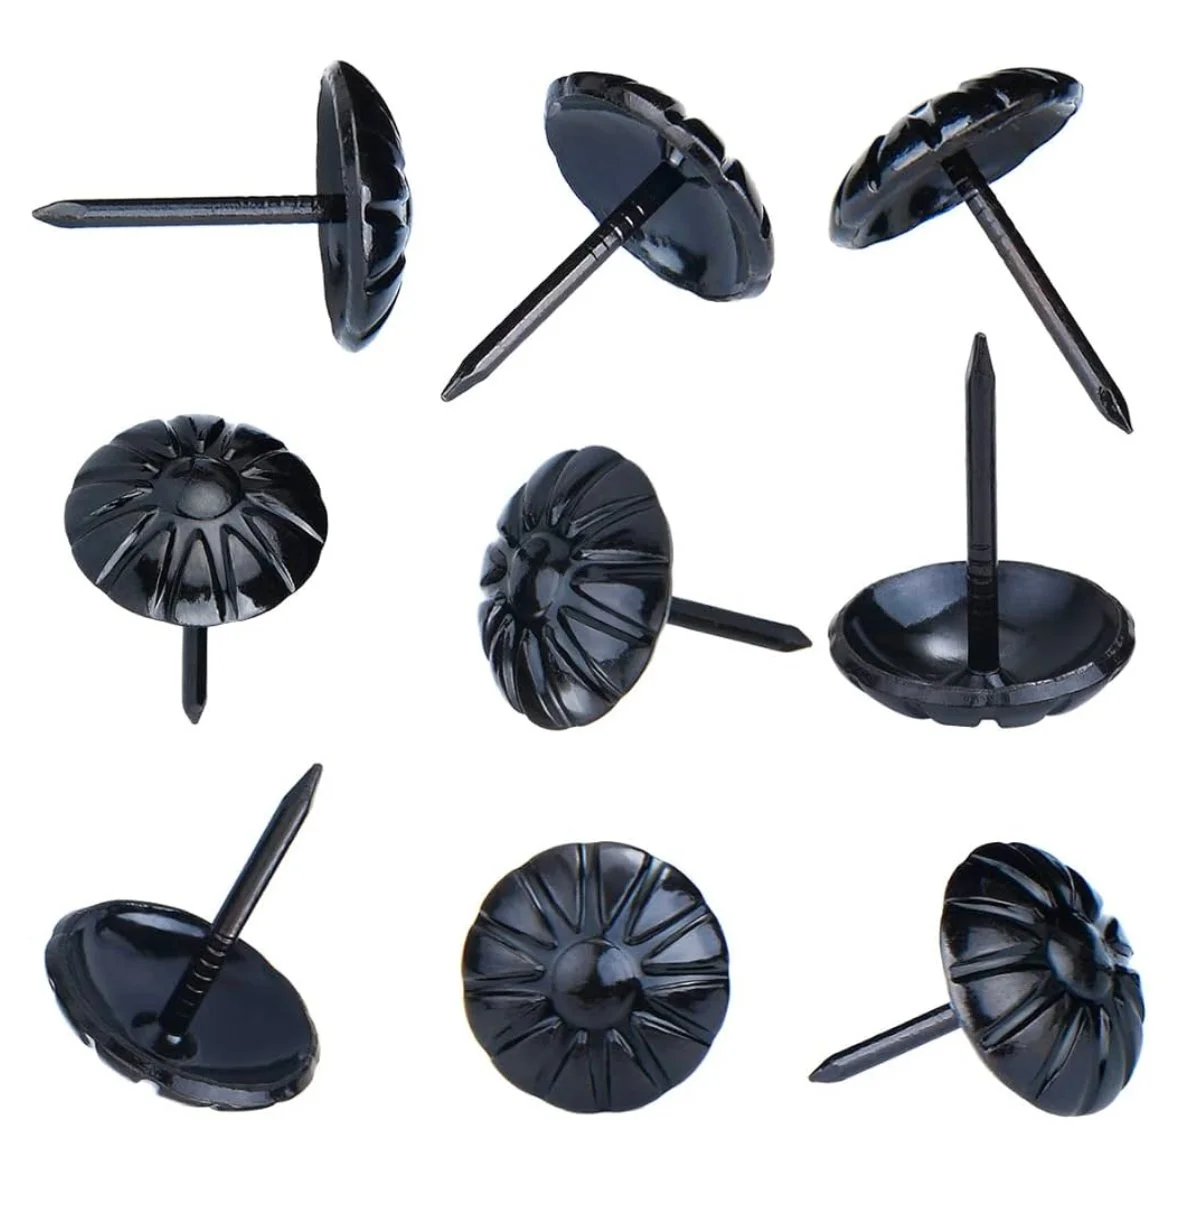
5/8” Upholstery tacks
2” x 4” stud grade pine
1/2” plywood
Behr Marquee paint - white (walls)
Total project times = 4 hours
Total project cost = $182.50
Vendors: Amazon + Lowes
Click product images below to see full details.
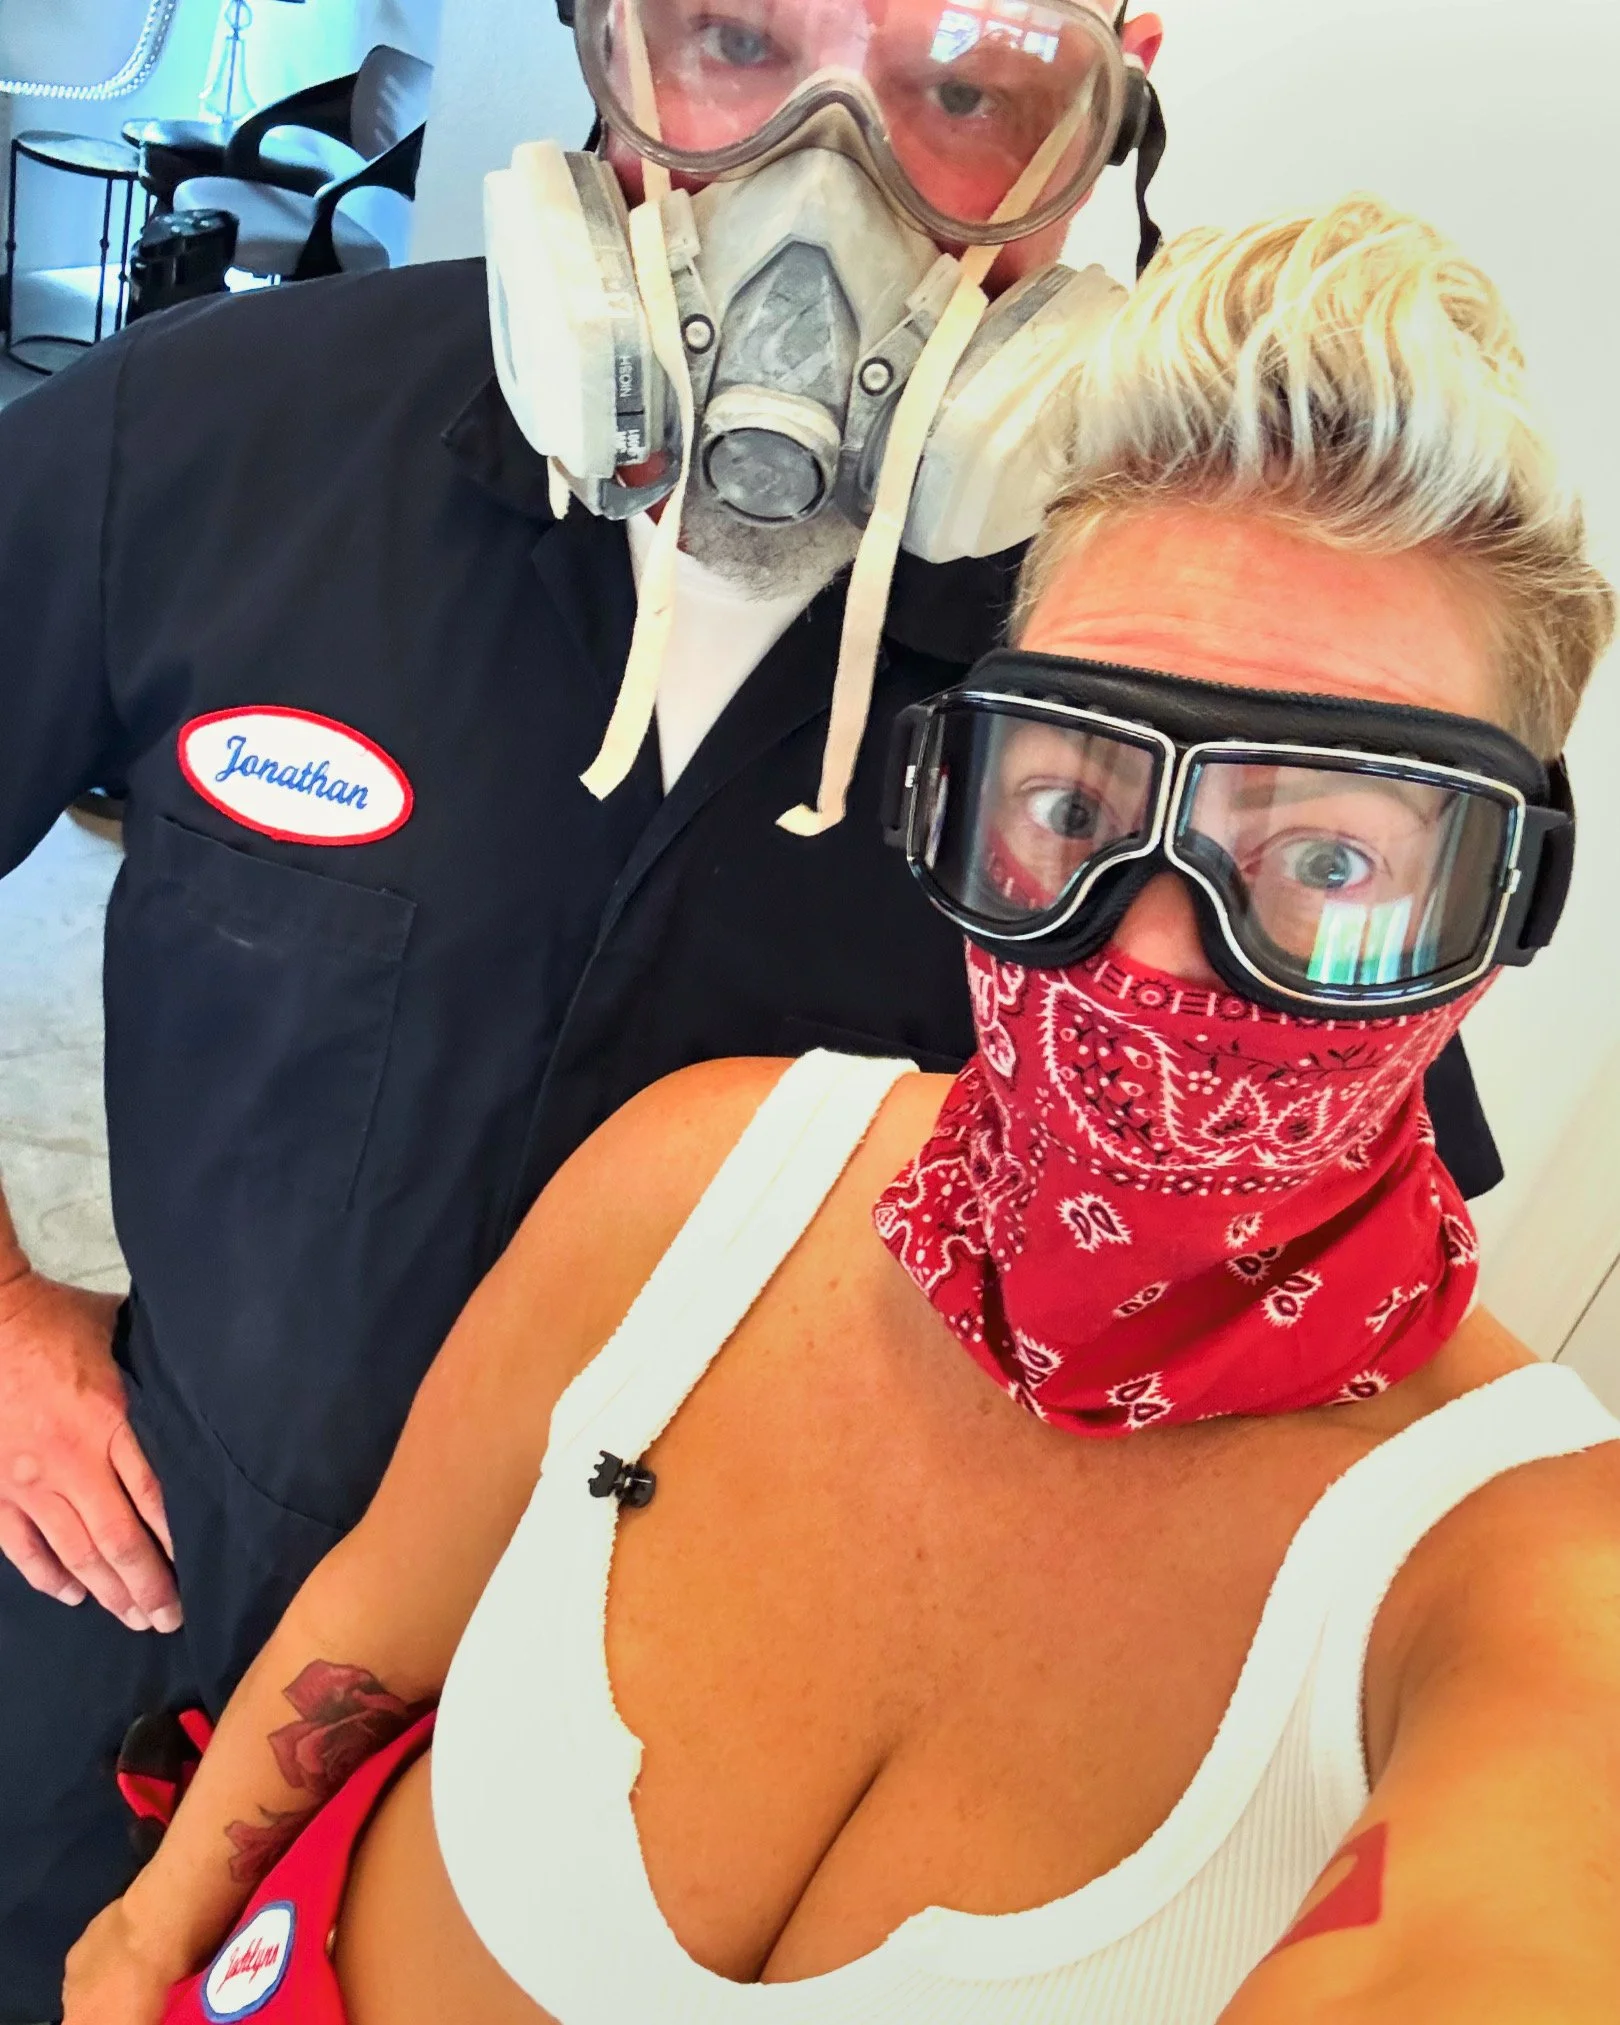
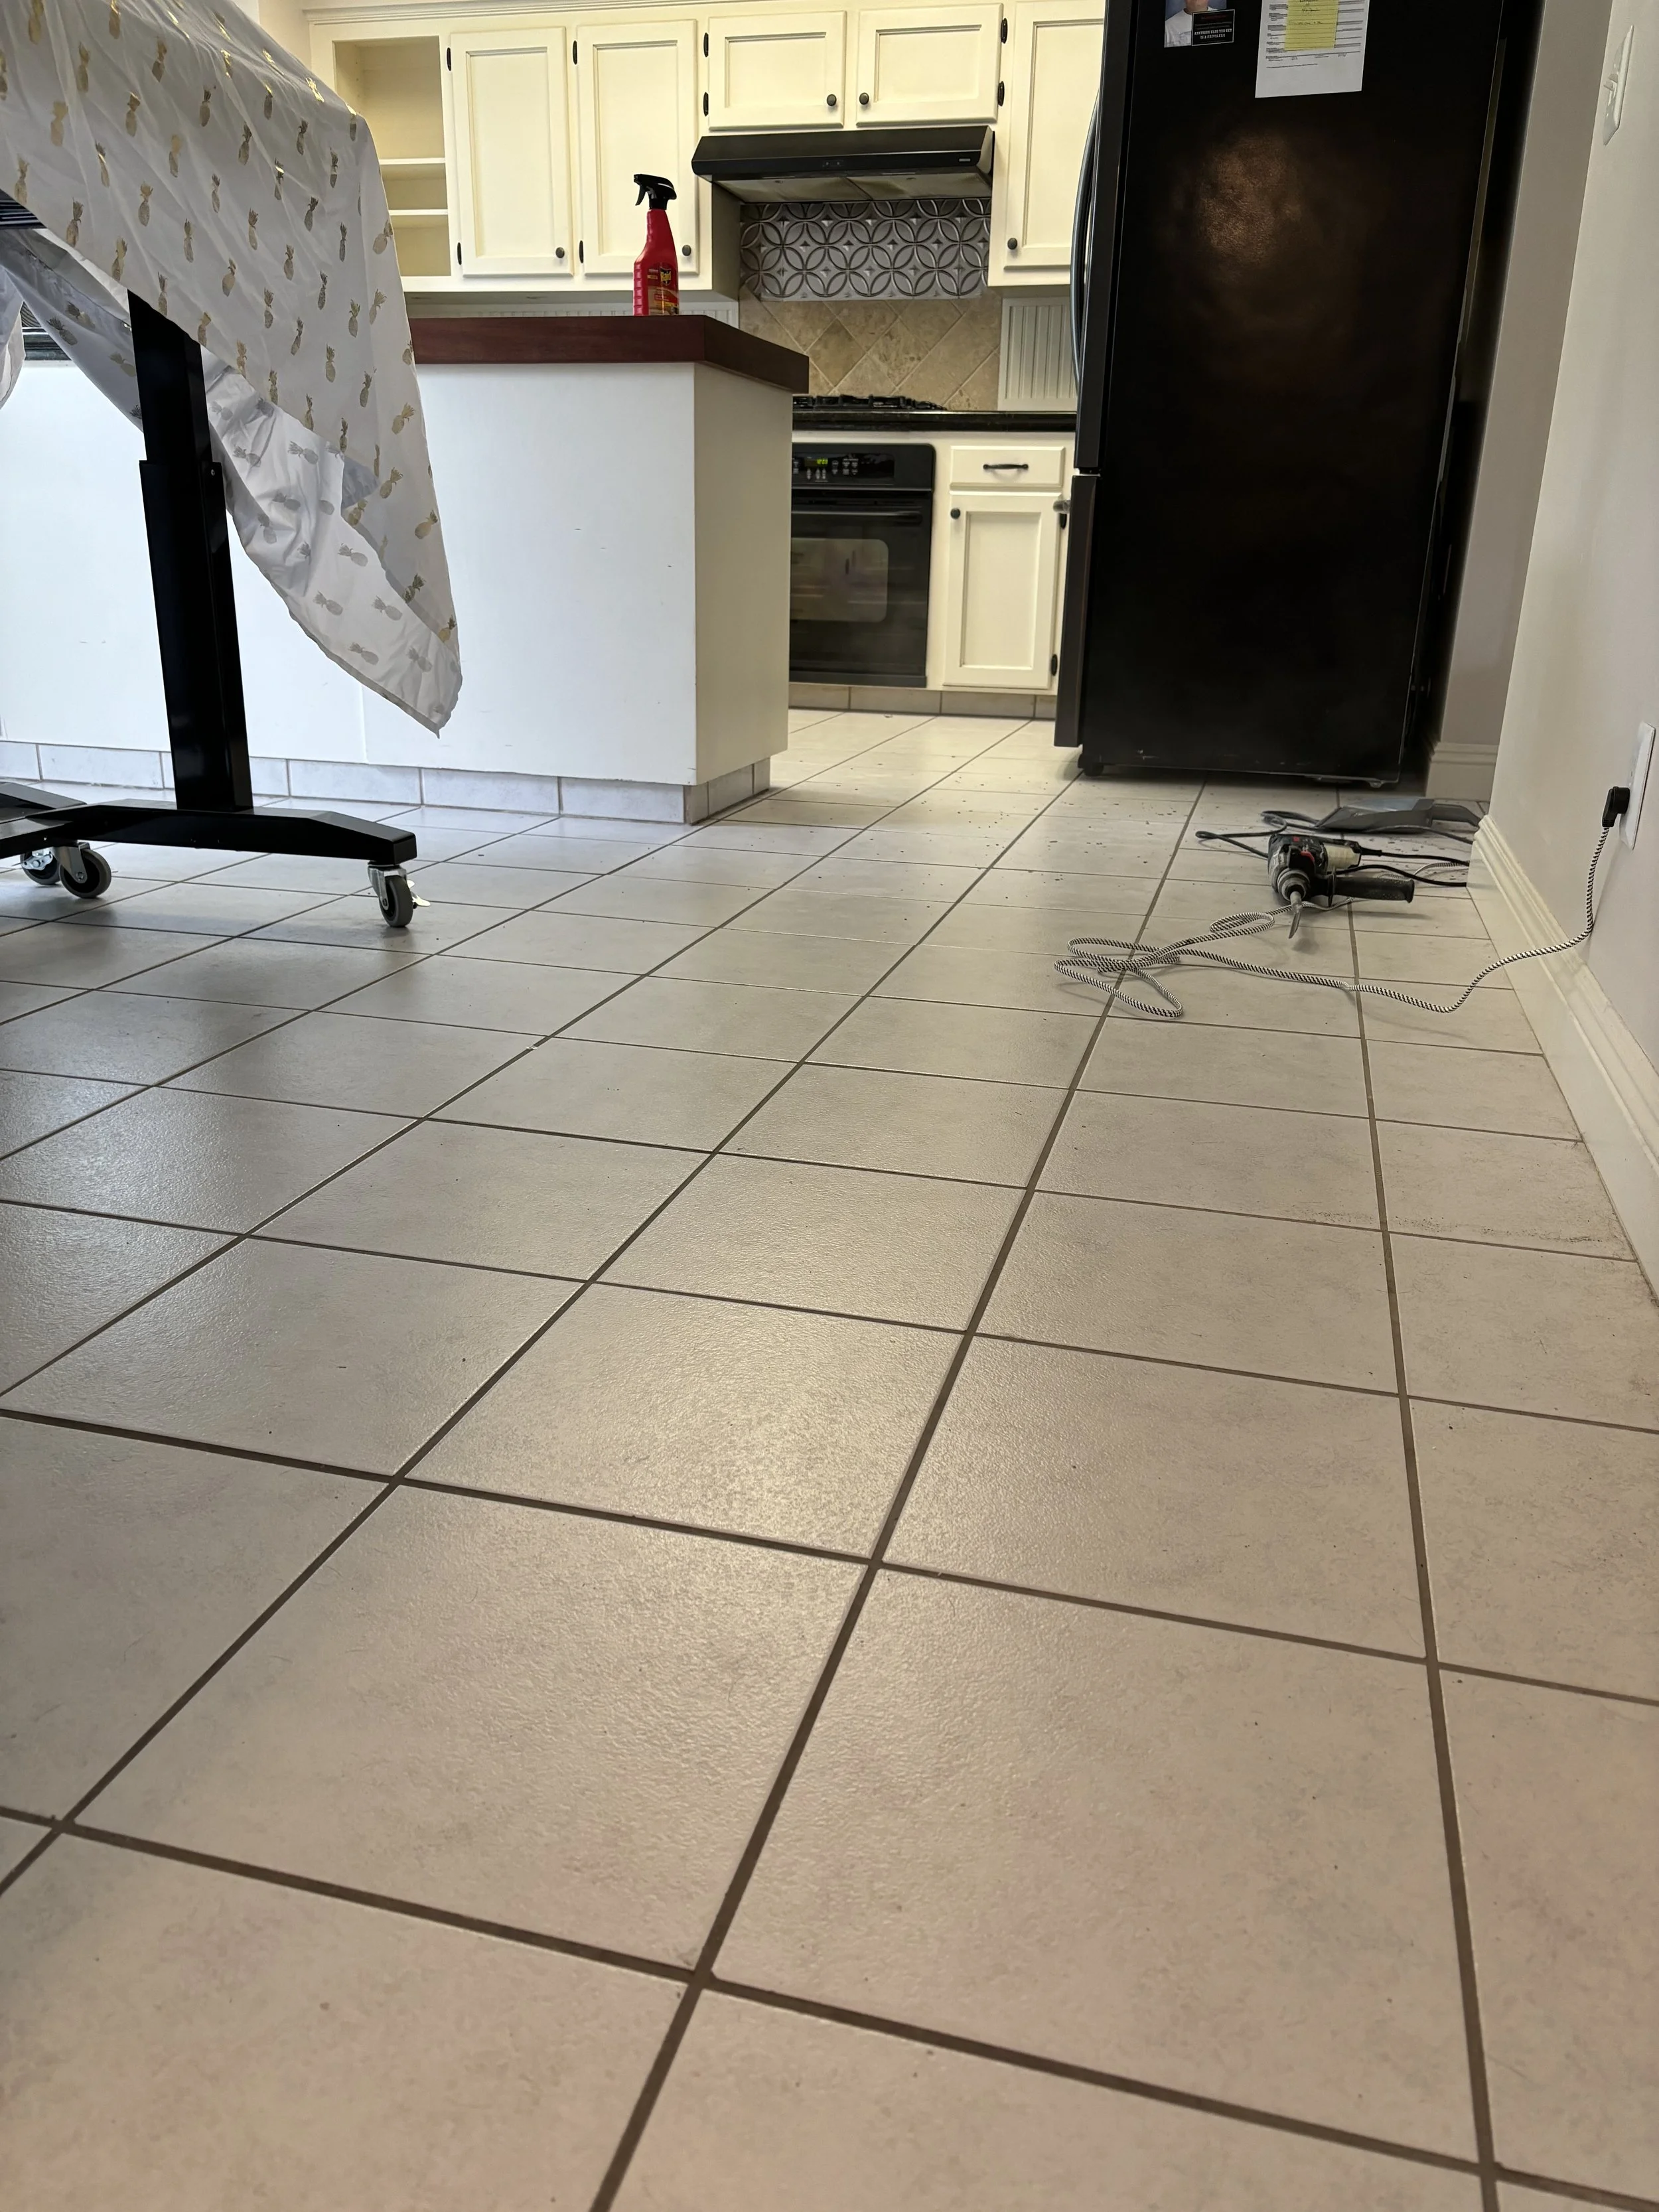
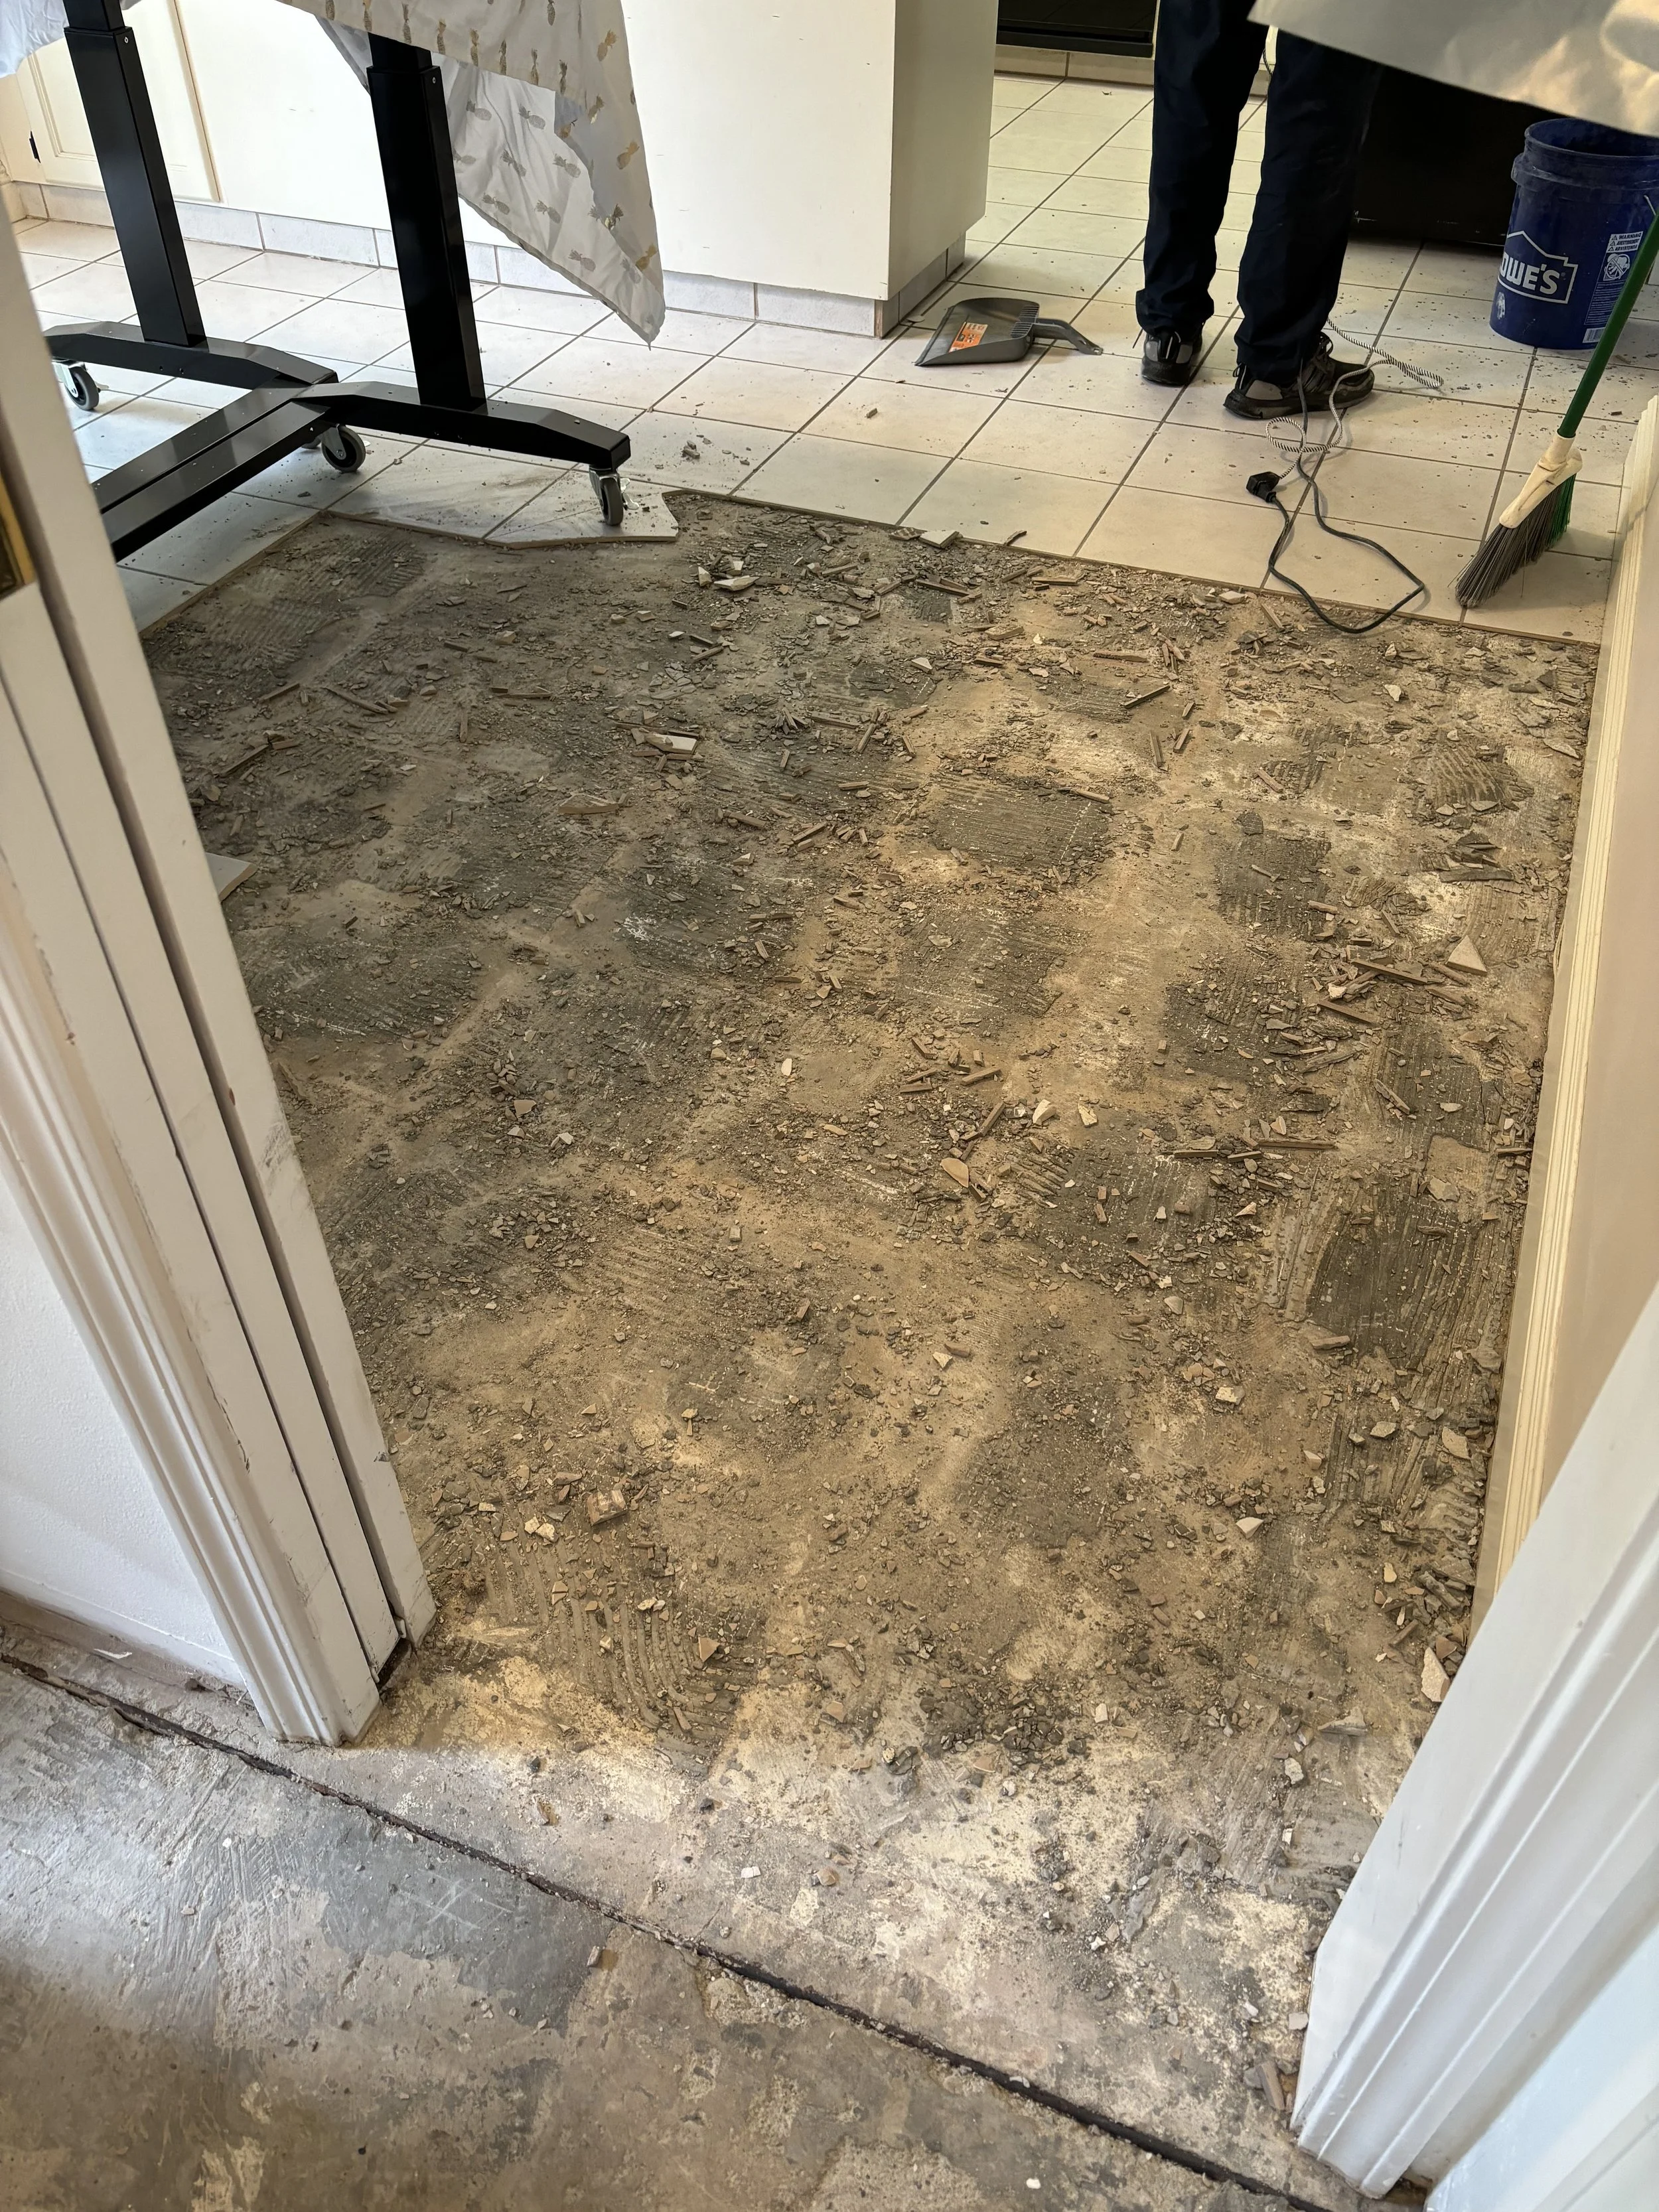
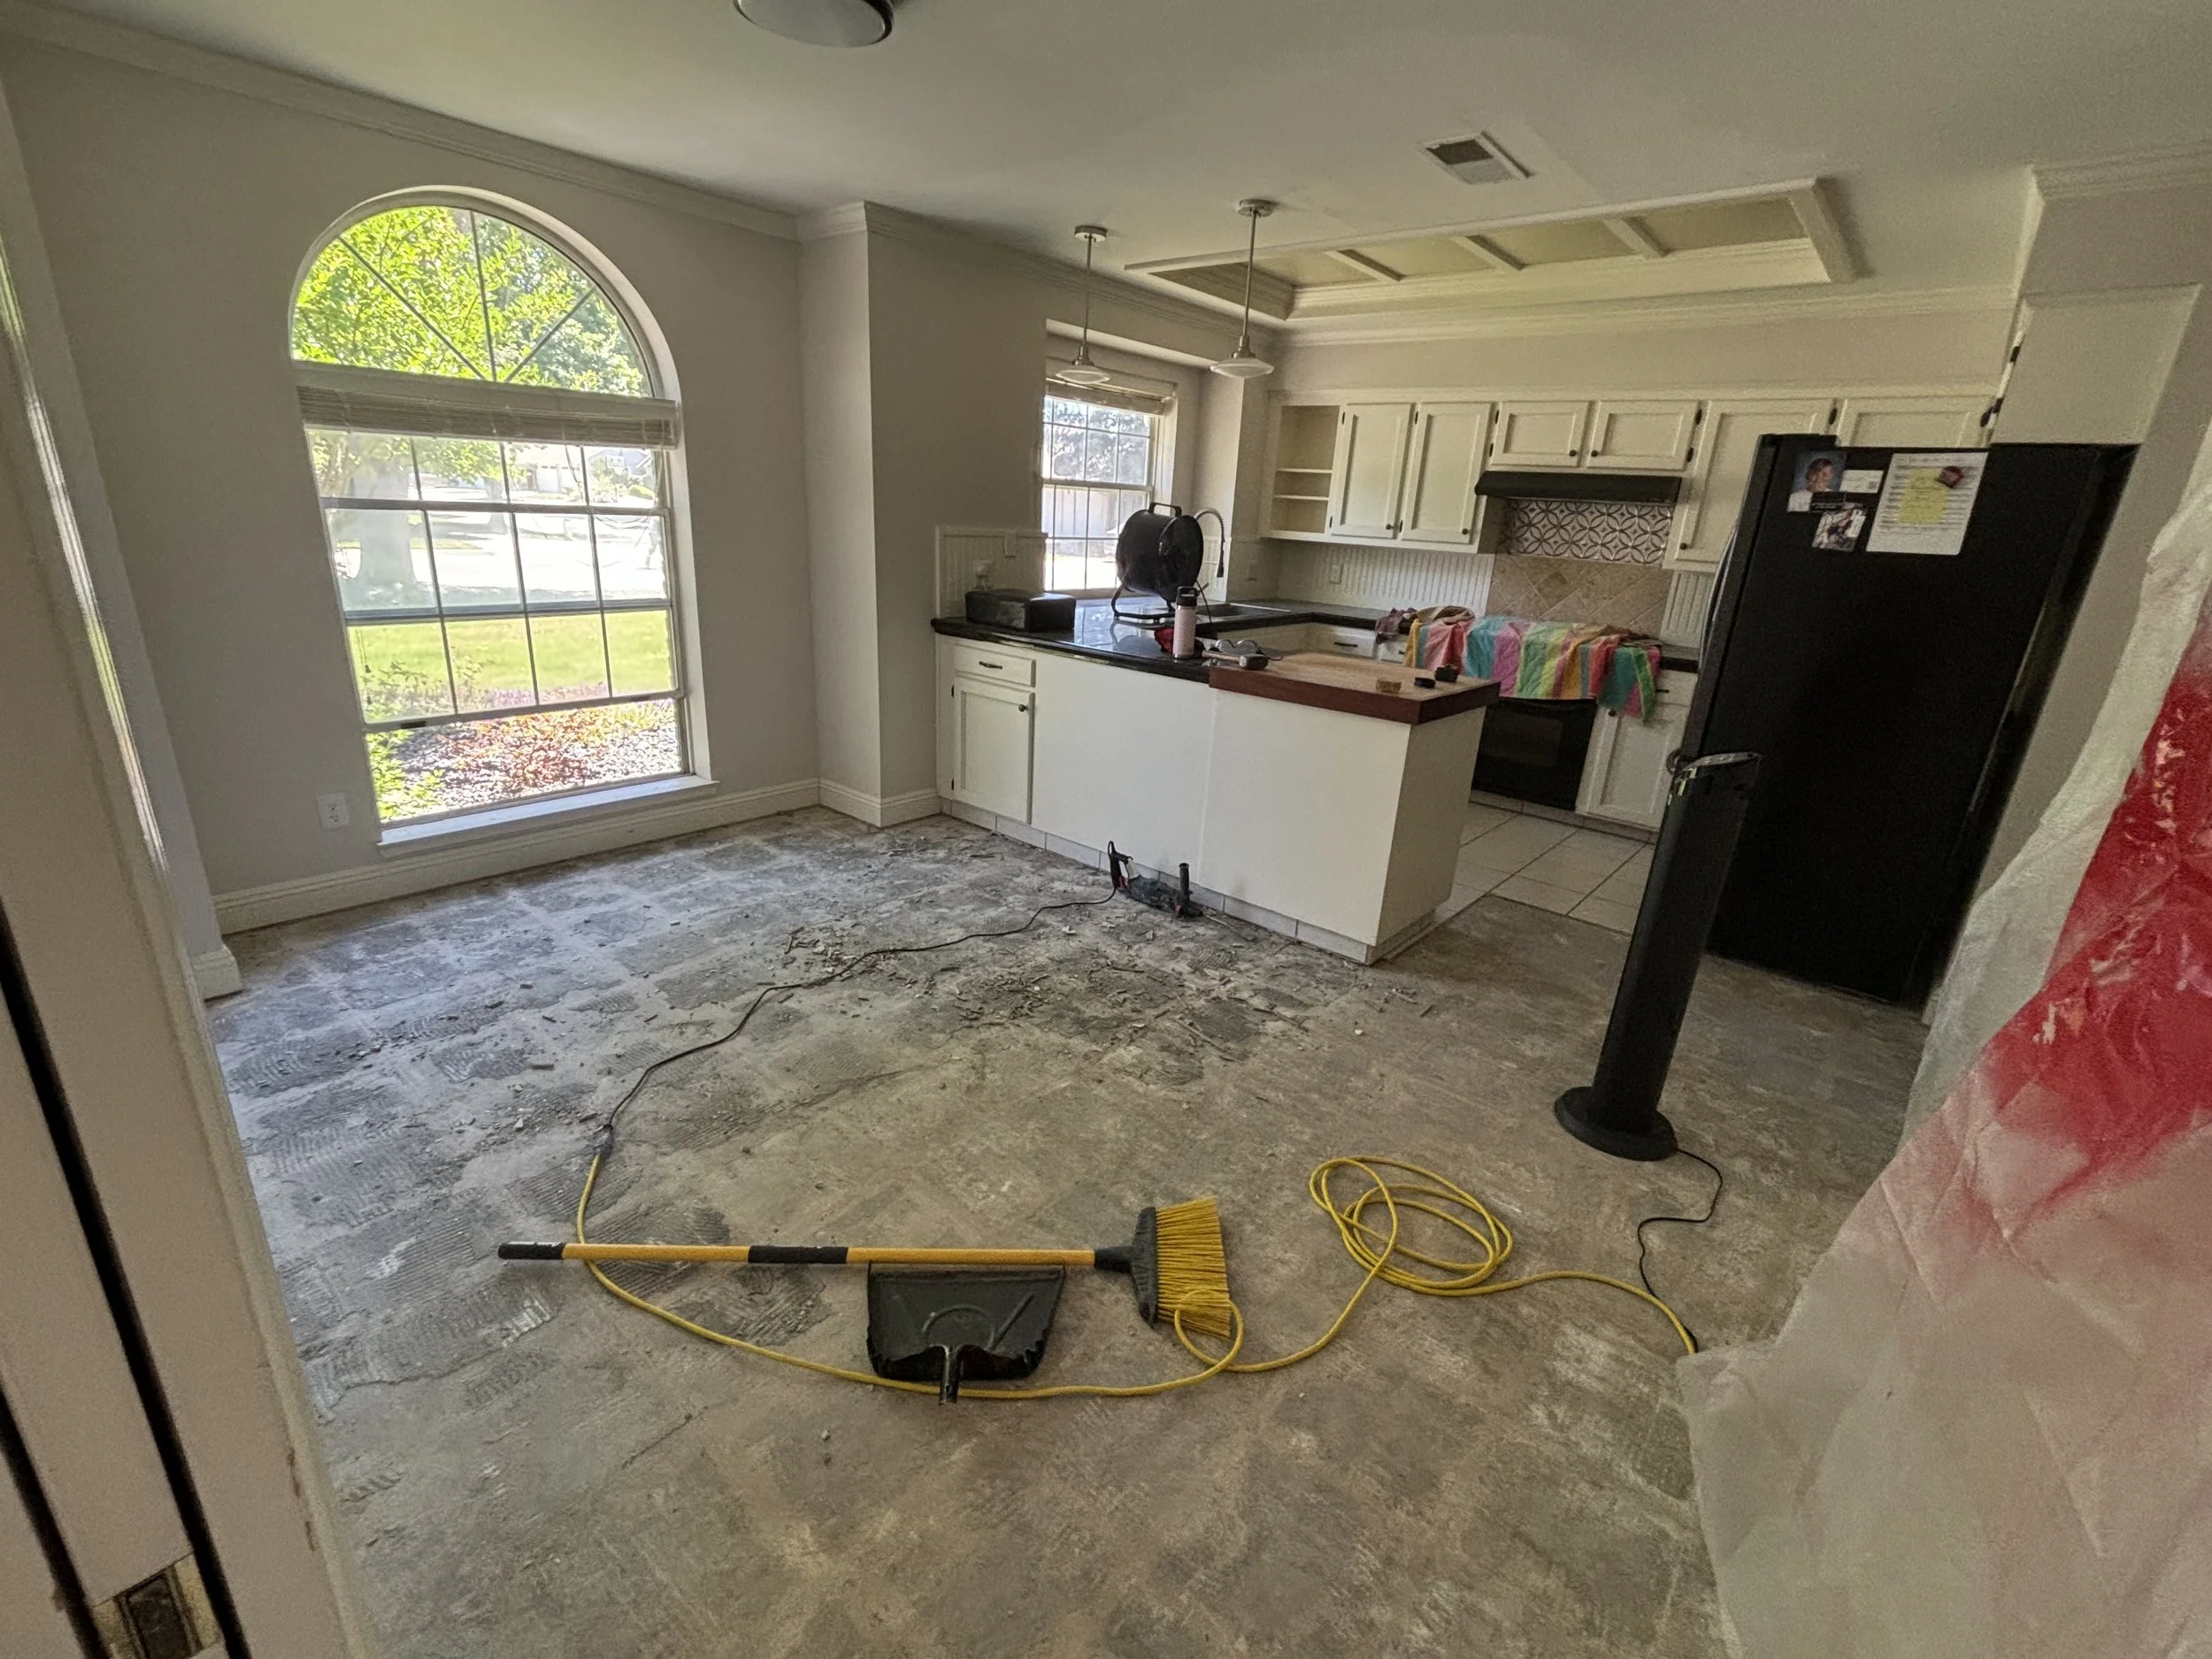
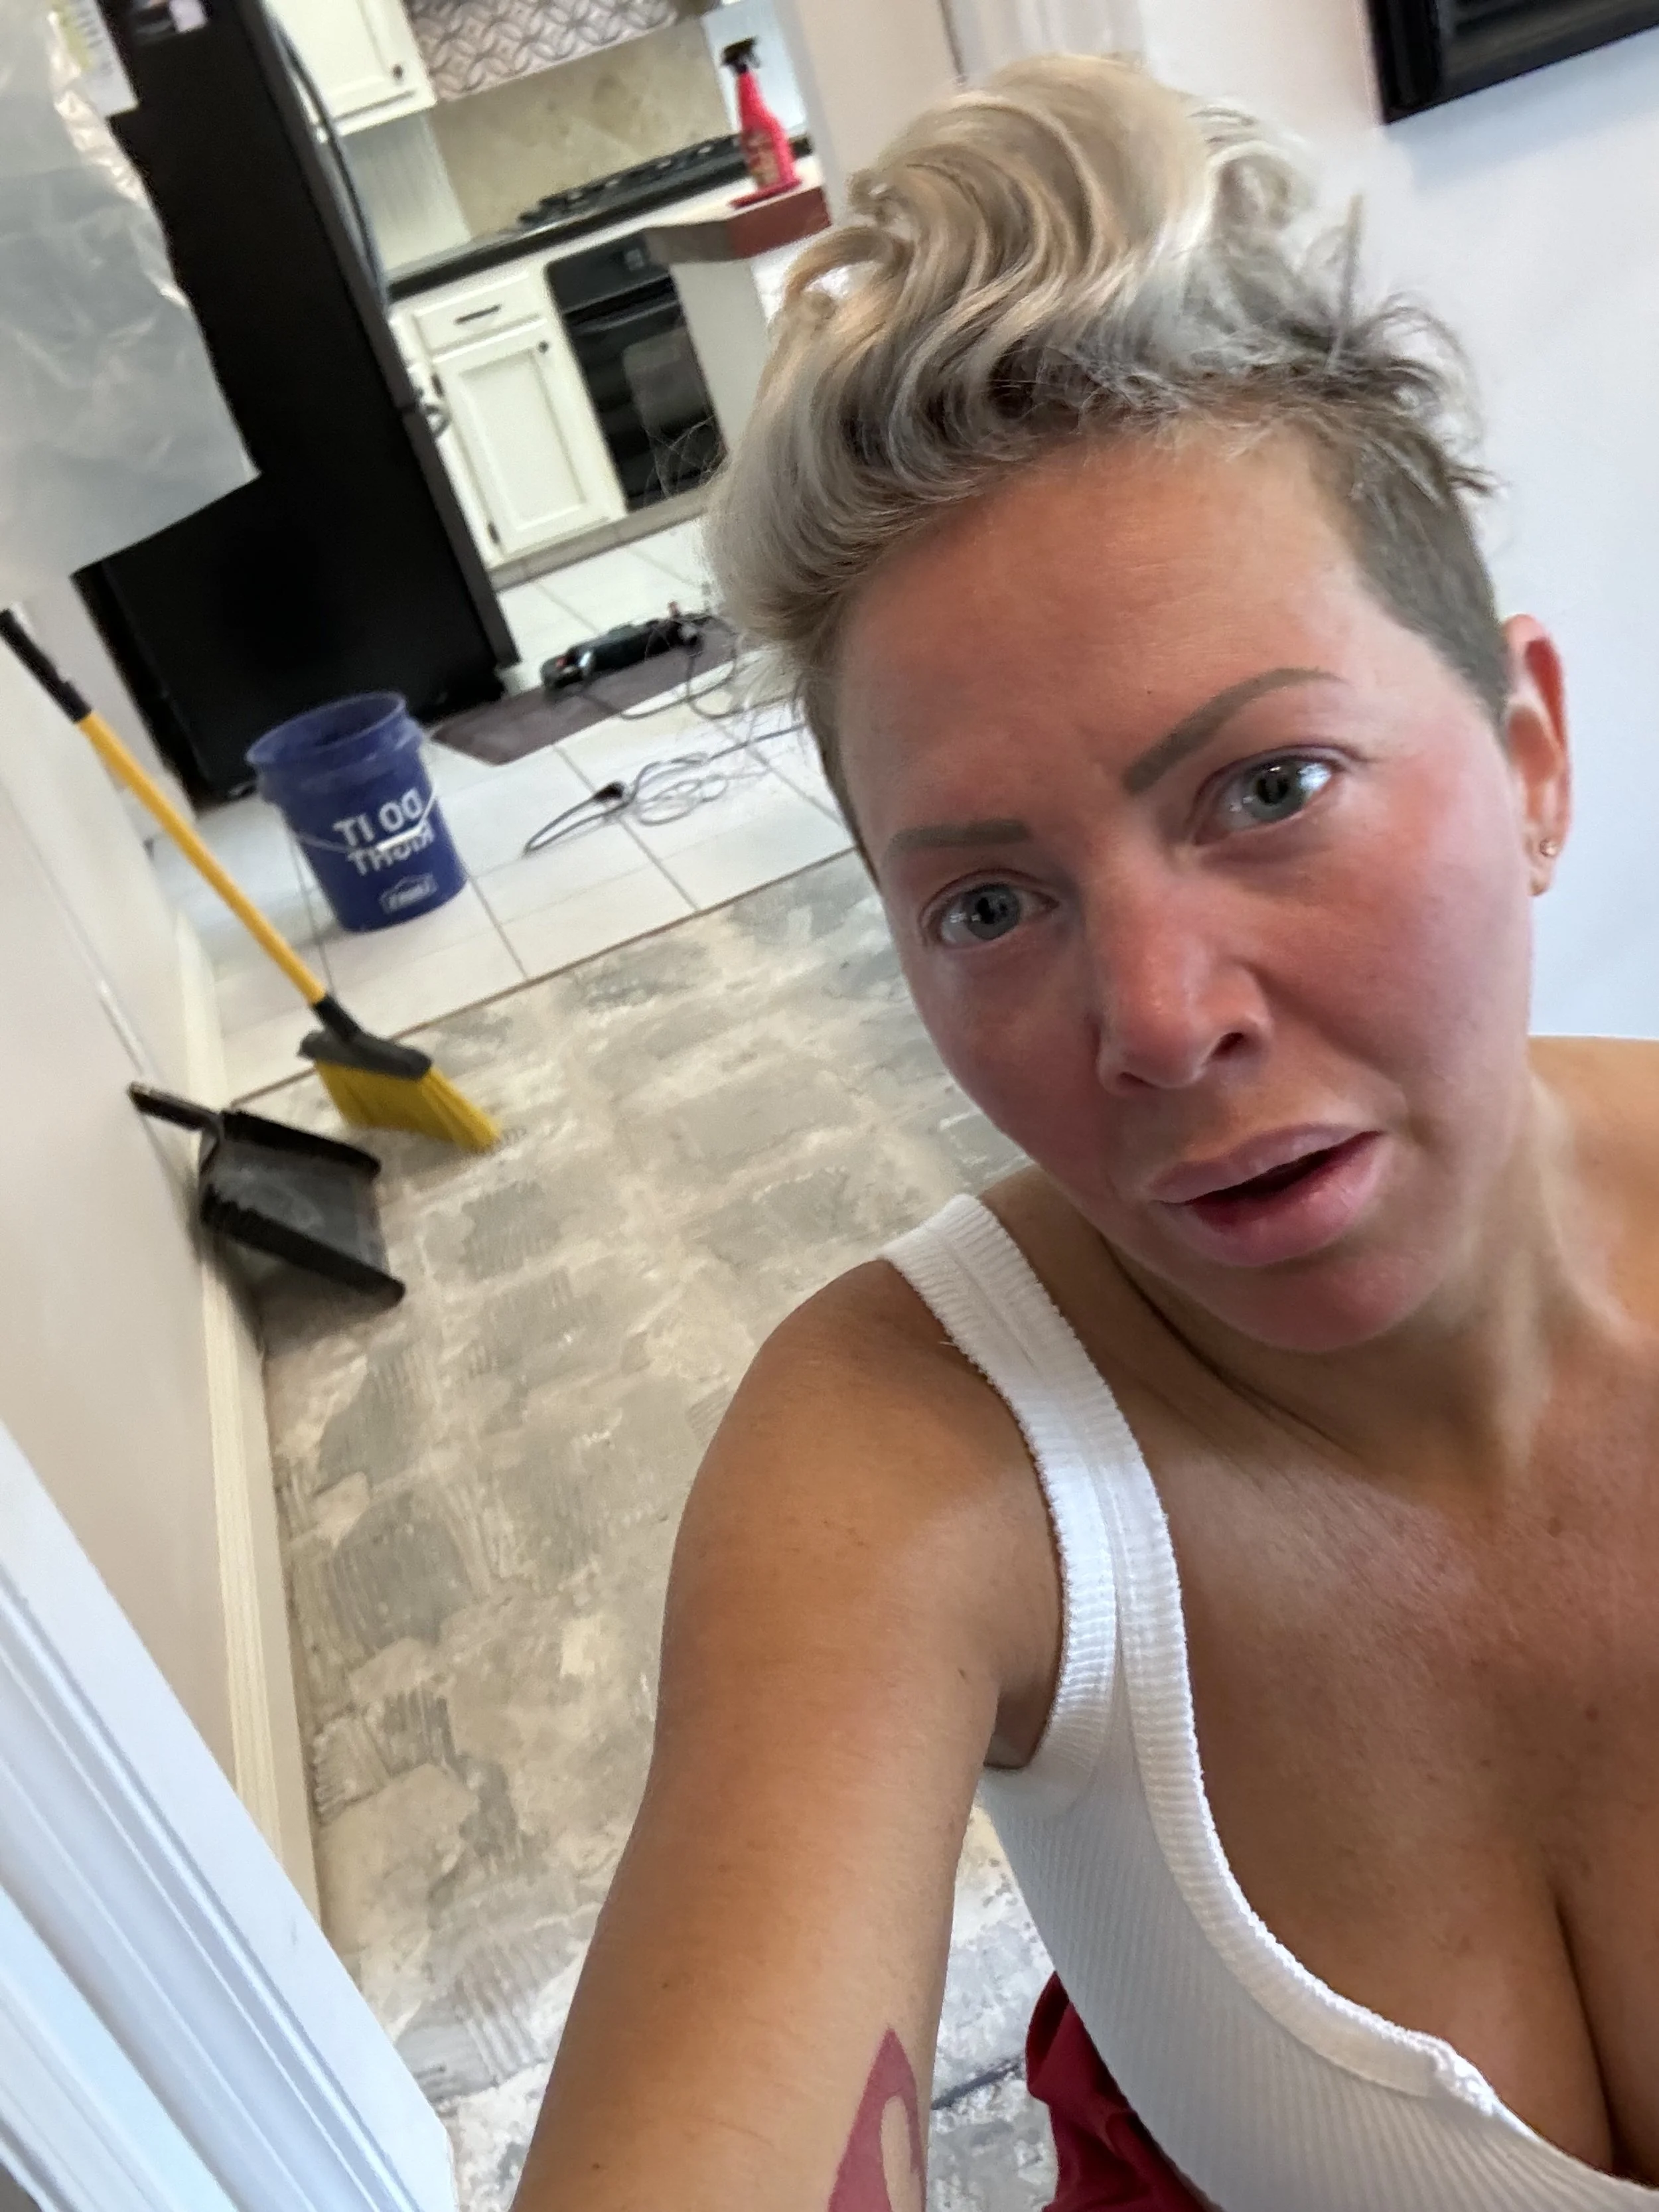
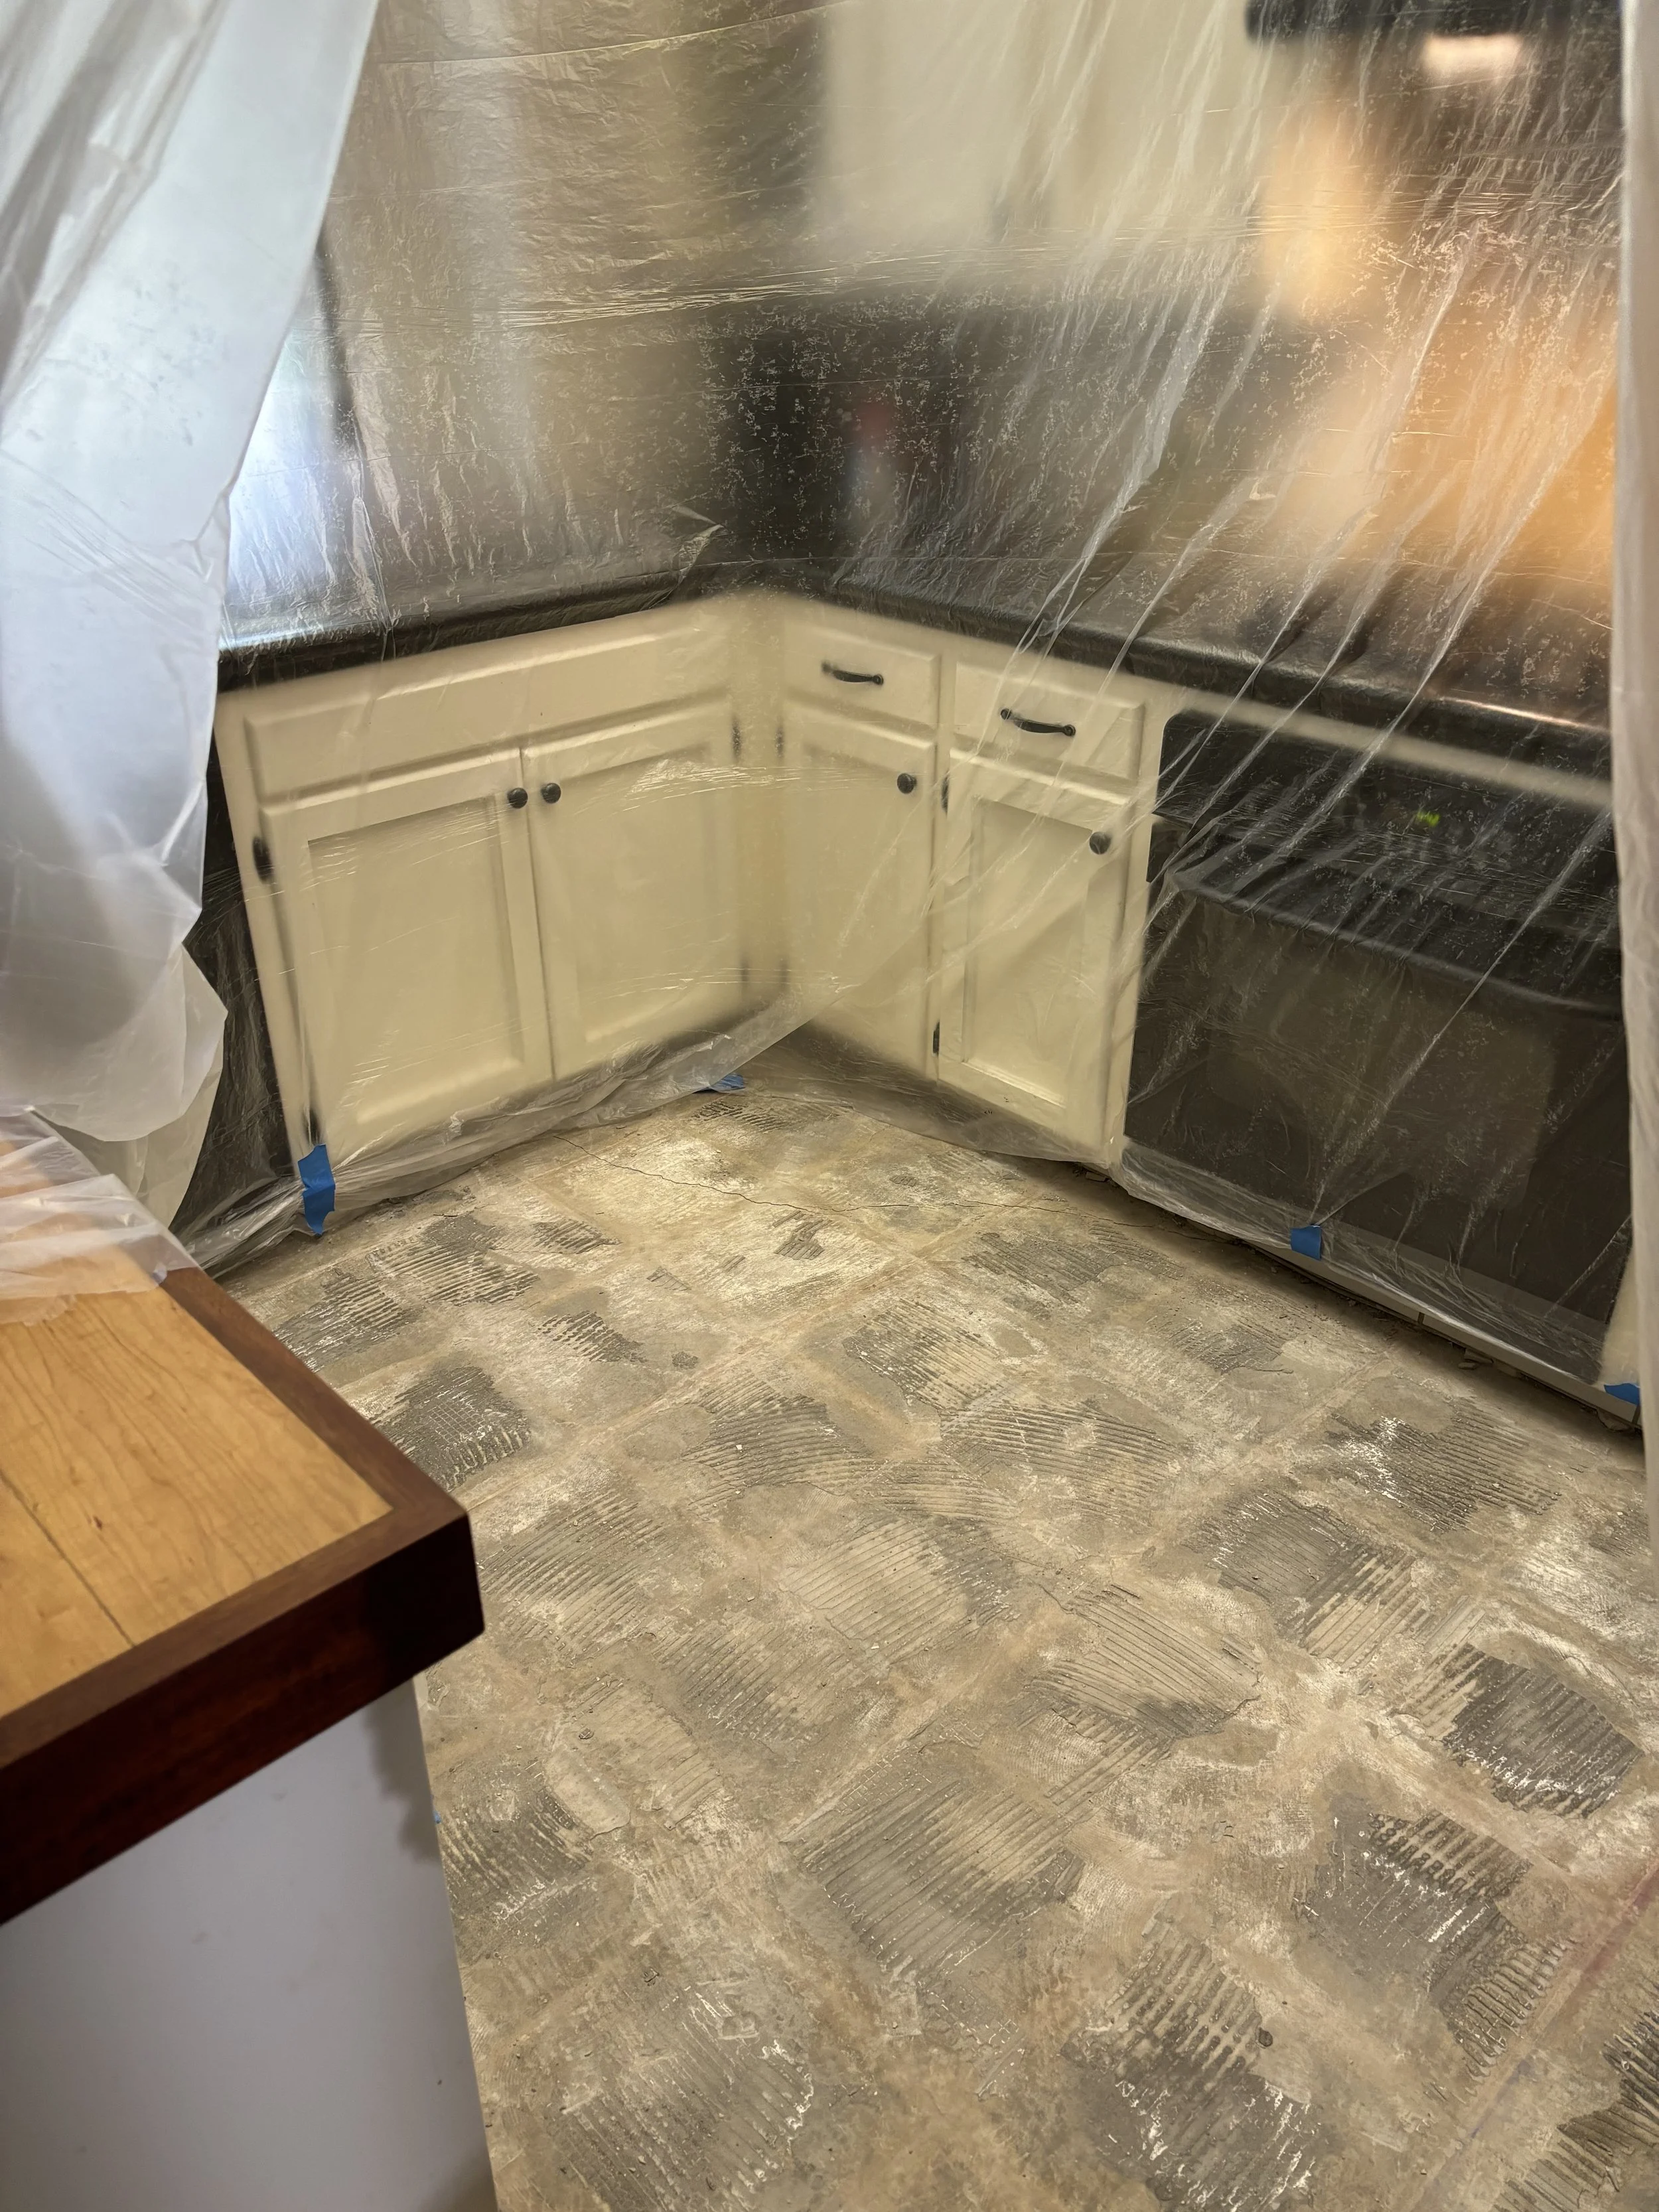
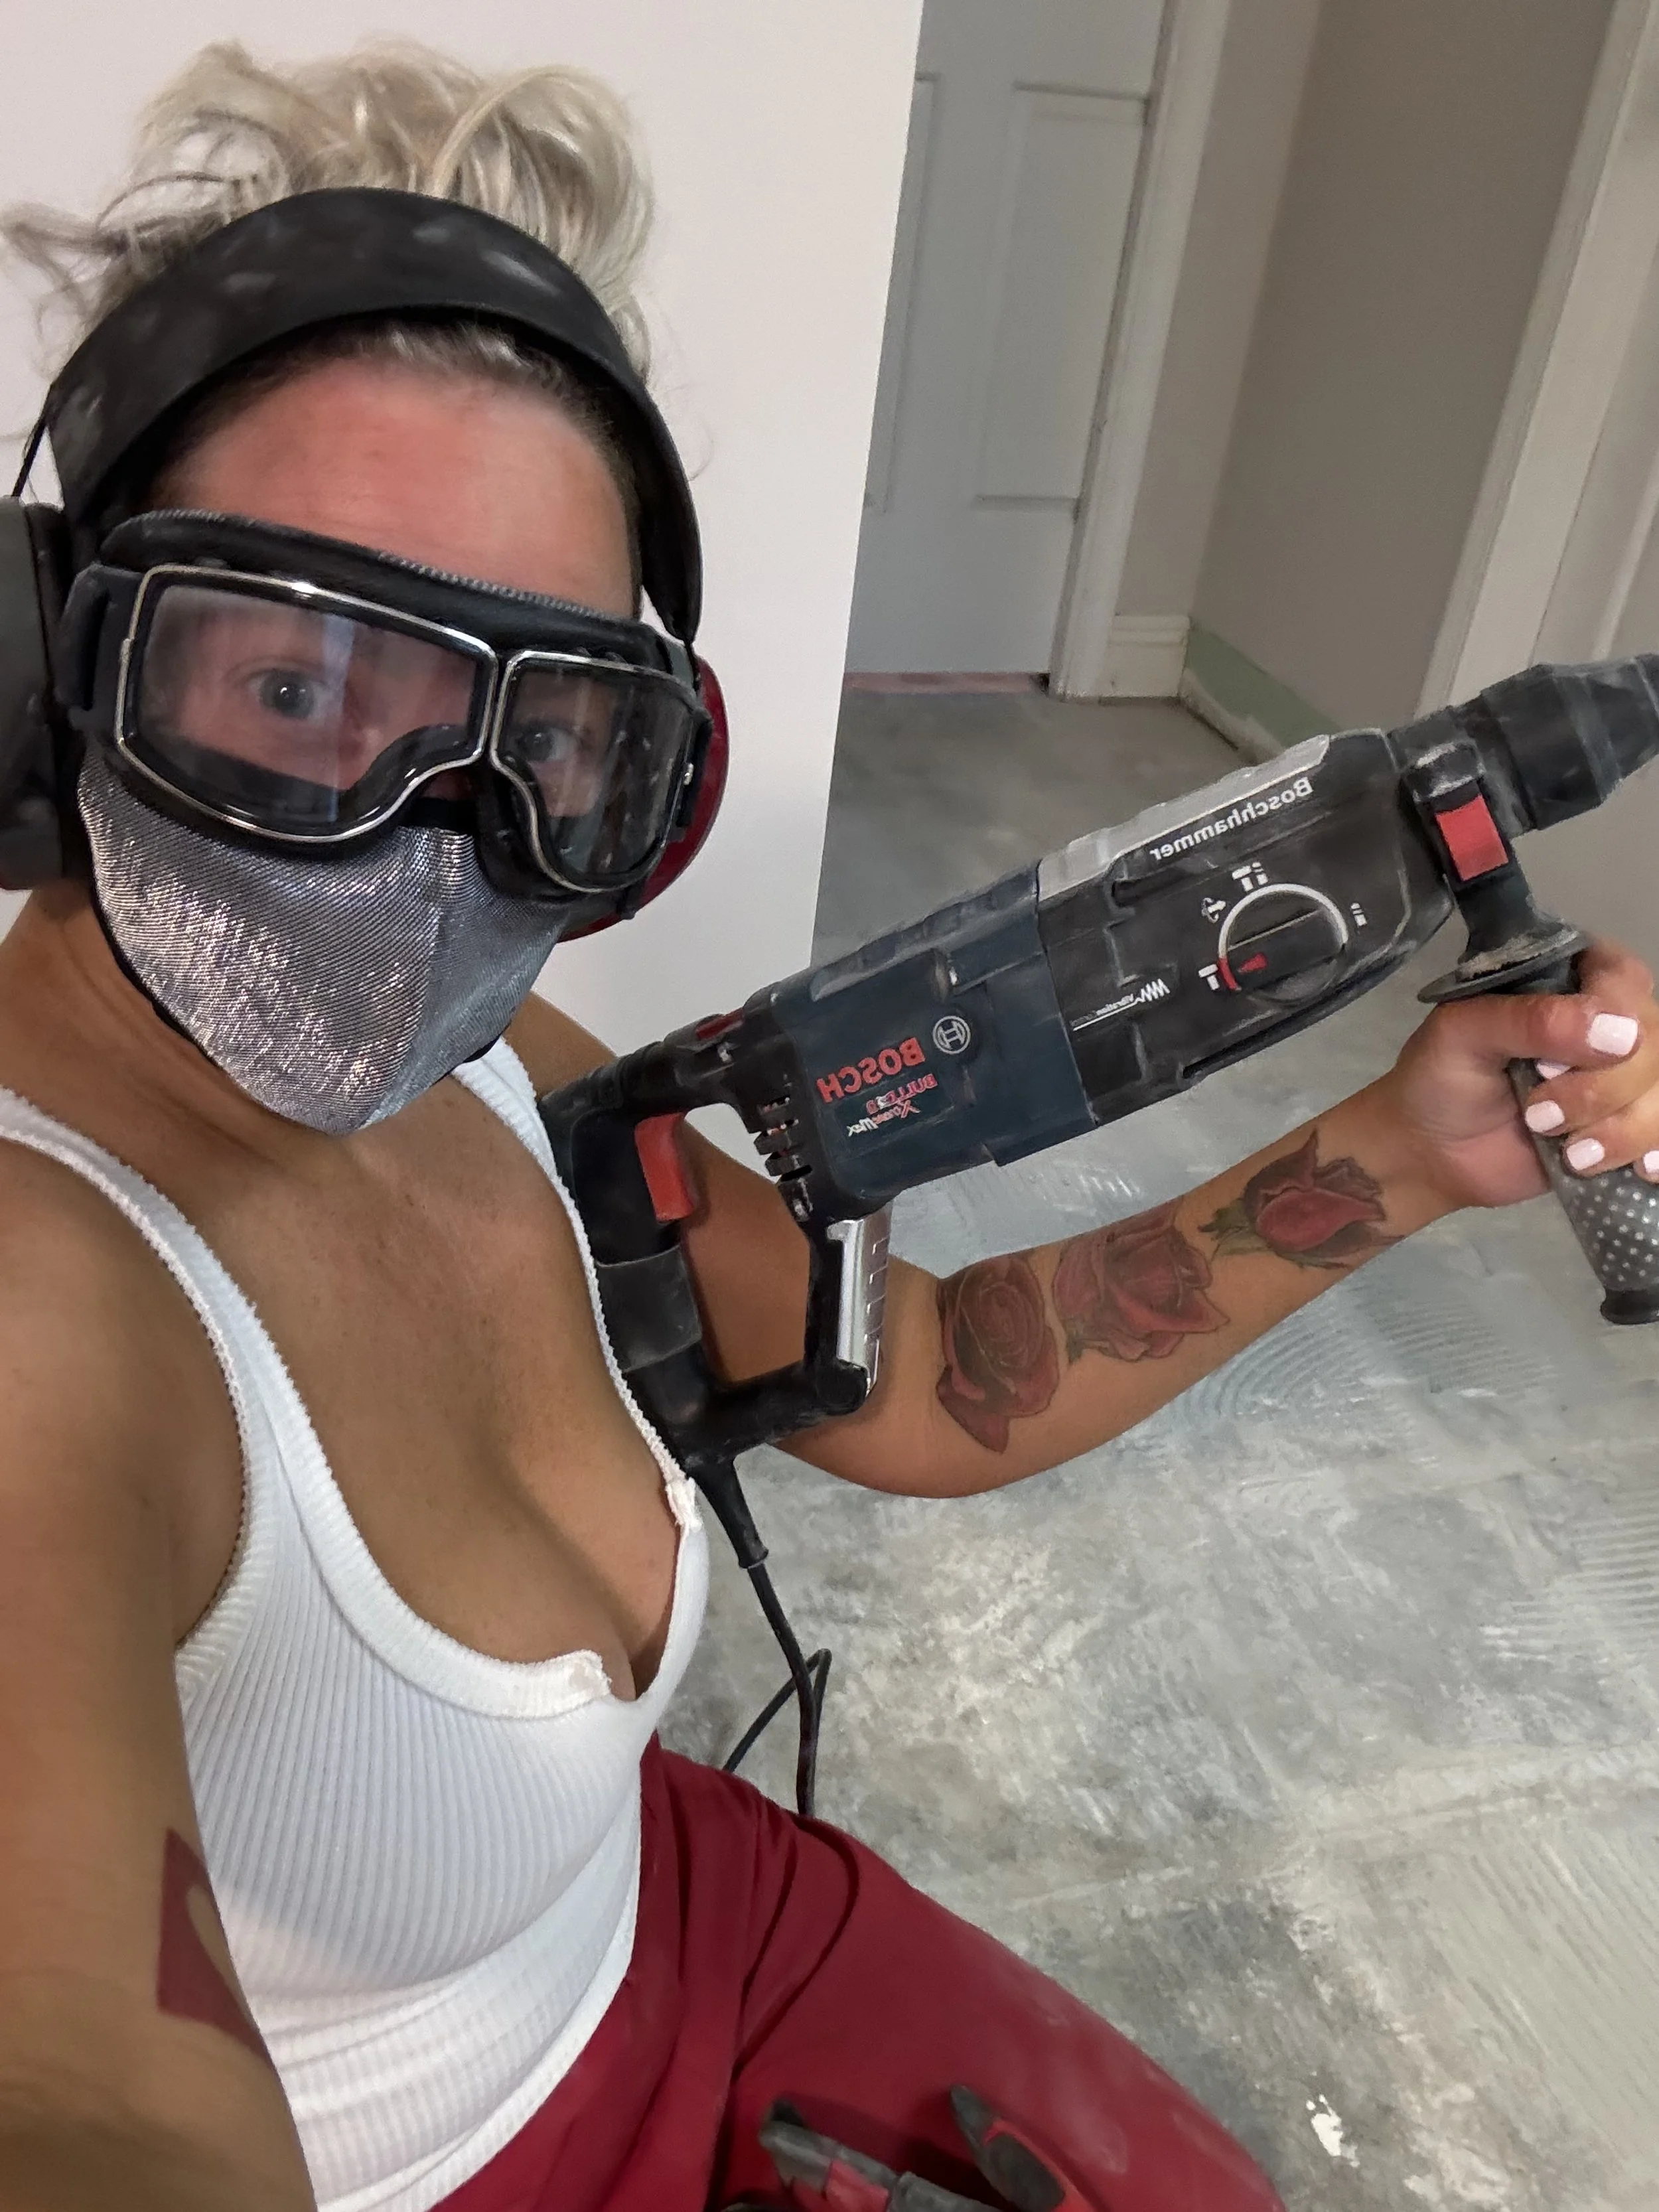
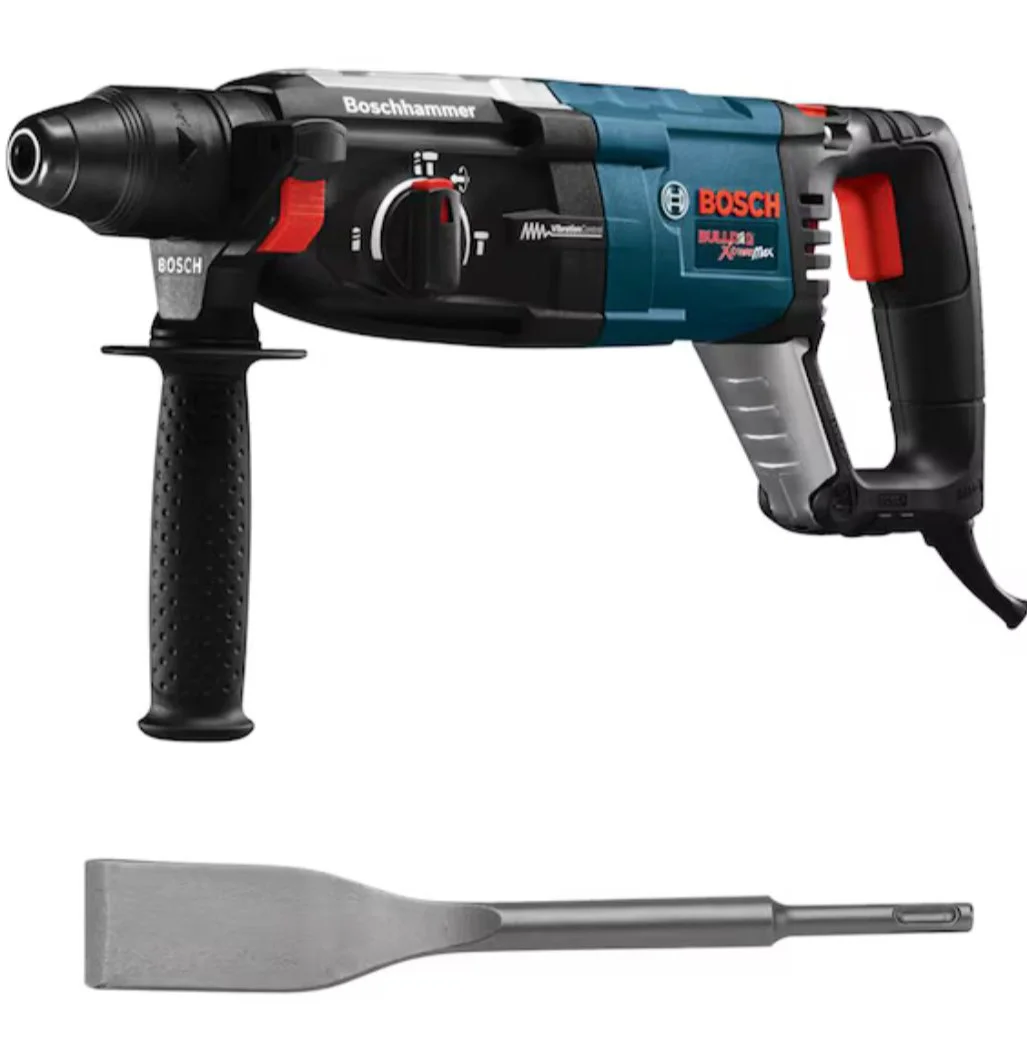
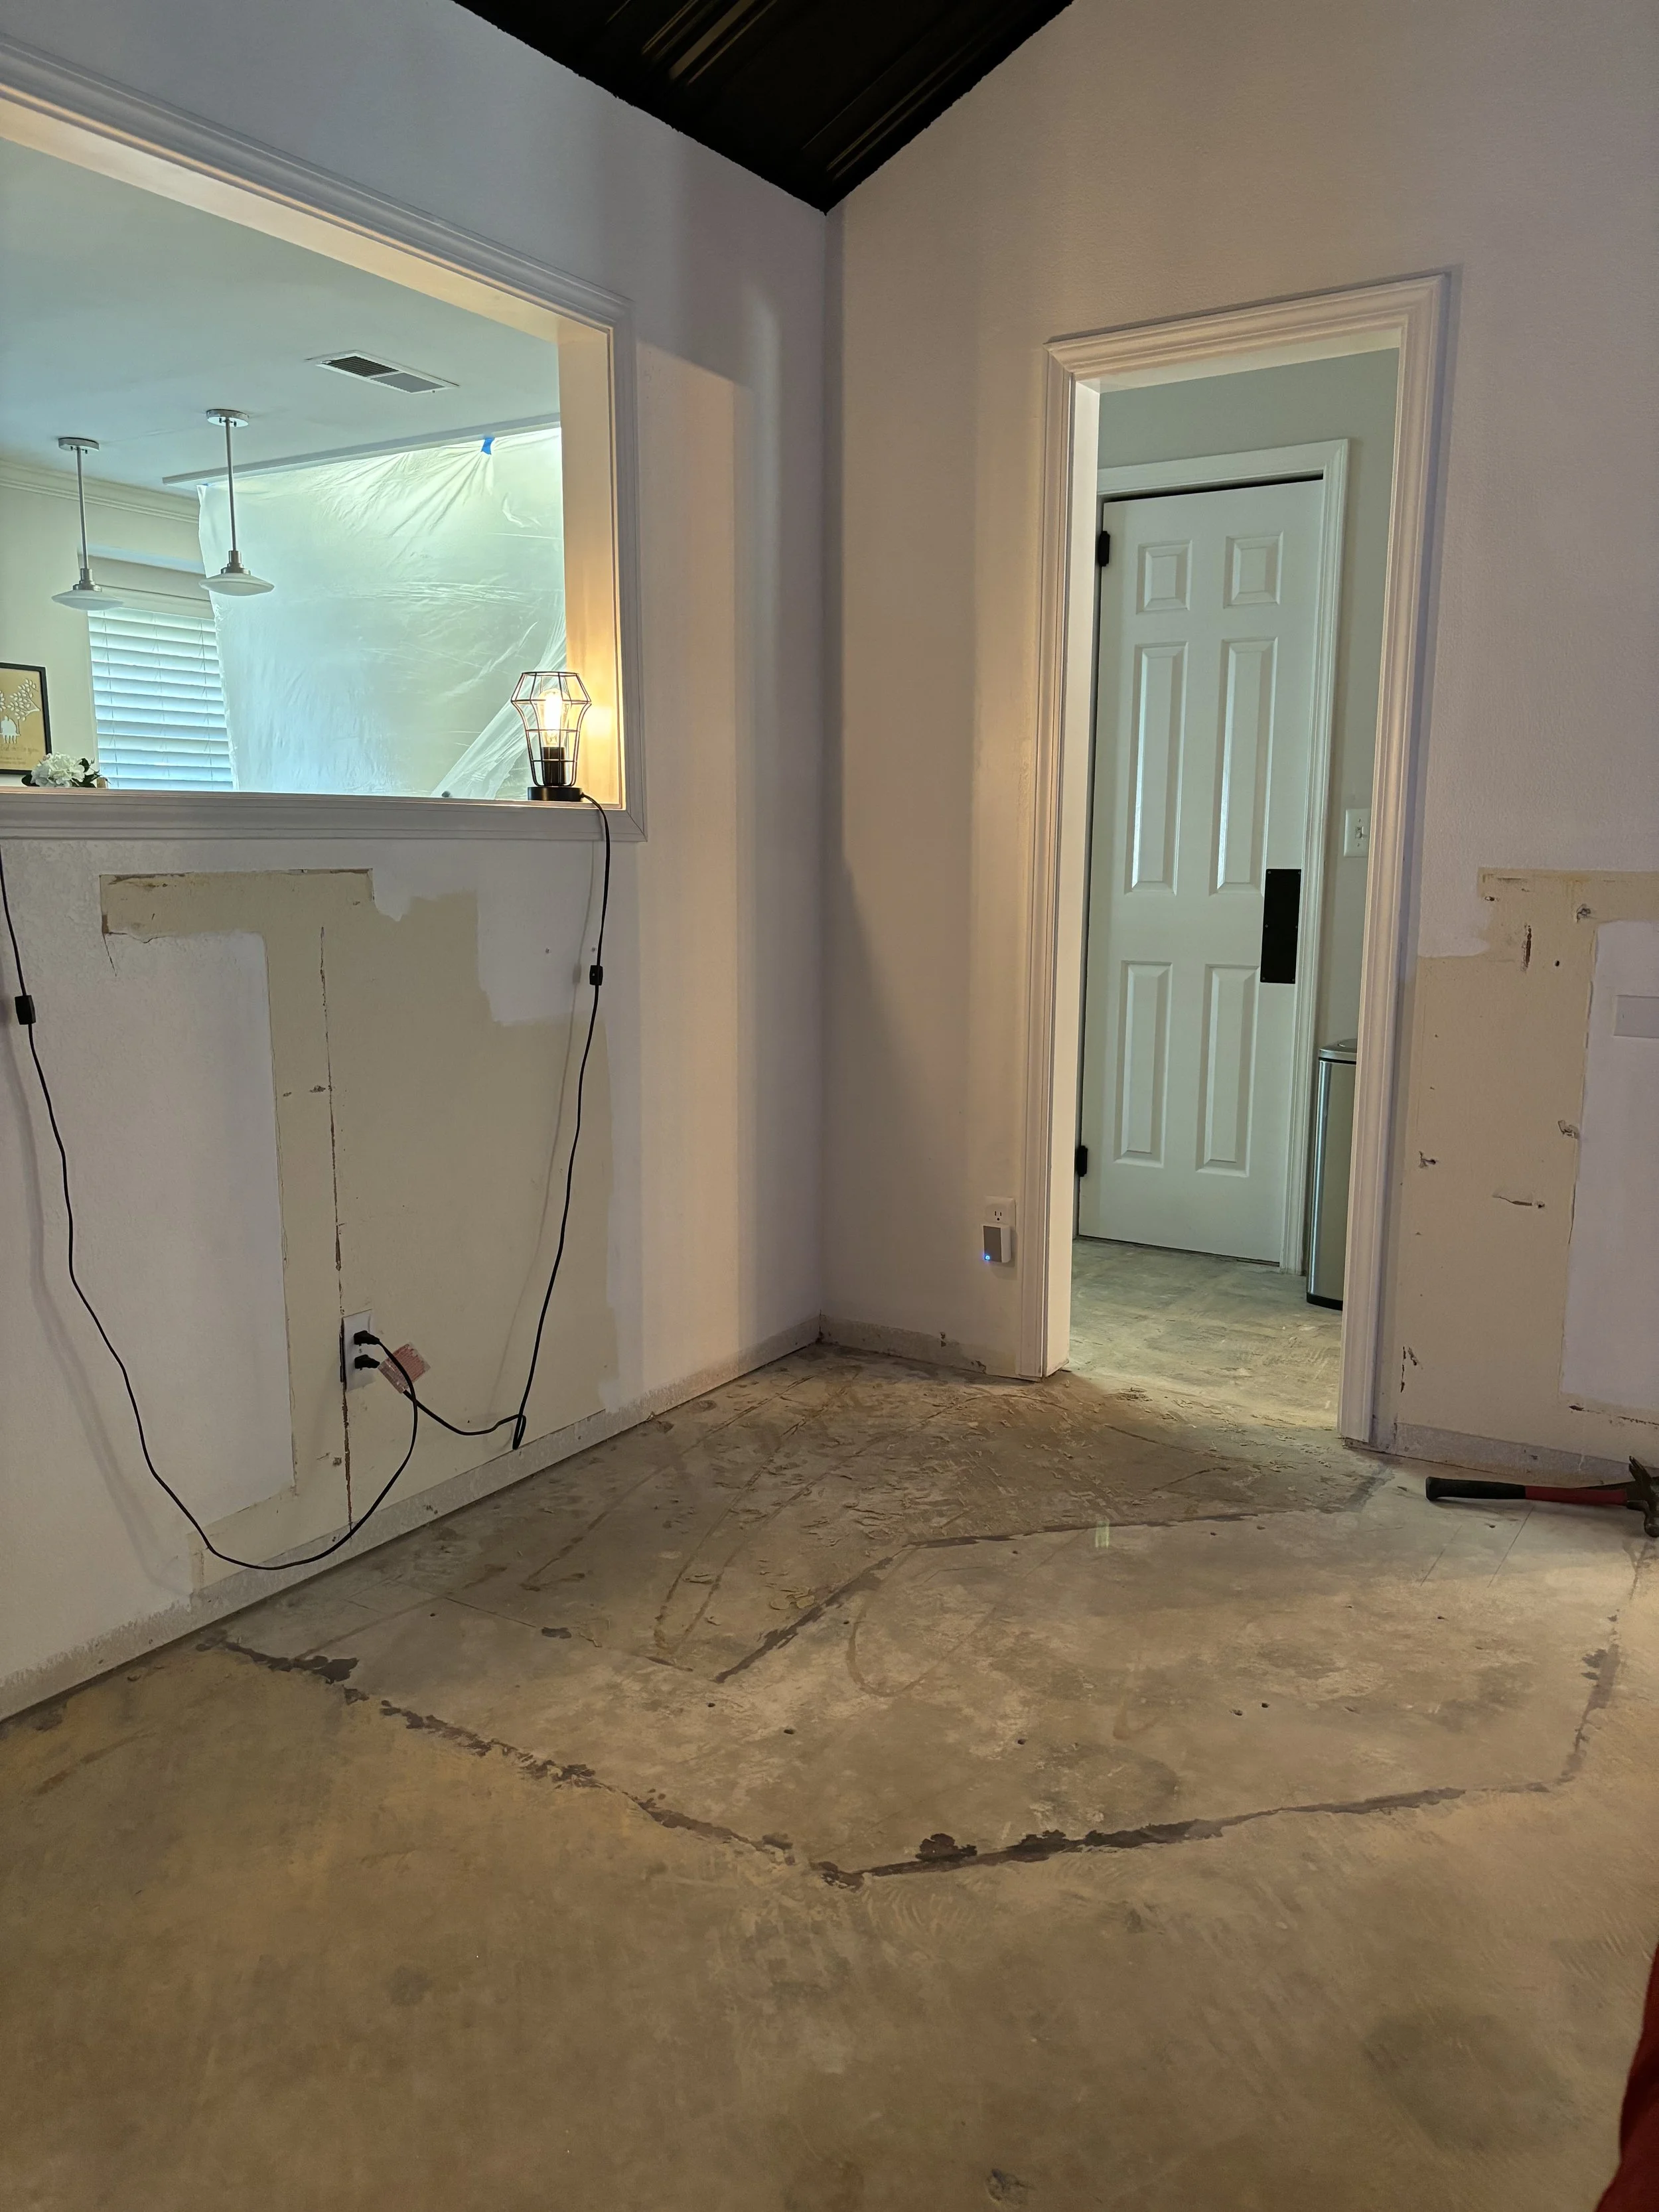
Kitchen Tile RemovalWhen we decided to remove the dated white kitchen tile, I didn’t realize how much time and effort the process would take. Initially, I thought the use of brute force with a sledgehammer and pry bar would be sufficient, after all it worked for the laundry room. Boy, was I wrong! Enter the Bosch Hammer Drill! Even with the hammer drill this was a project that took muscle. I’m glad the tile is out but for those looking to remove tile yourself, know you’re in for a few days of pain in muscles you likely didn’t know you had. I should also mention this process creates micro dust that gets everywhere so have a large fan to help suck it out a window and put up plastic sheeting to save yourself the chore of dusting and washing every surface in your house! Fun stuff.
Products used:
Bosch corded rotary hammer drill
Total project time = 10 hours
Total project cost = $247.02
Vendor: Lowes
Click image below to see full product details.
Black Bricks + Front DOORProducts used:
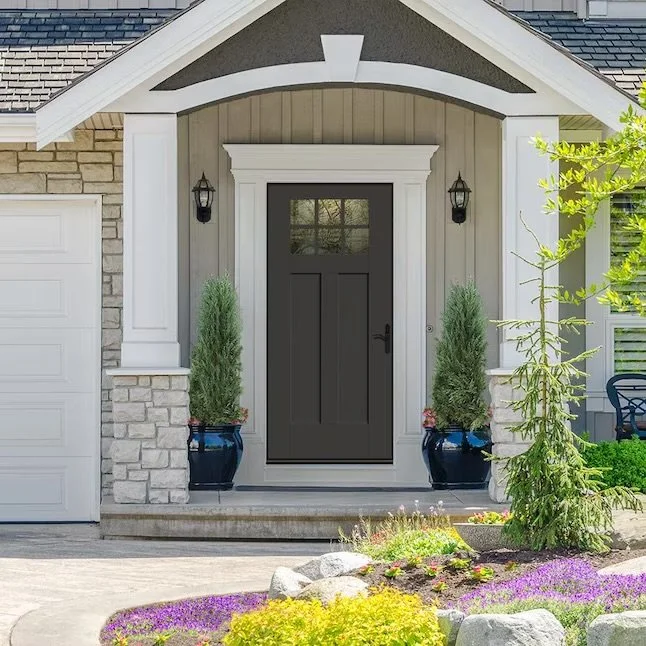
Craftsman Therma-Tru Fibergalss door (unpainted - we saved $800 by painting the door black ourselves!)
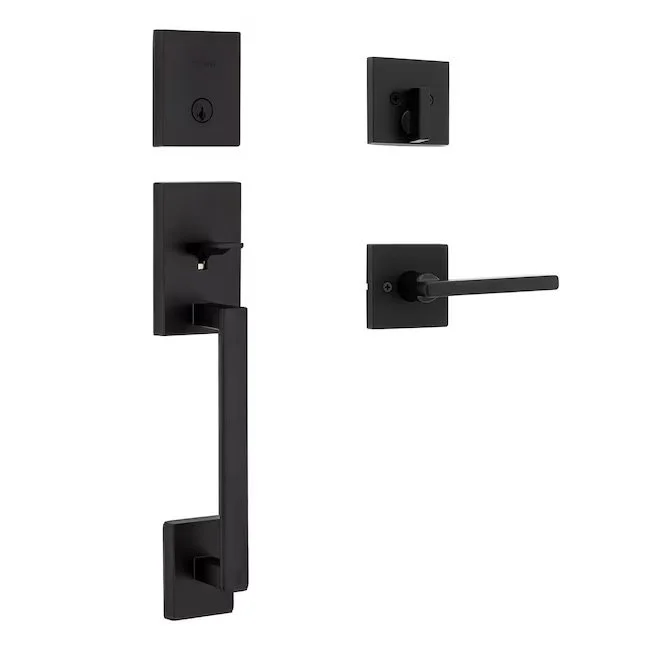
Kwikset matte black deadbolt handleset with lever and smartkey
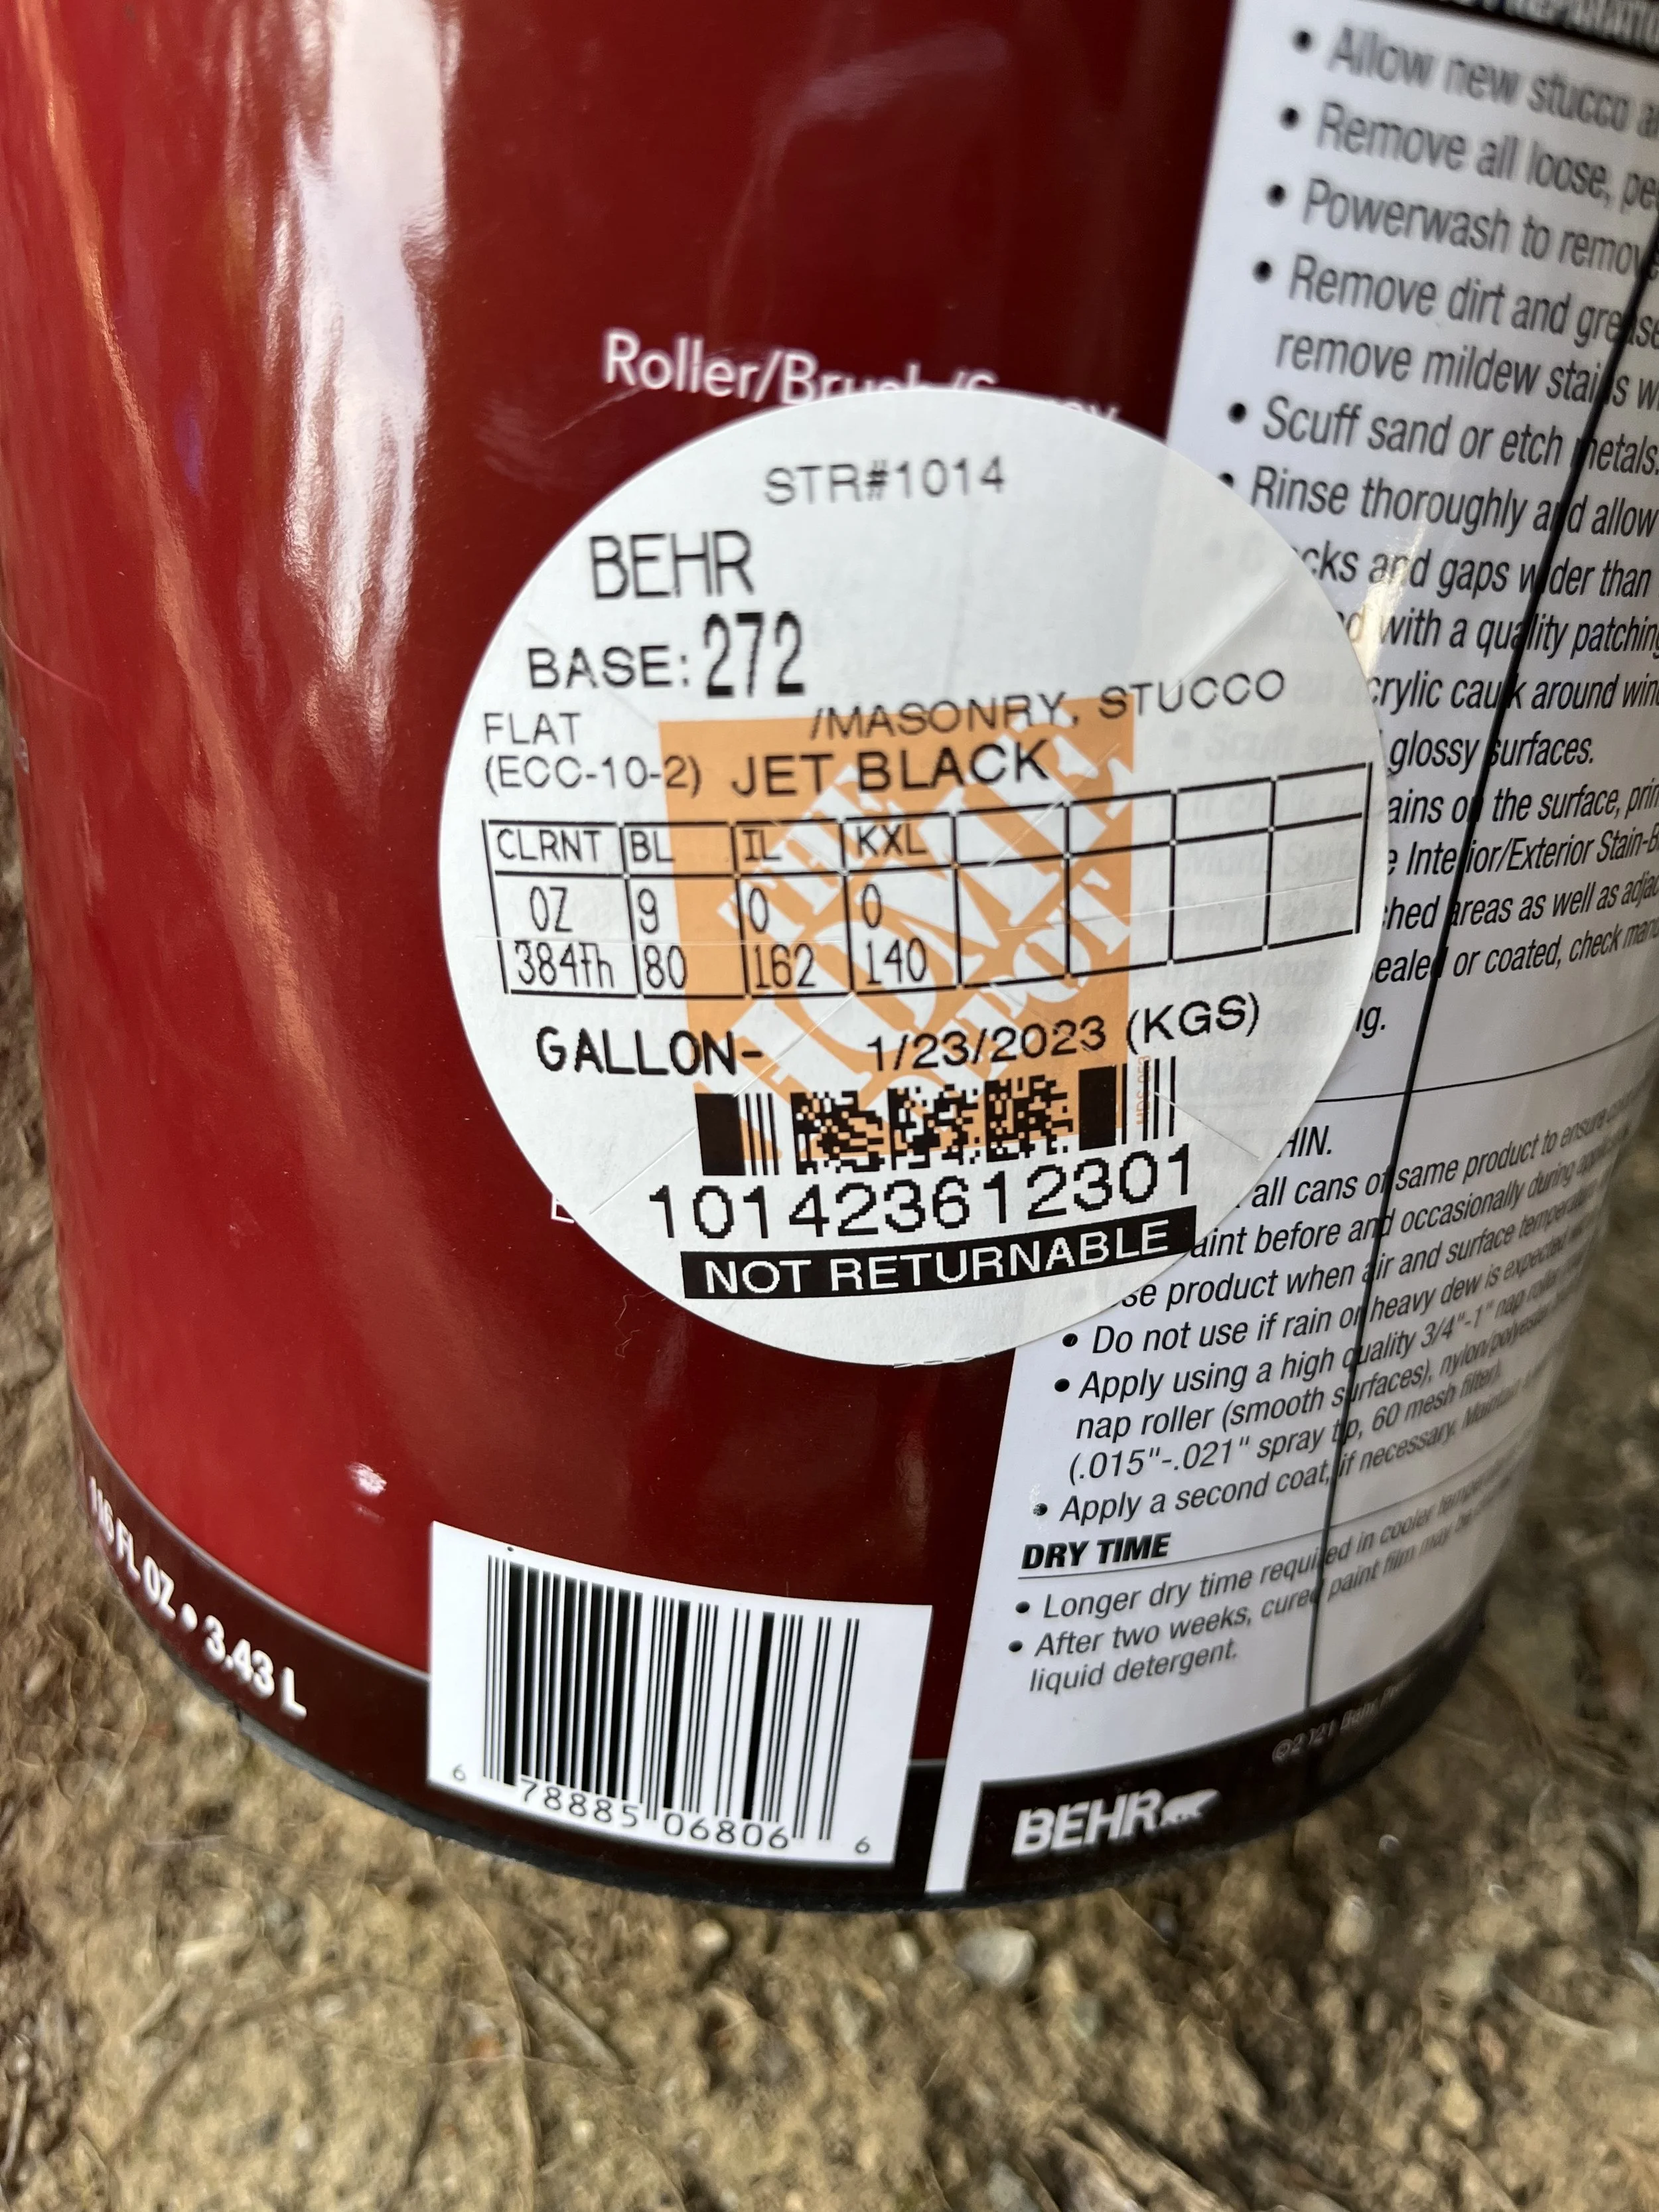
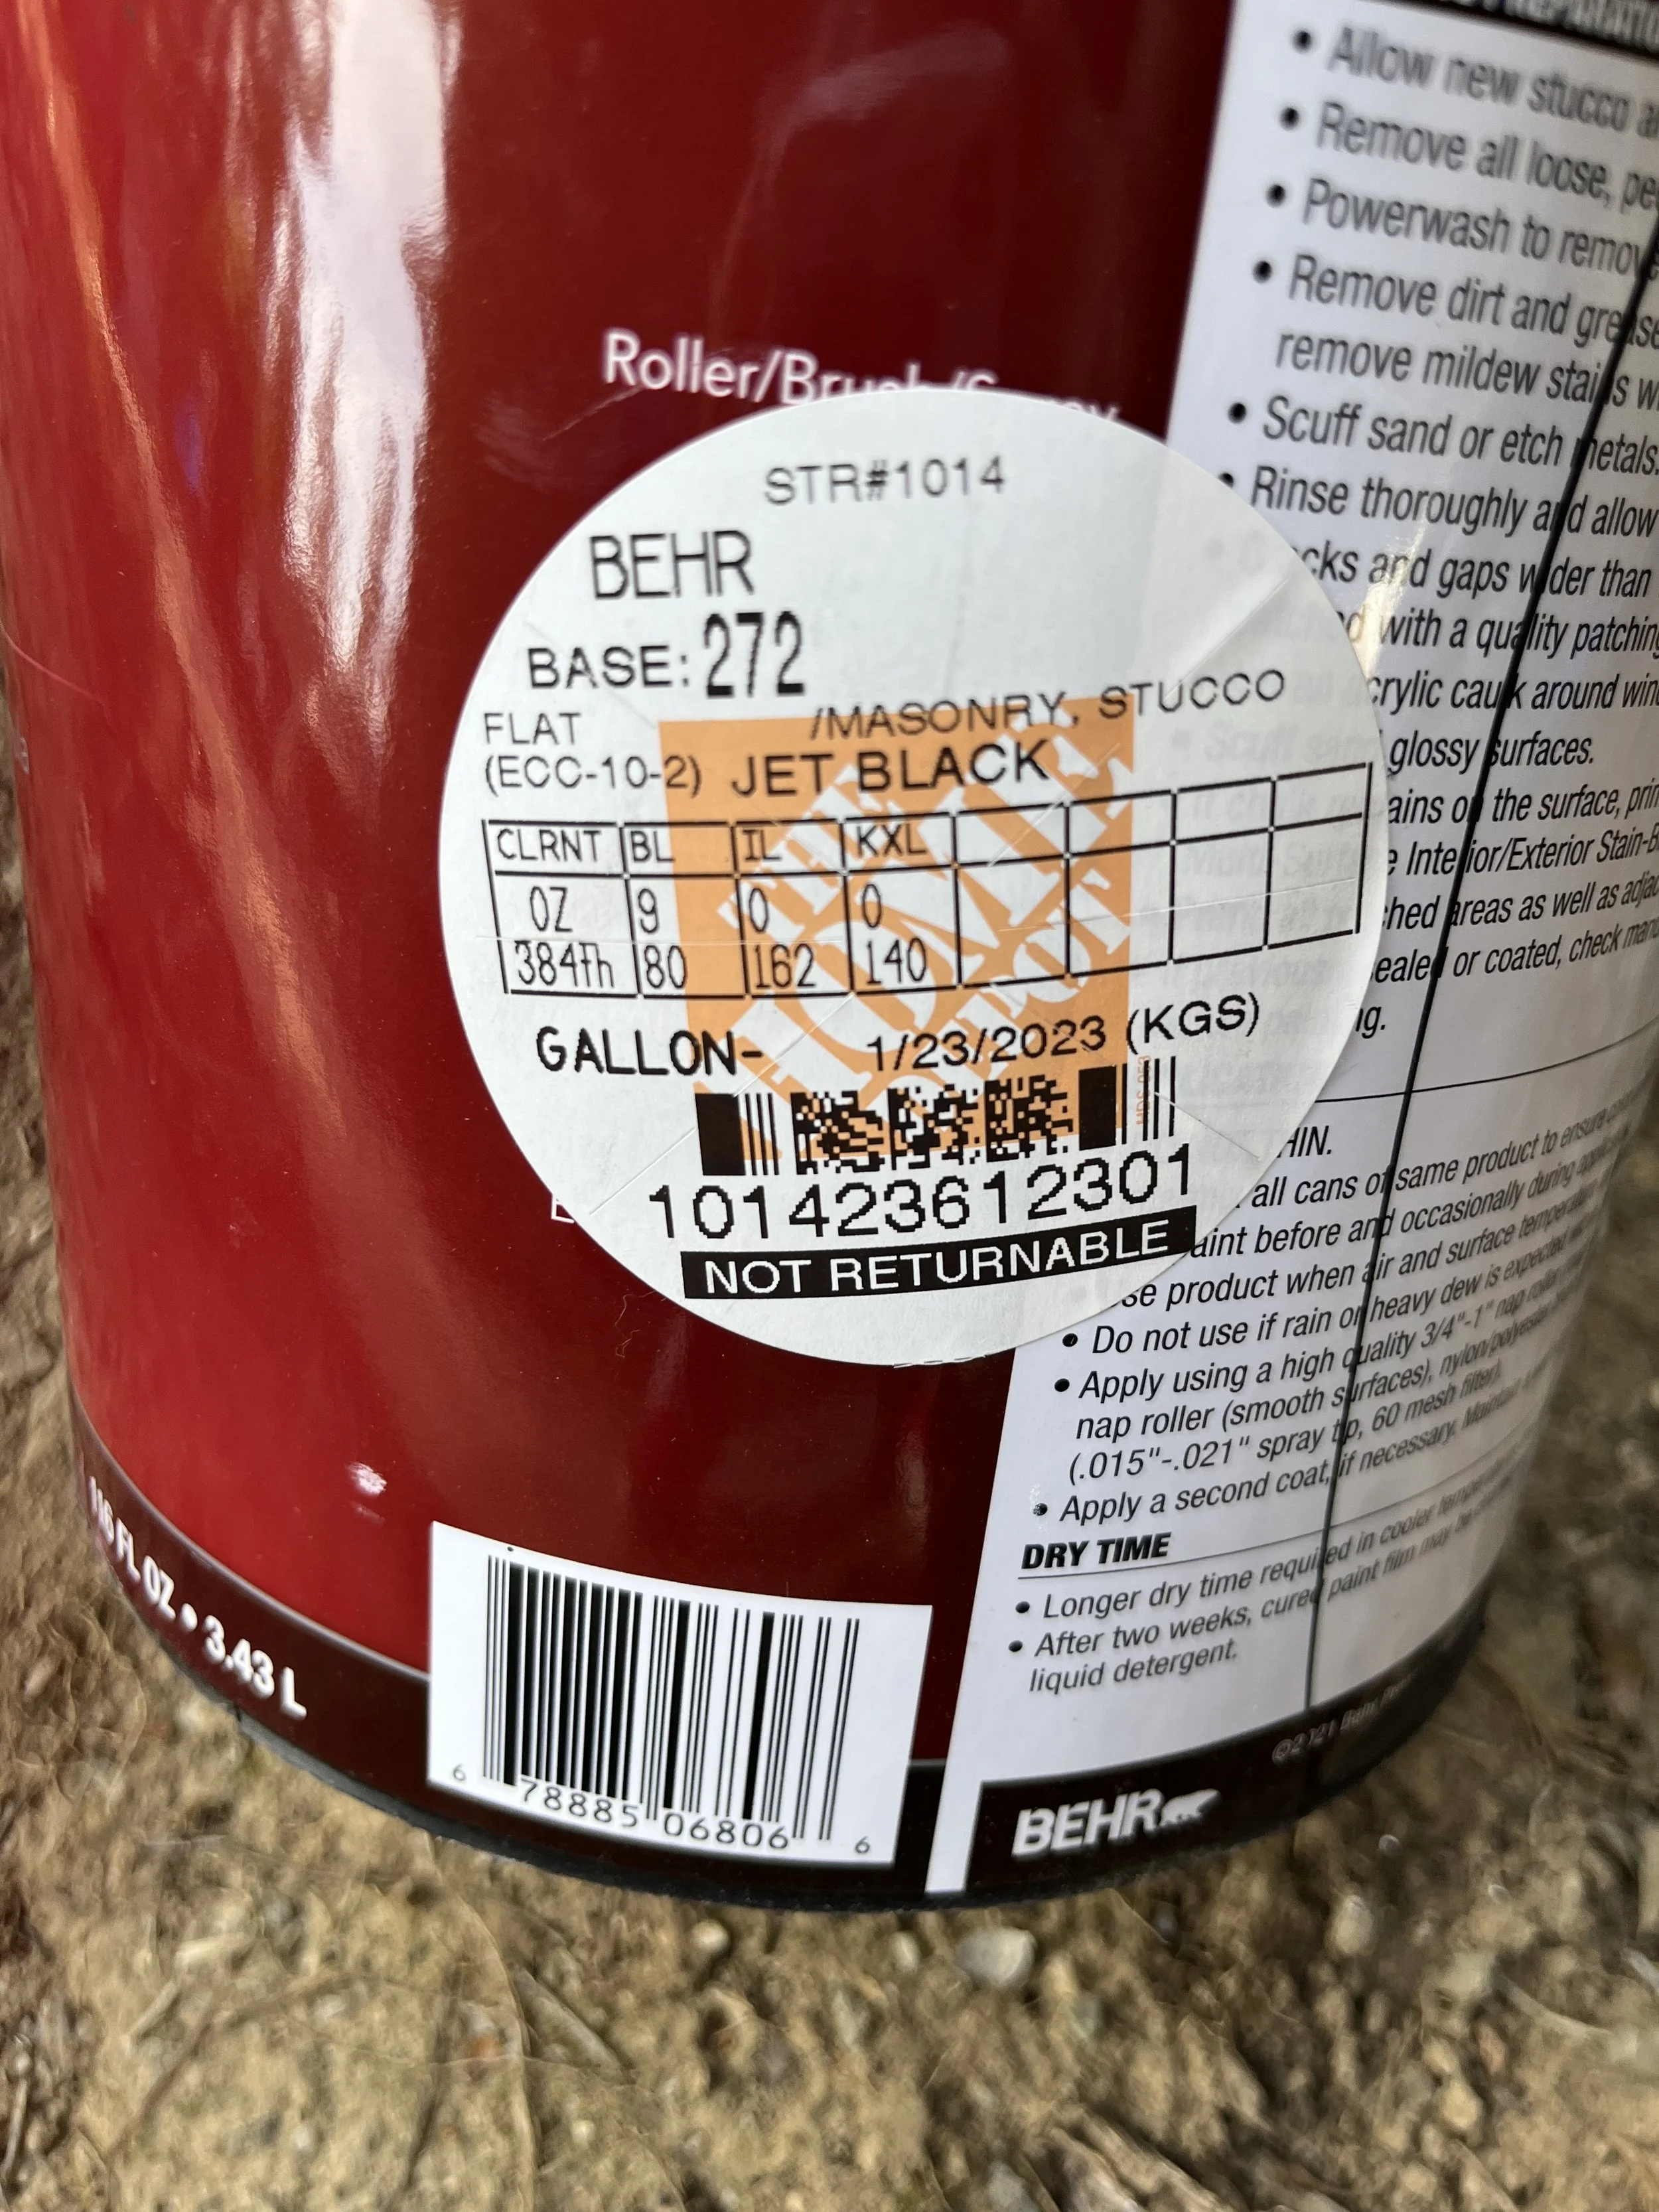
Behr masonry paint: Flat - Jet Black
Total project time = 12 hours
Total project cost = $968.11
Vendor: Lowes + The Home Depot
Click product images below to see full details.
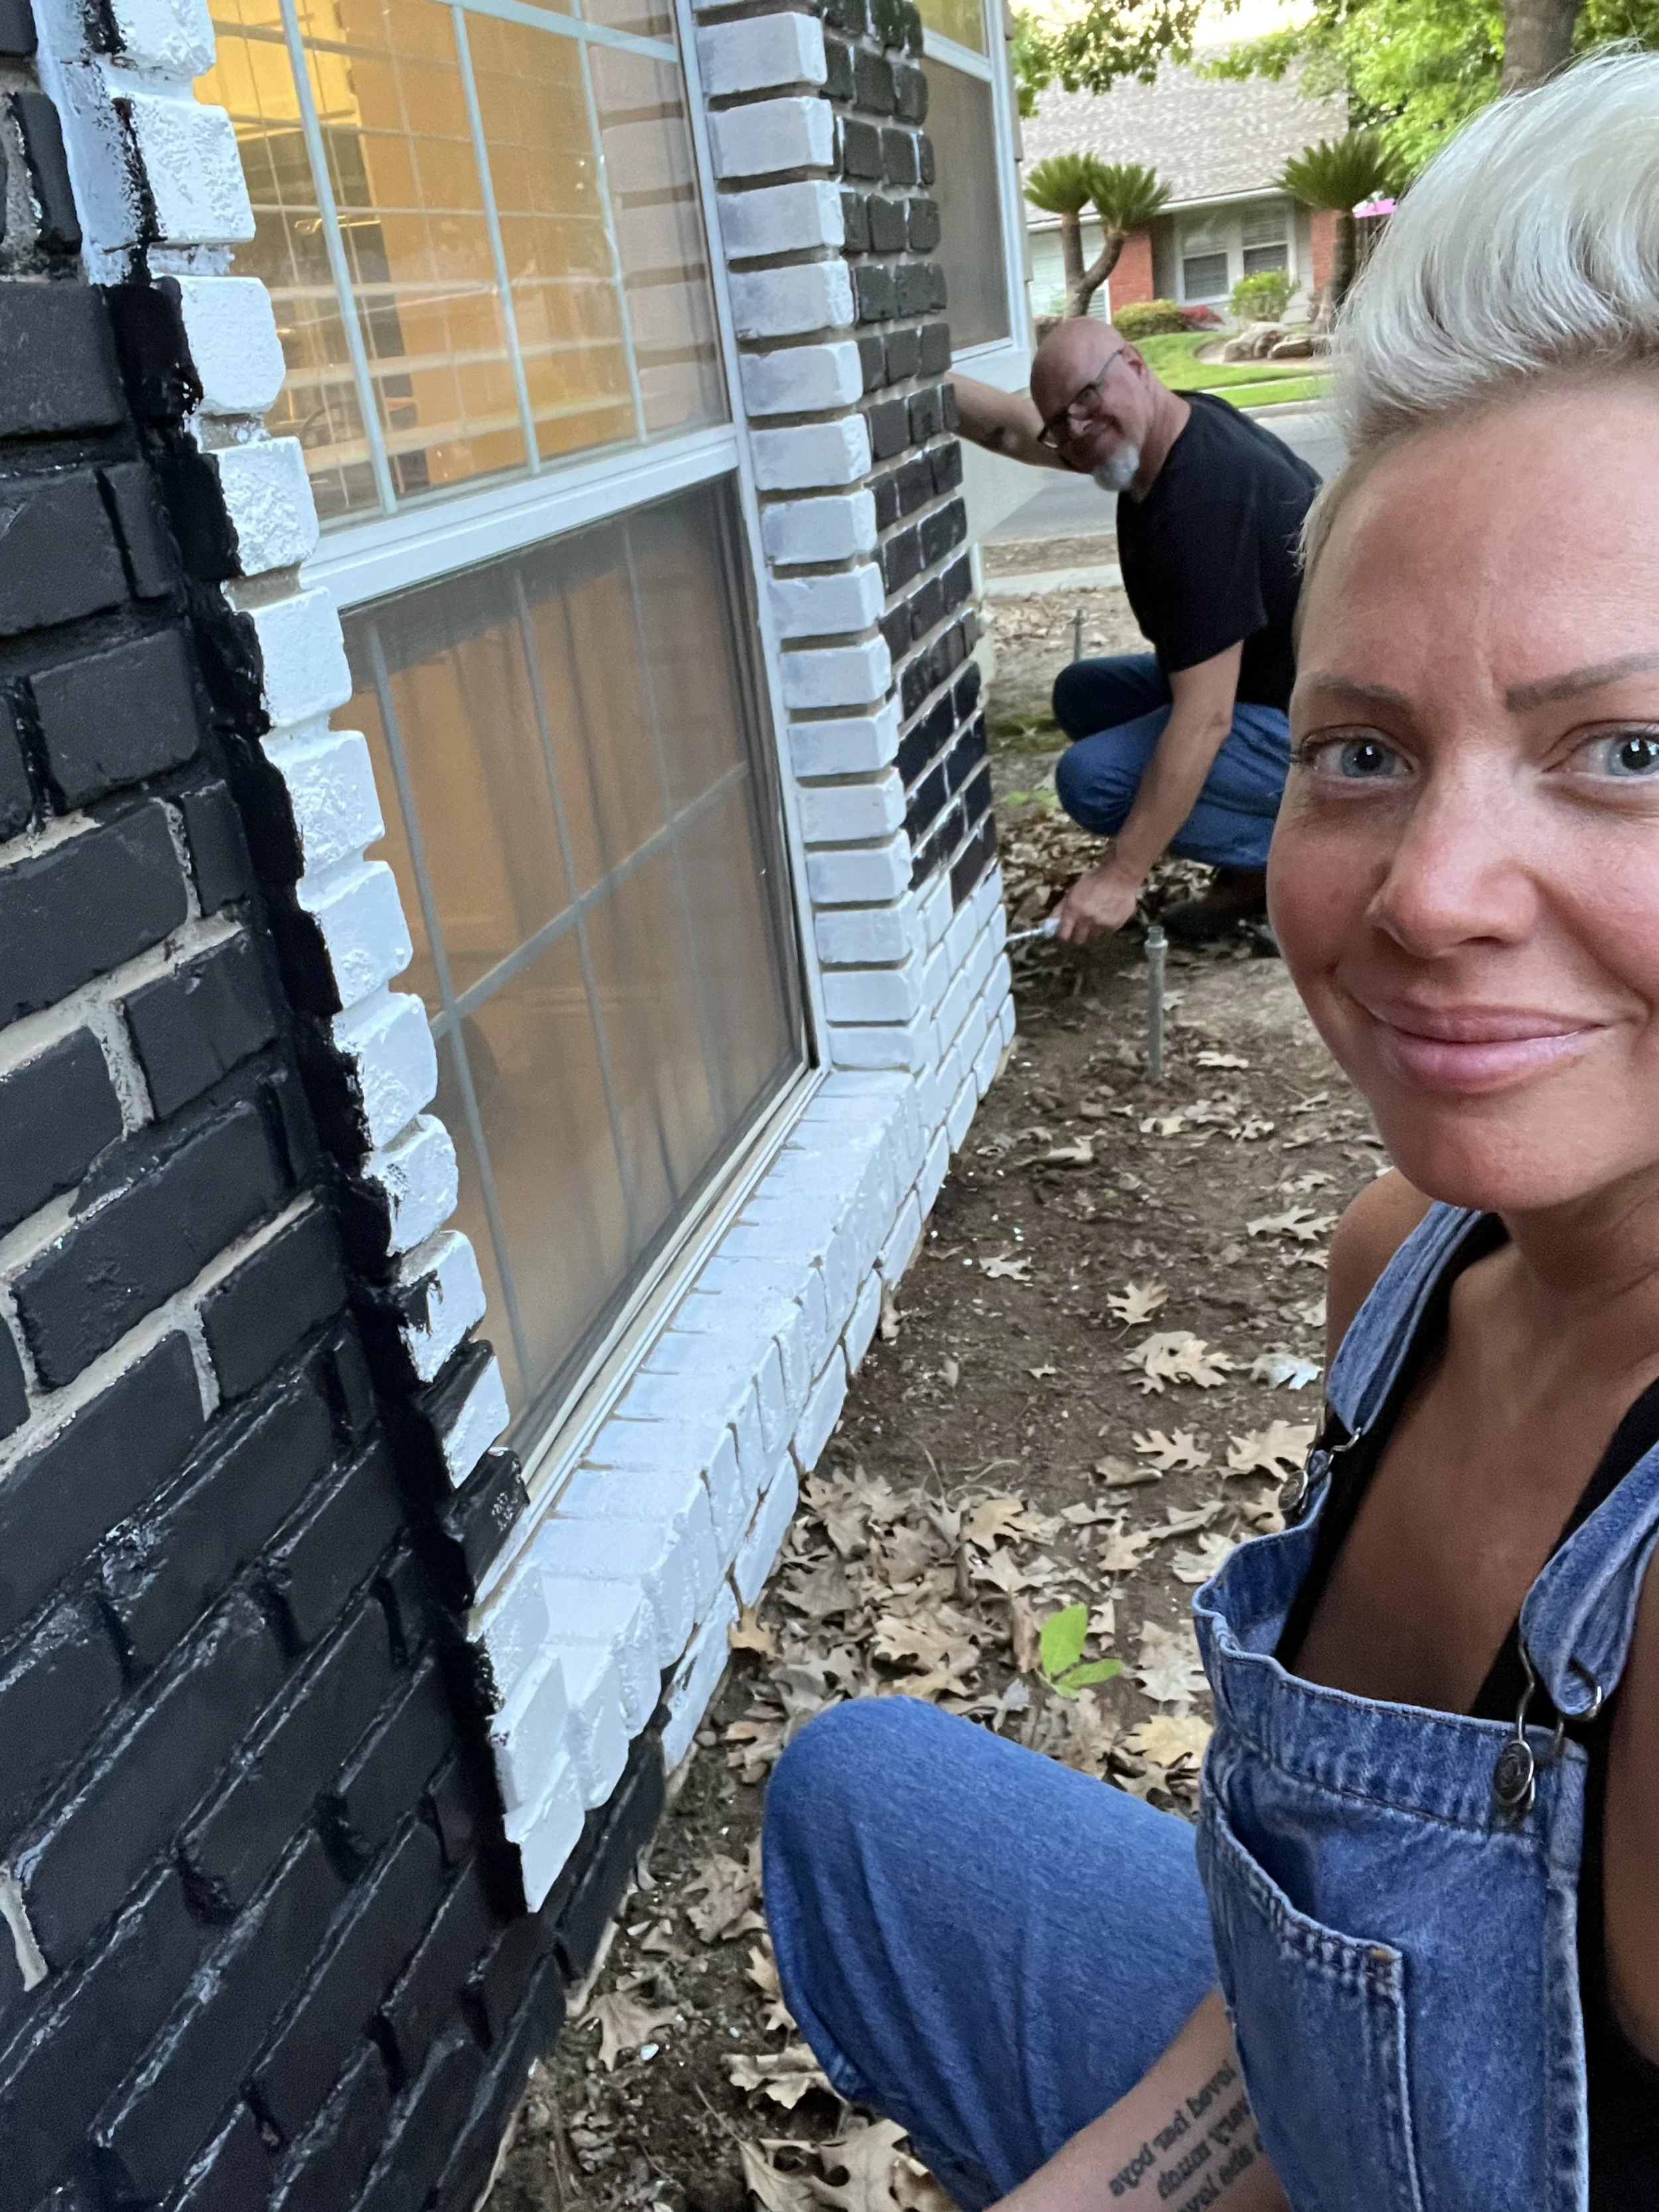
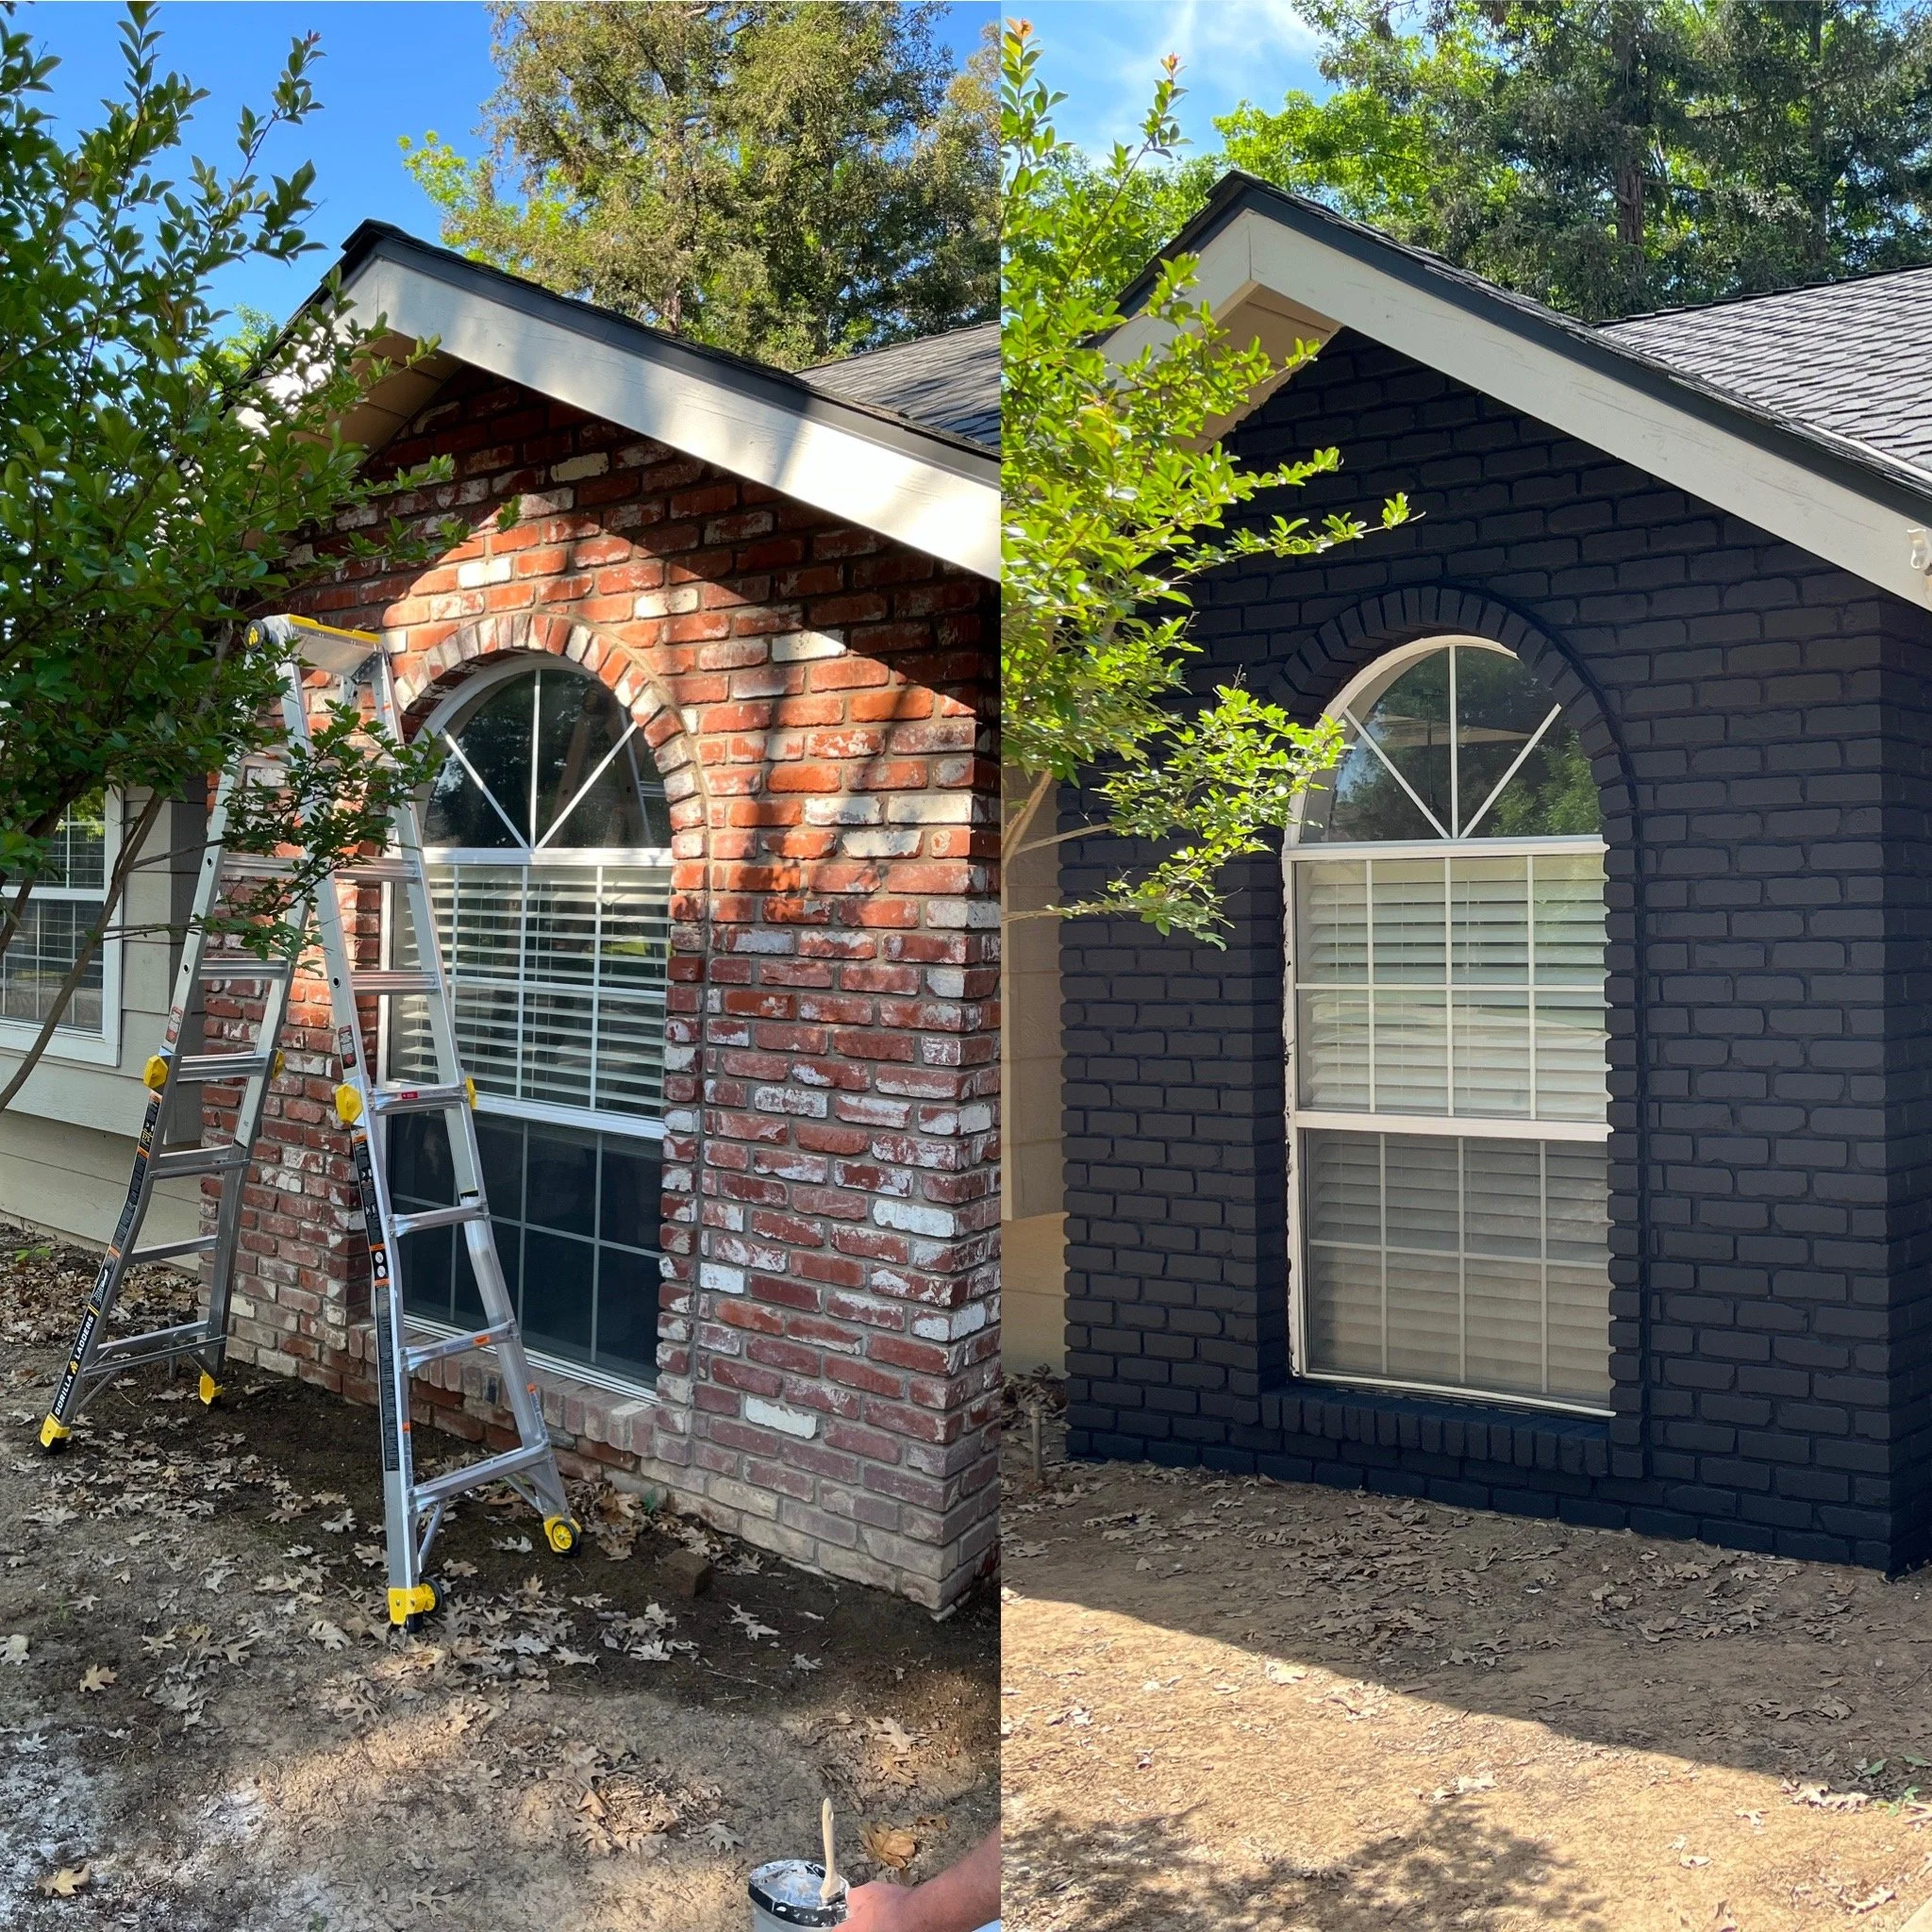
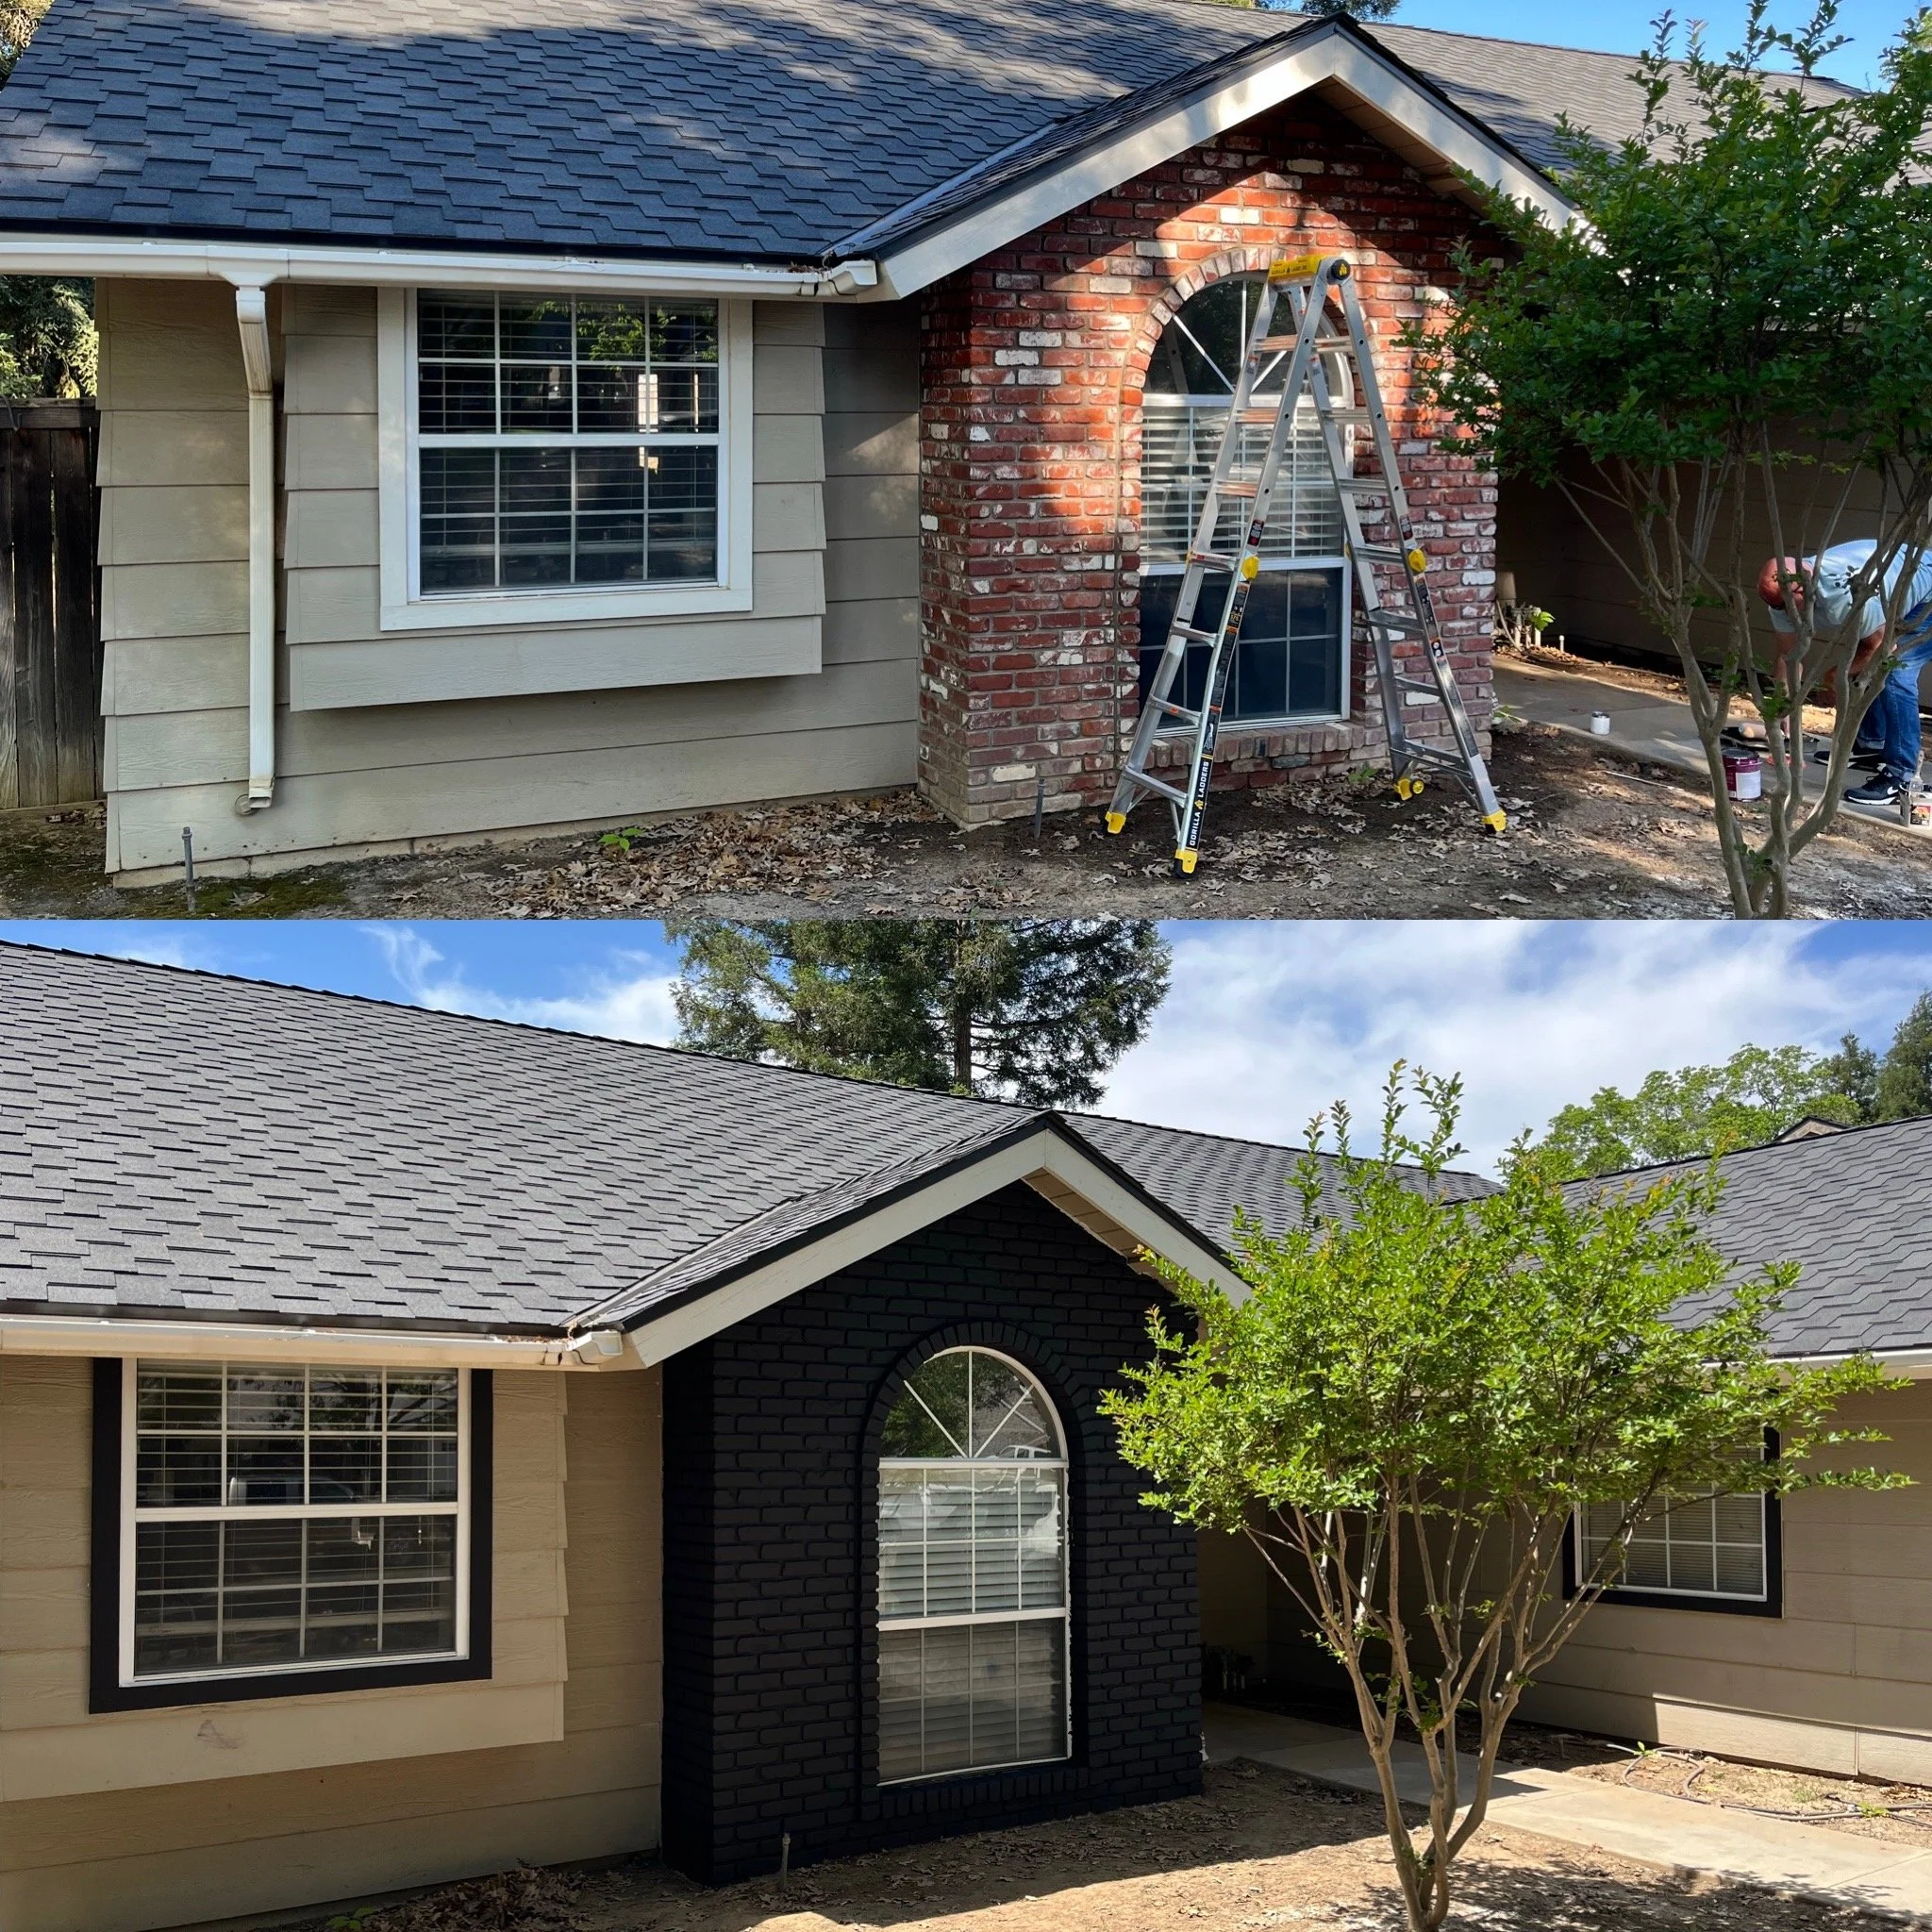
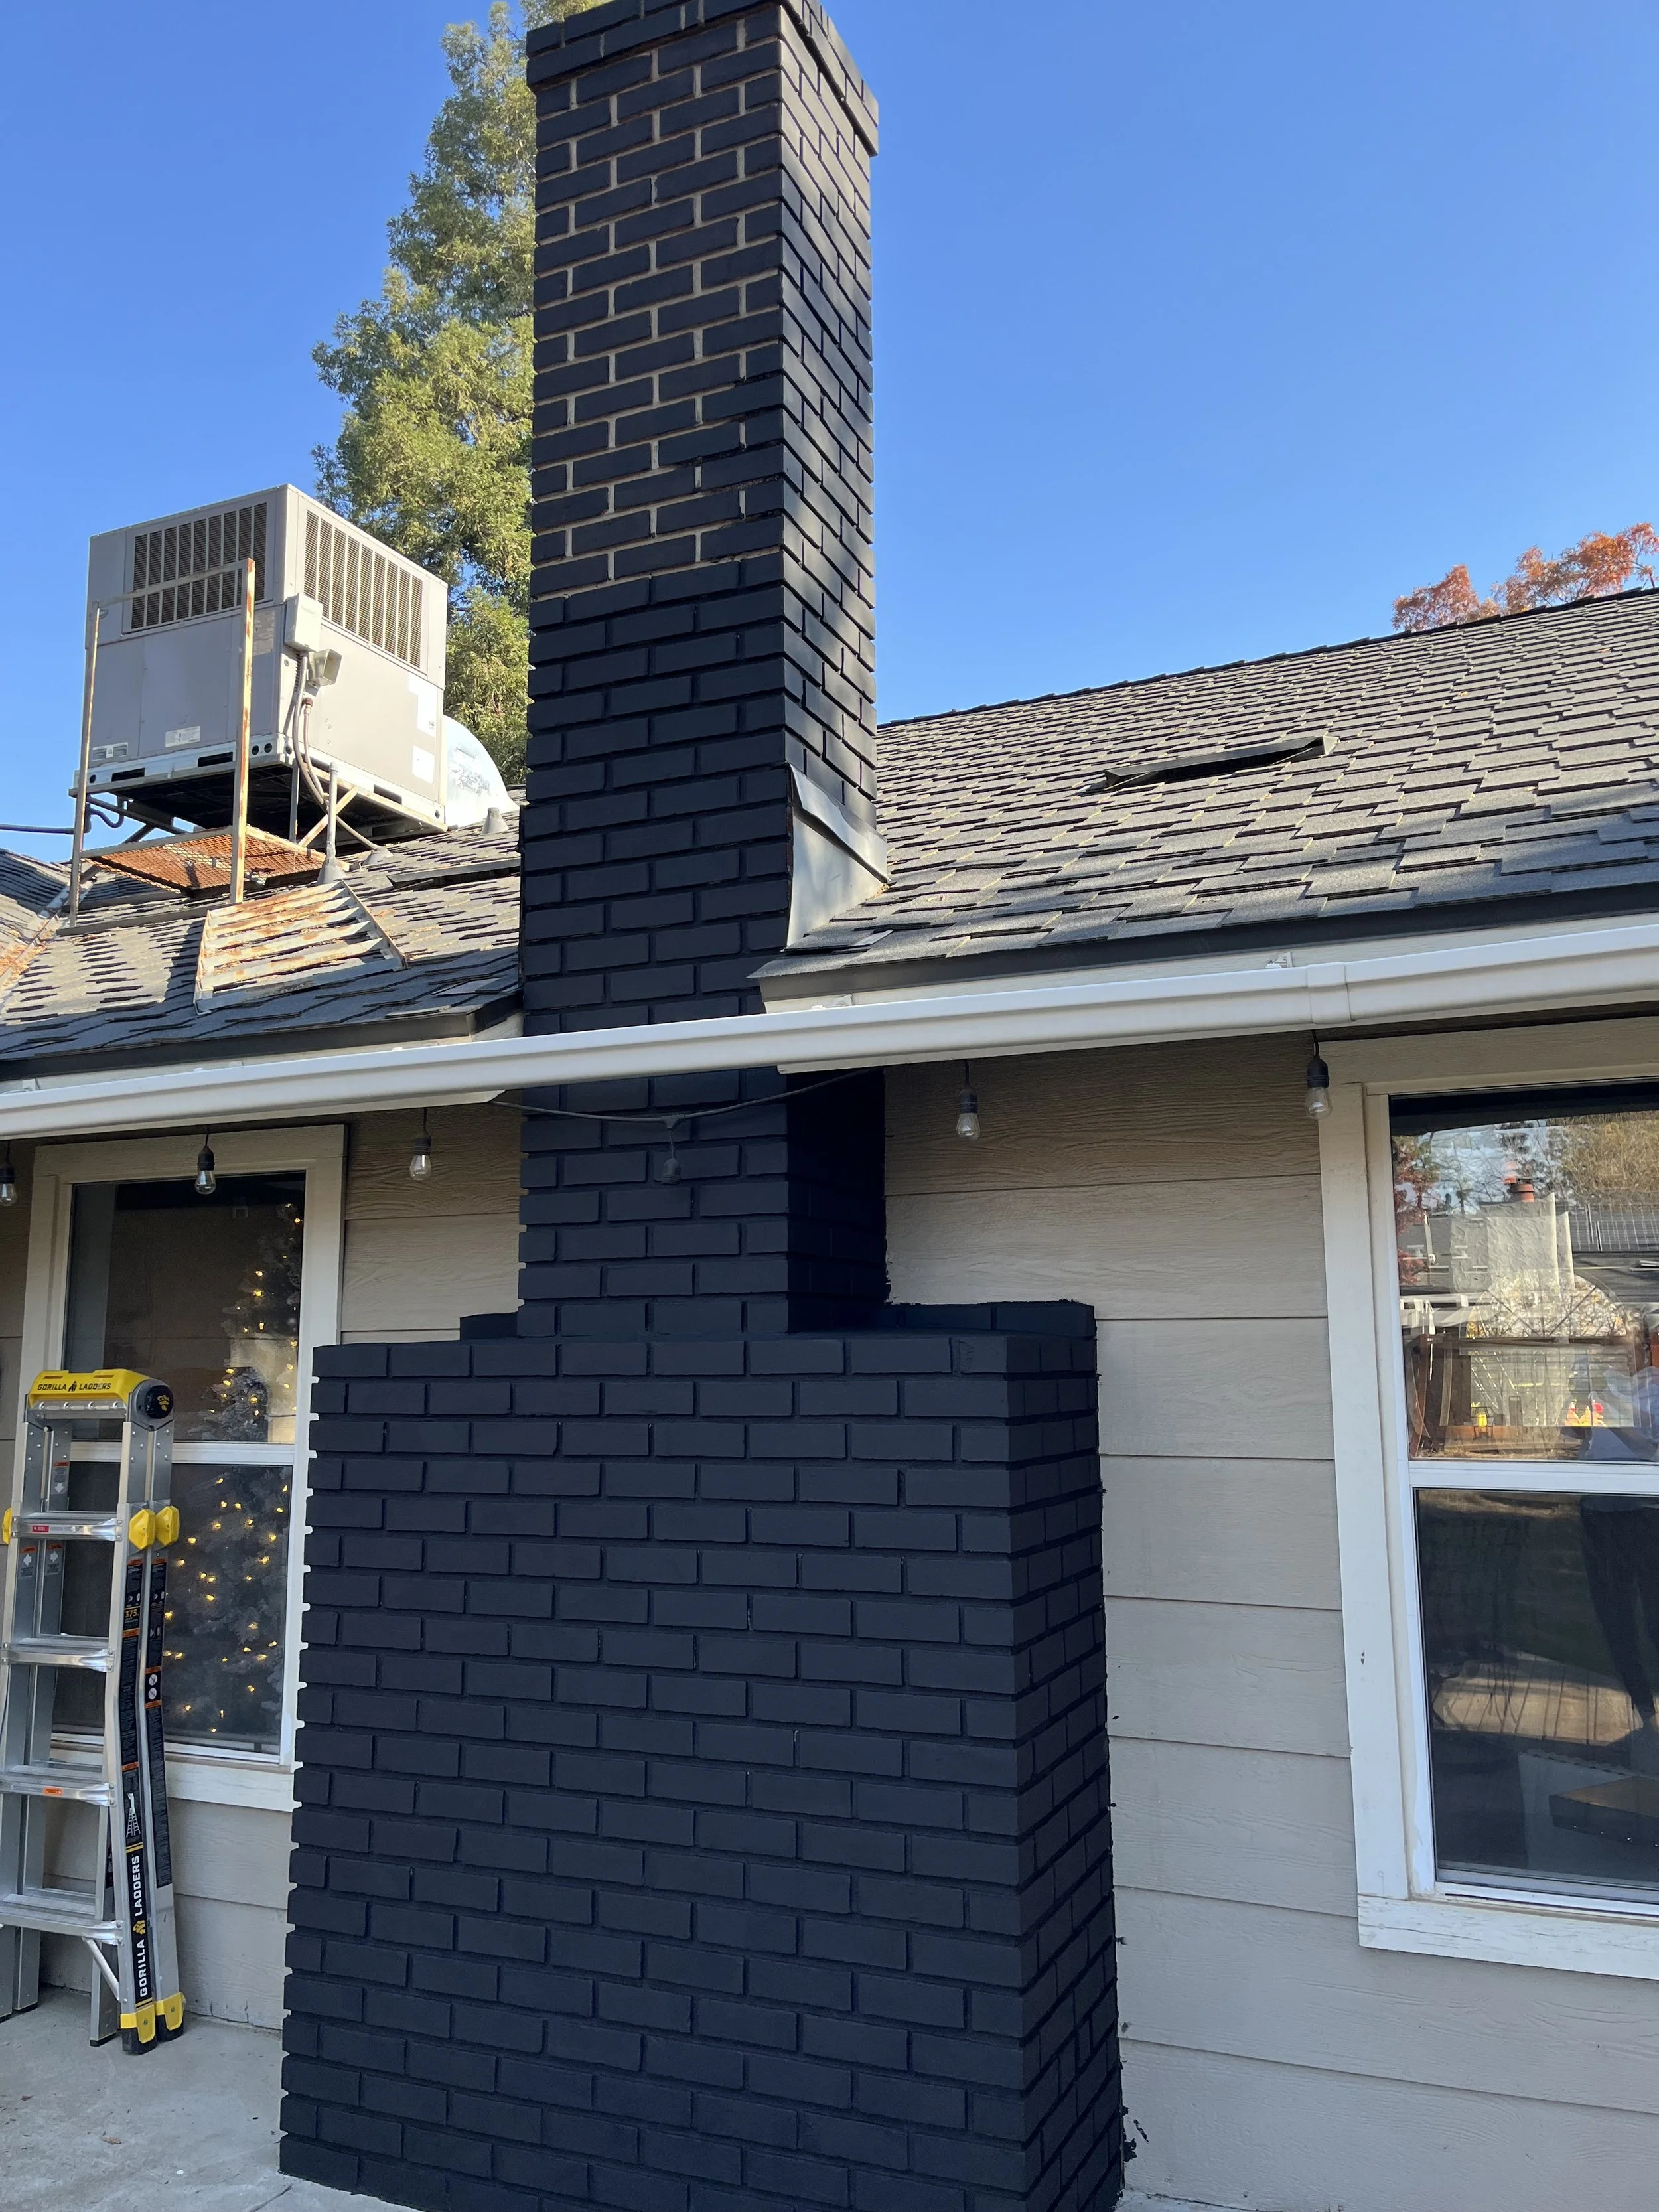
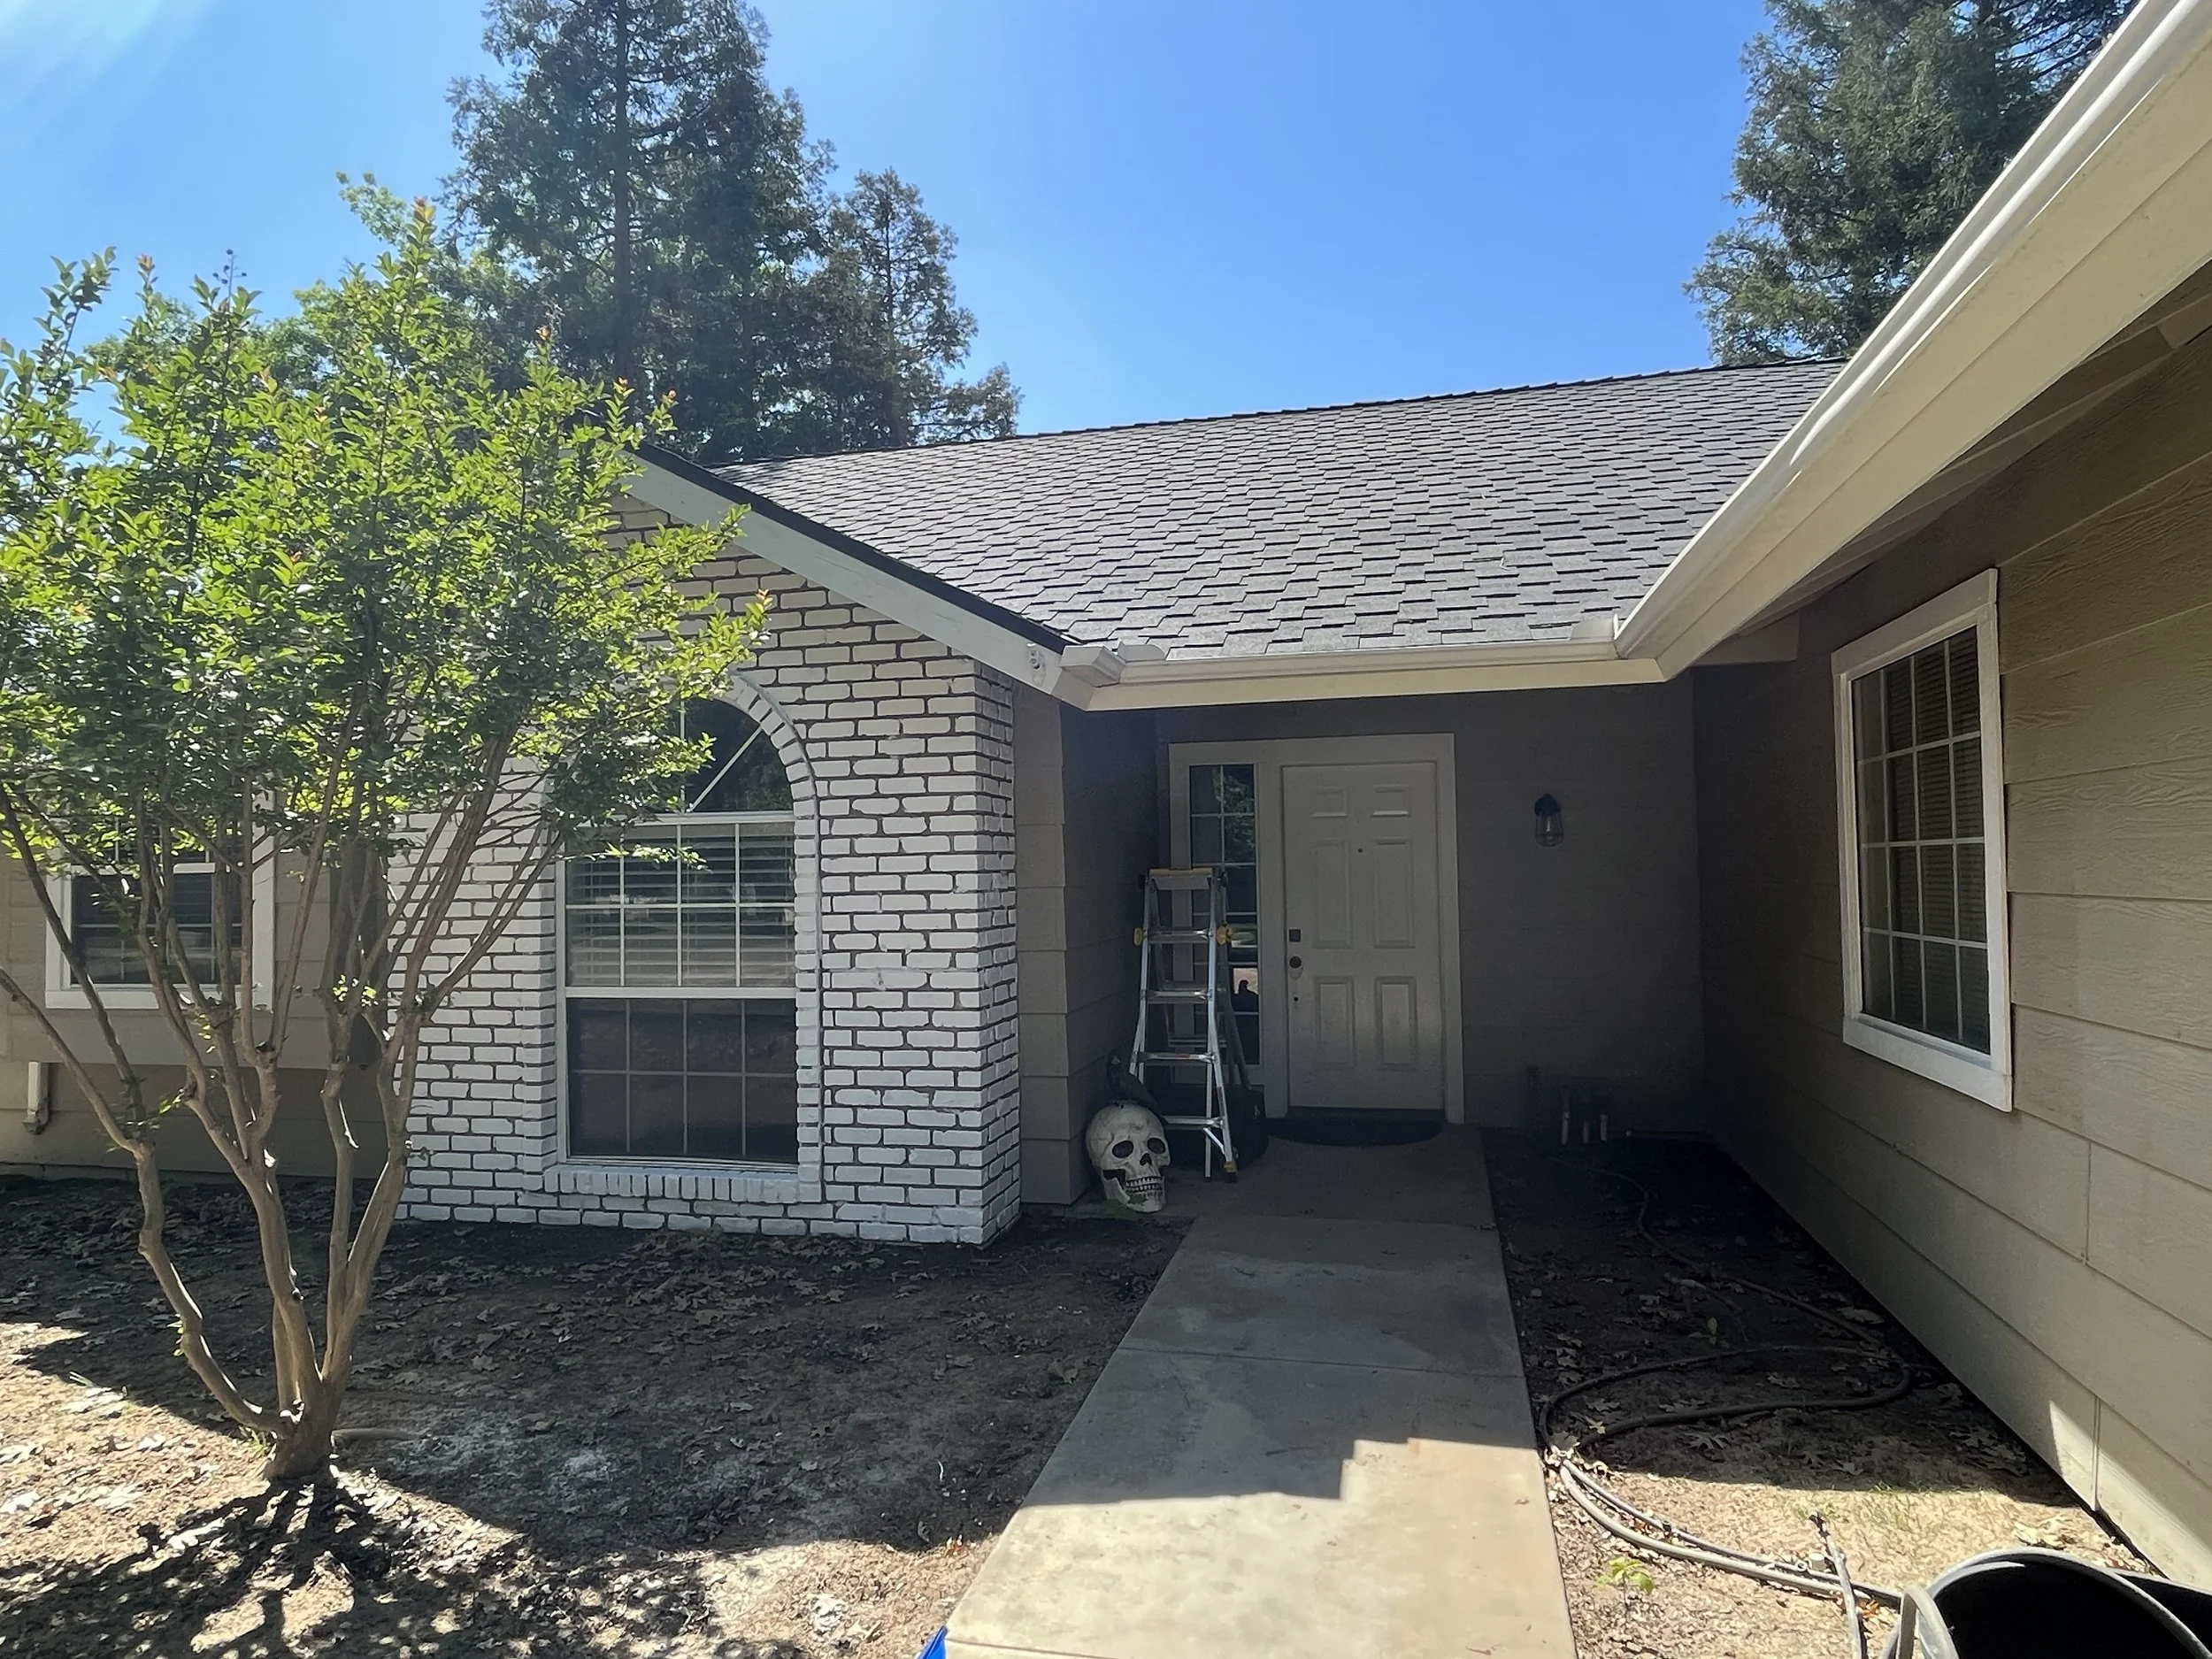
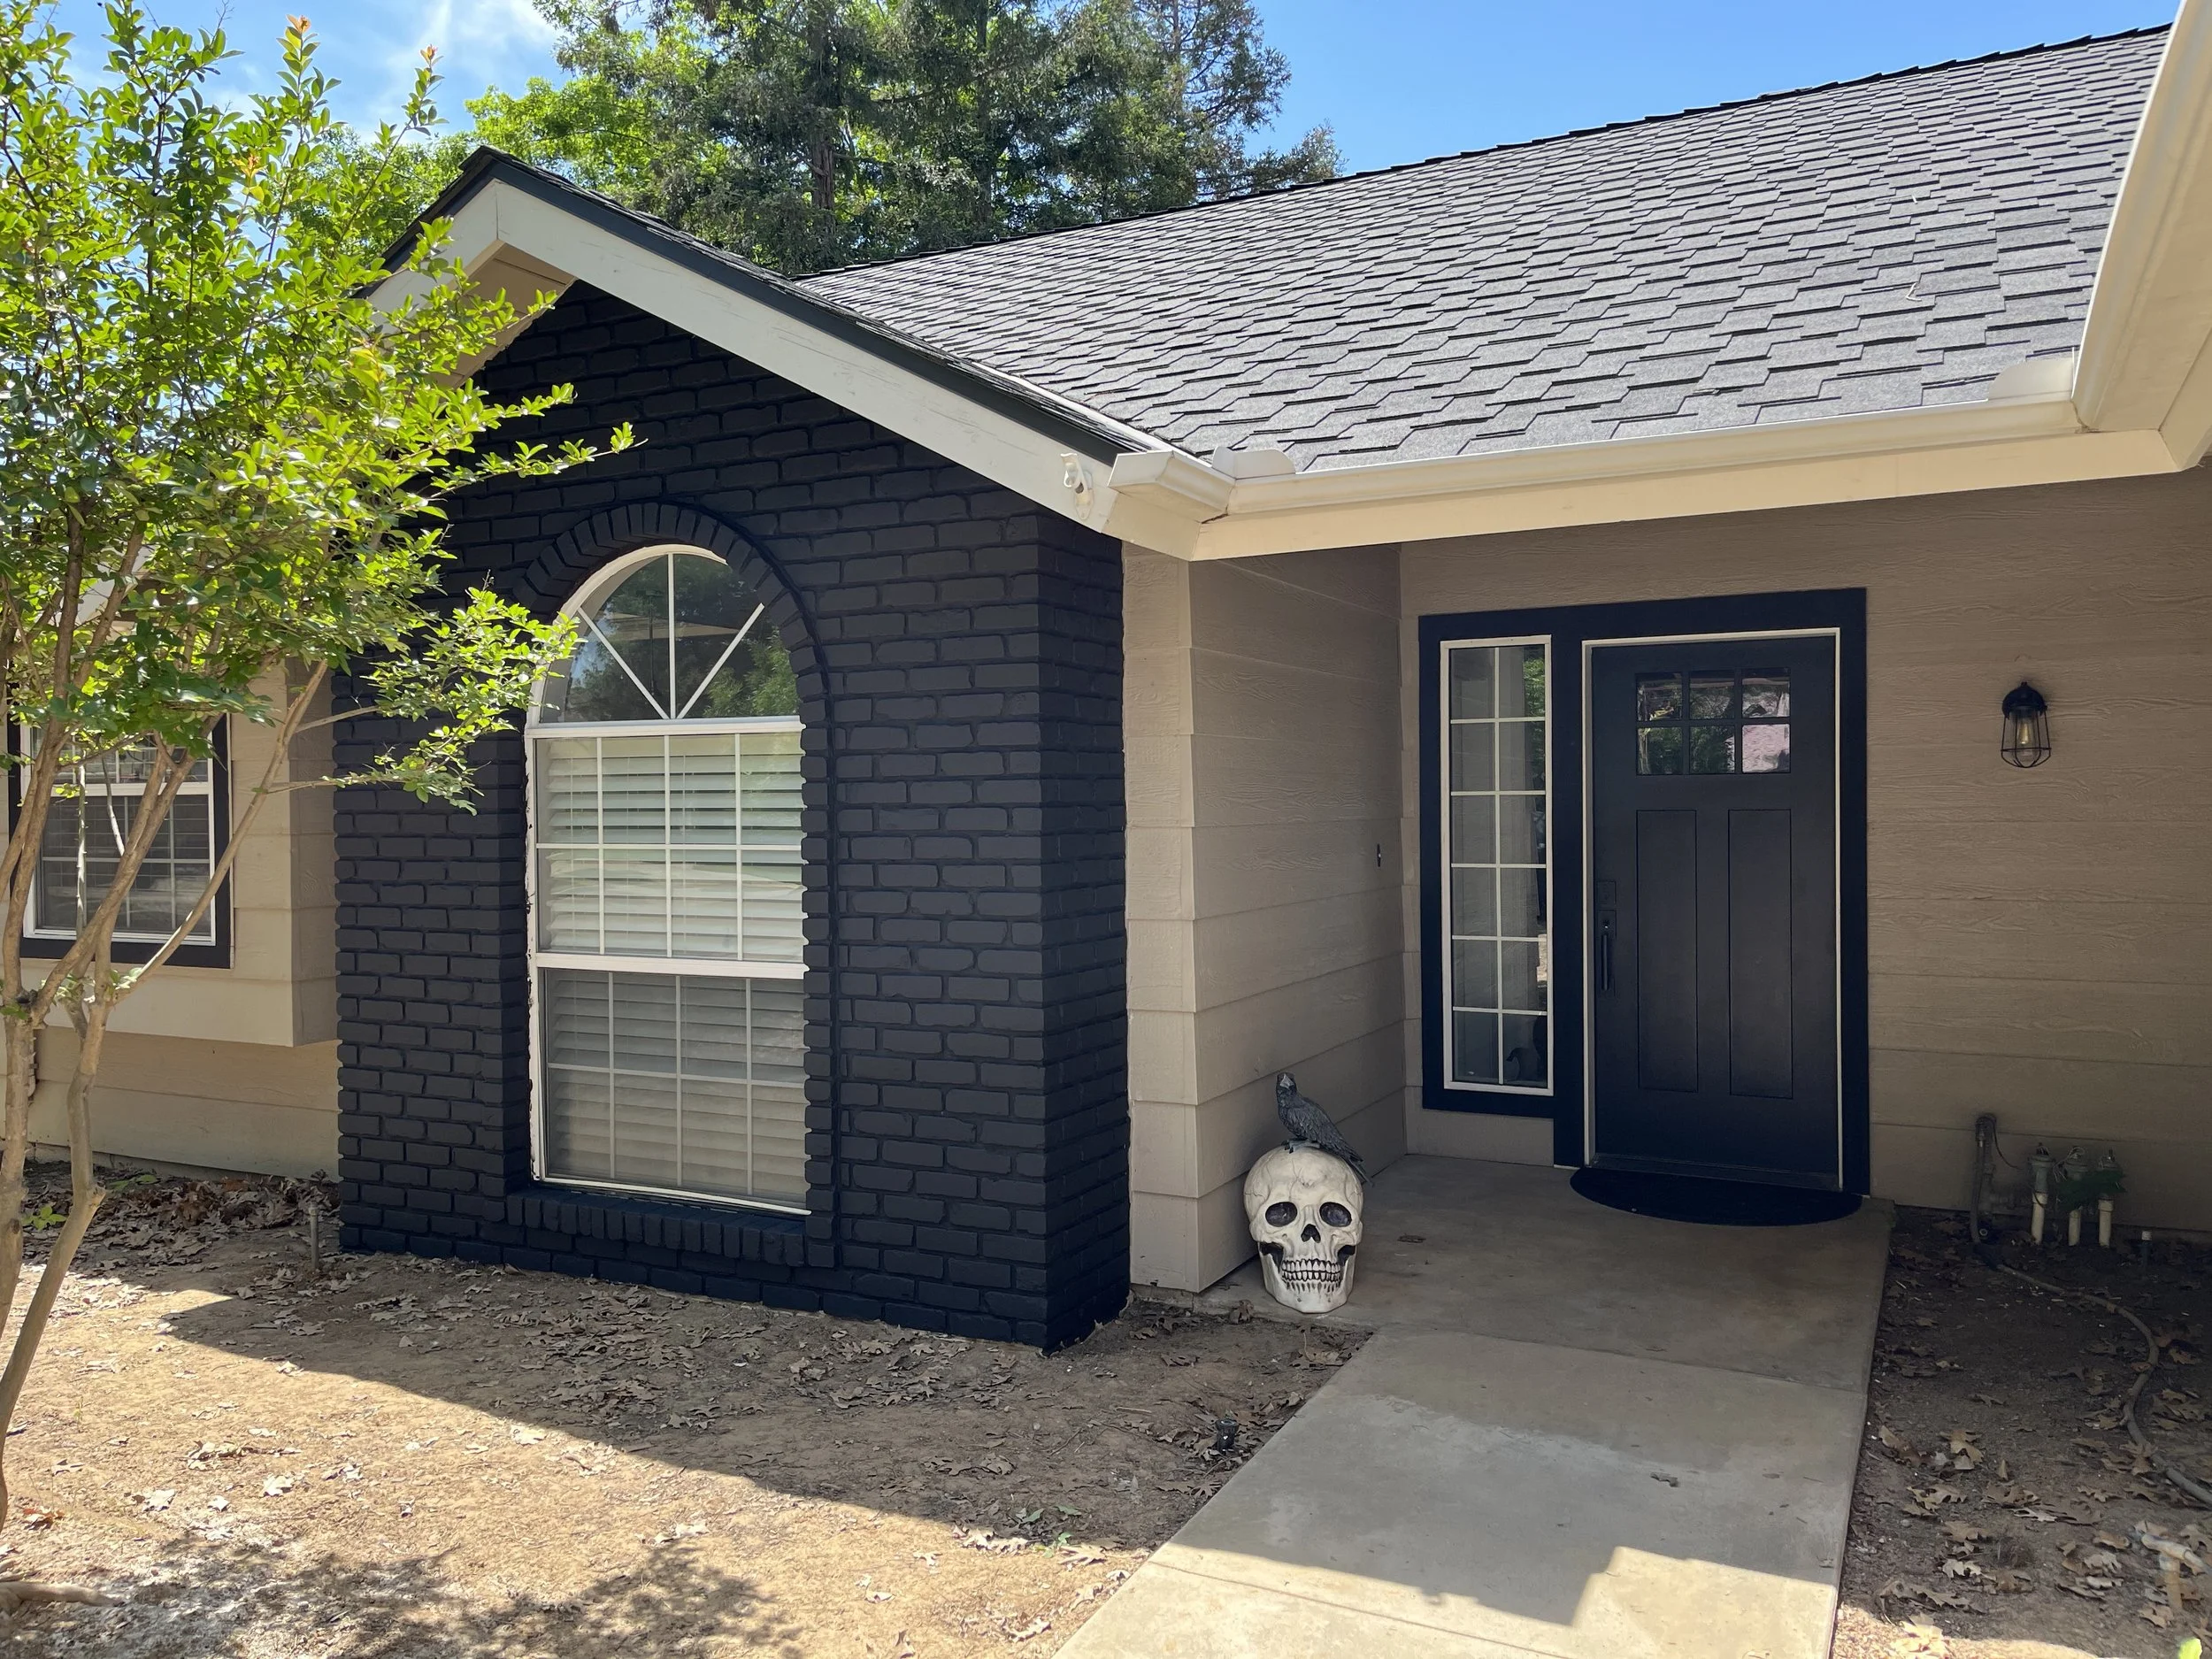
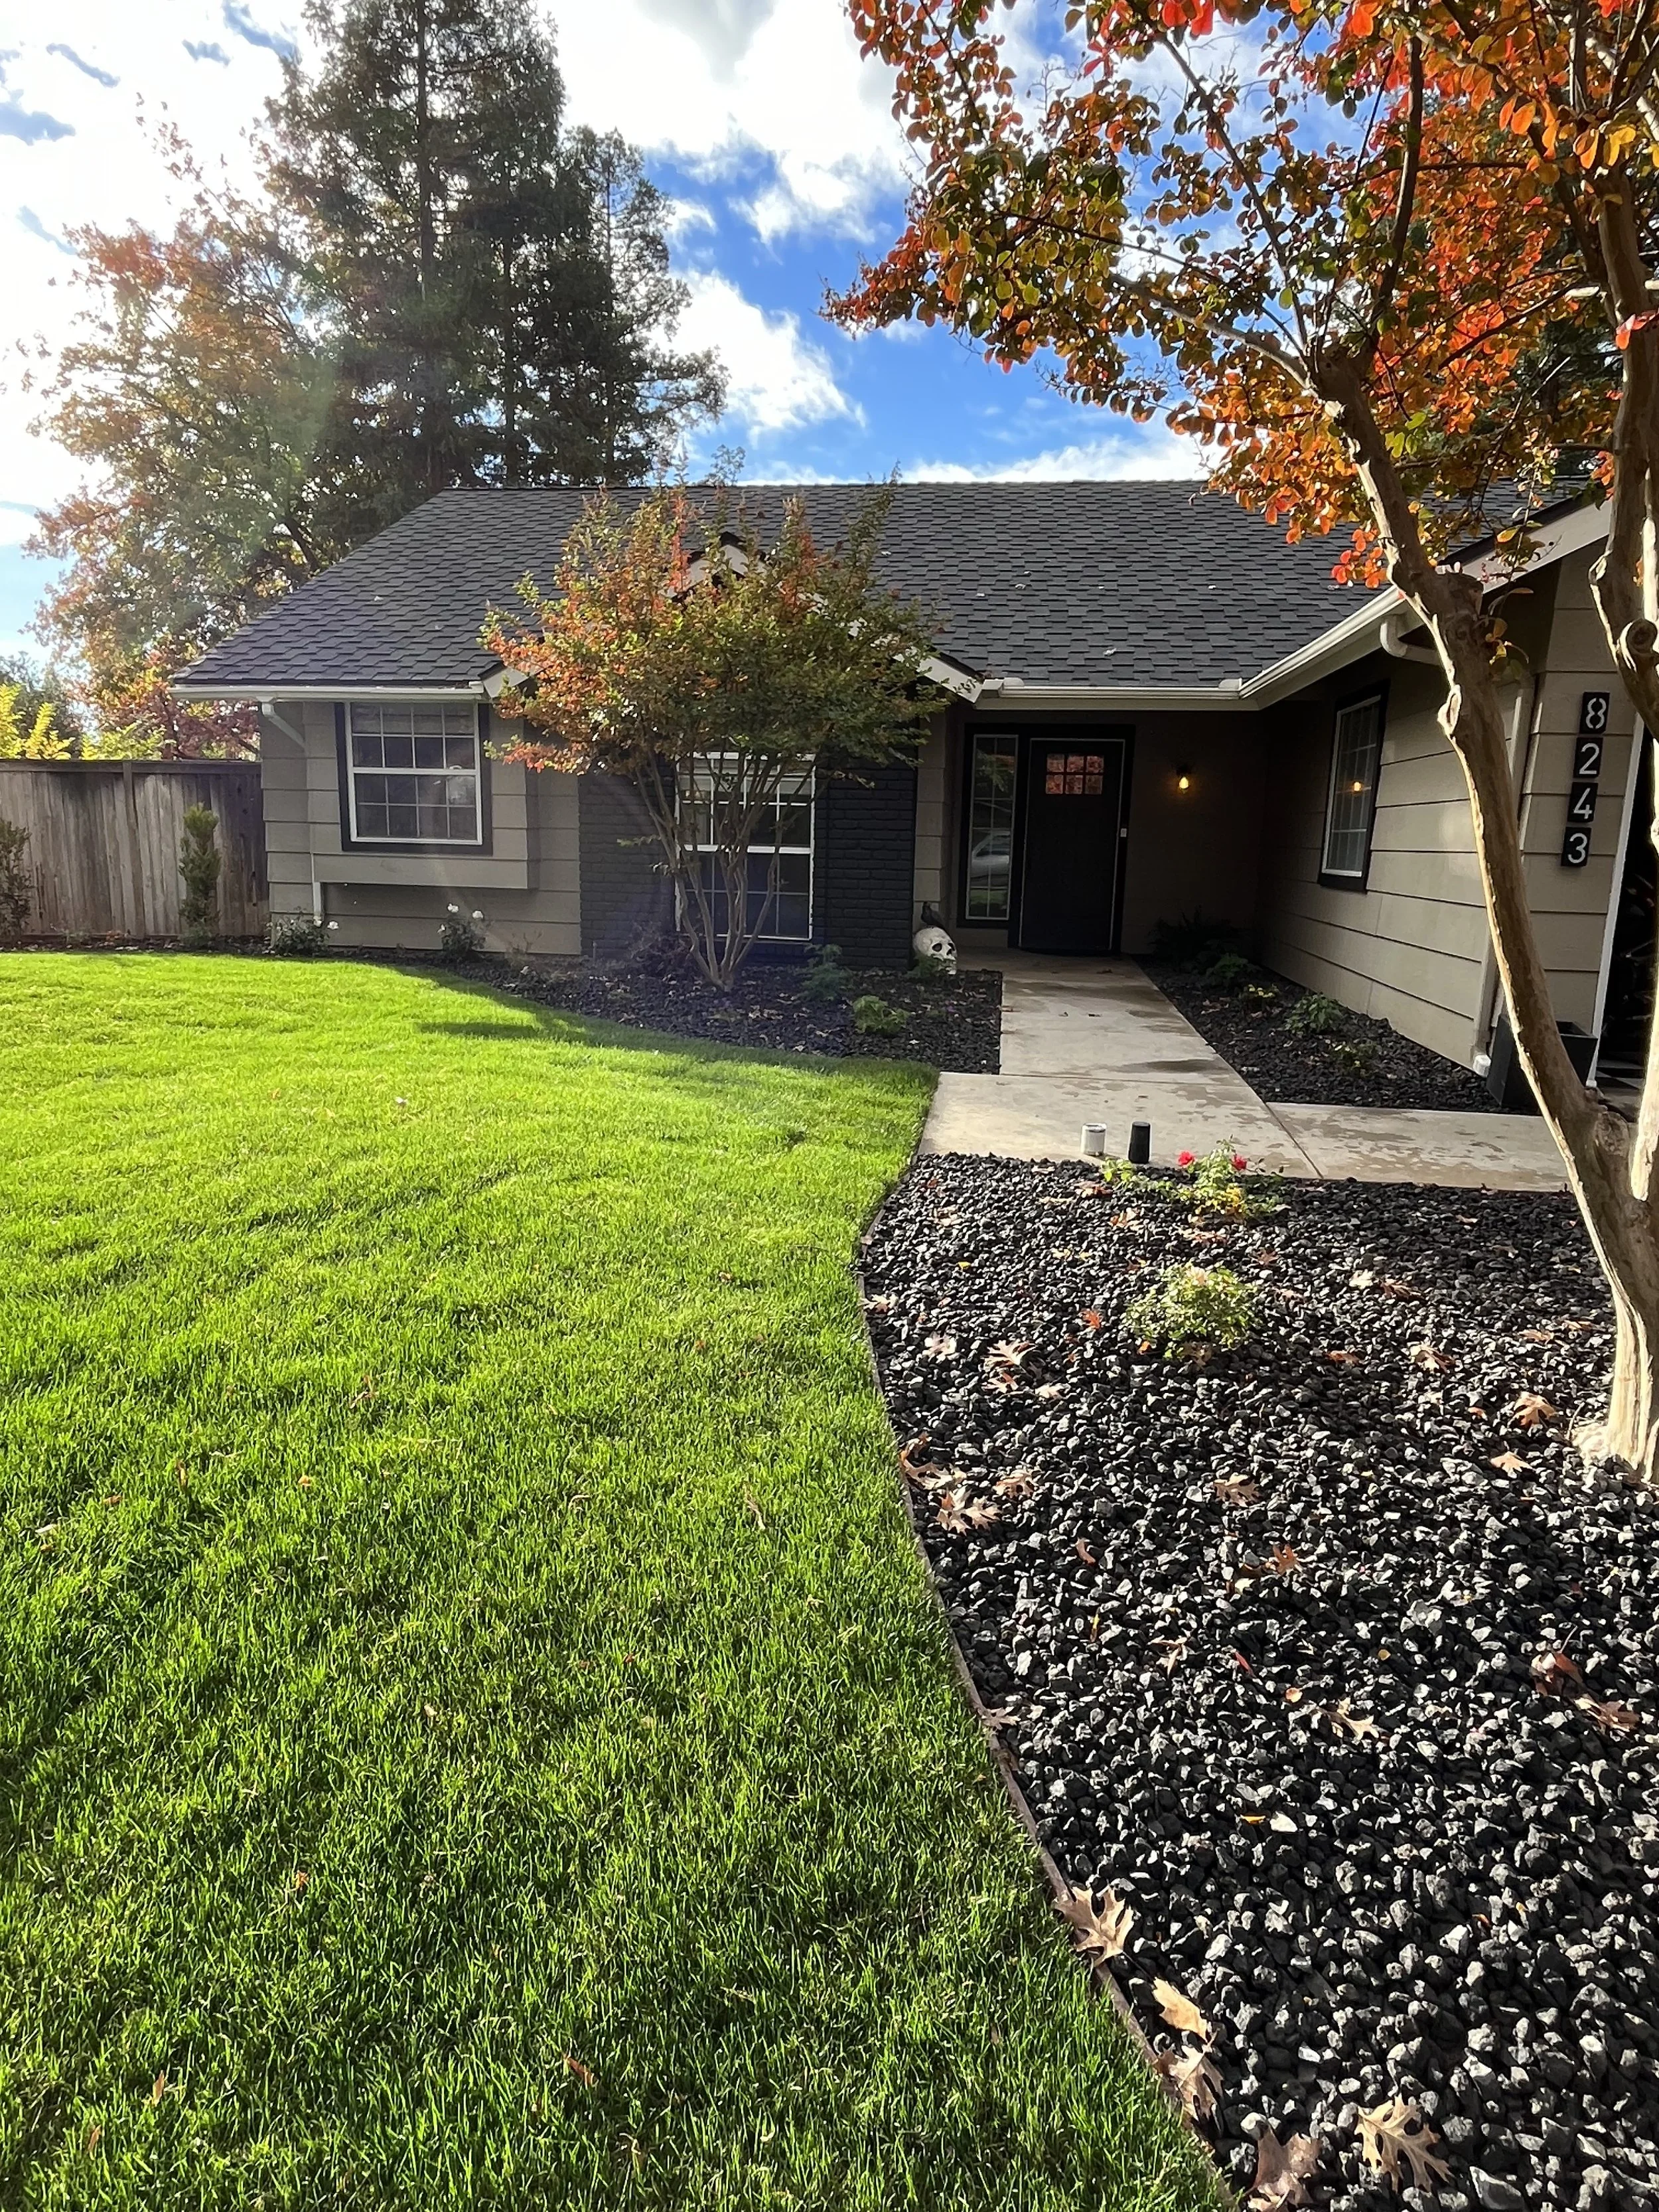
After we painted the bricks in the living room fireplace black it was only a matter of time and cooler weather before I did the same to the bricks on the front of our house and the fireplace/chimney in the back yard. We also decided to paint the trim around the front windows black. I knew changing these details would make our upcoming landscaping project POP once spring came. While we were working on our curb appeal, we also decided to replace the front door to match the front windows and painted it black to match the brick and trim. We were stunned with the results and adore our new edgy look.
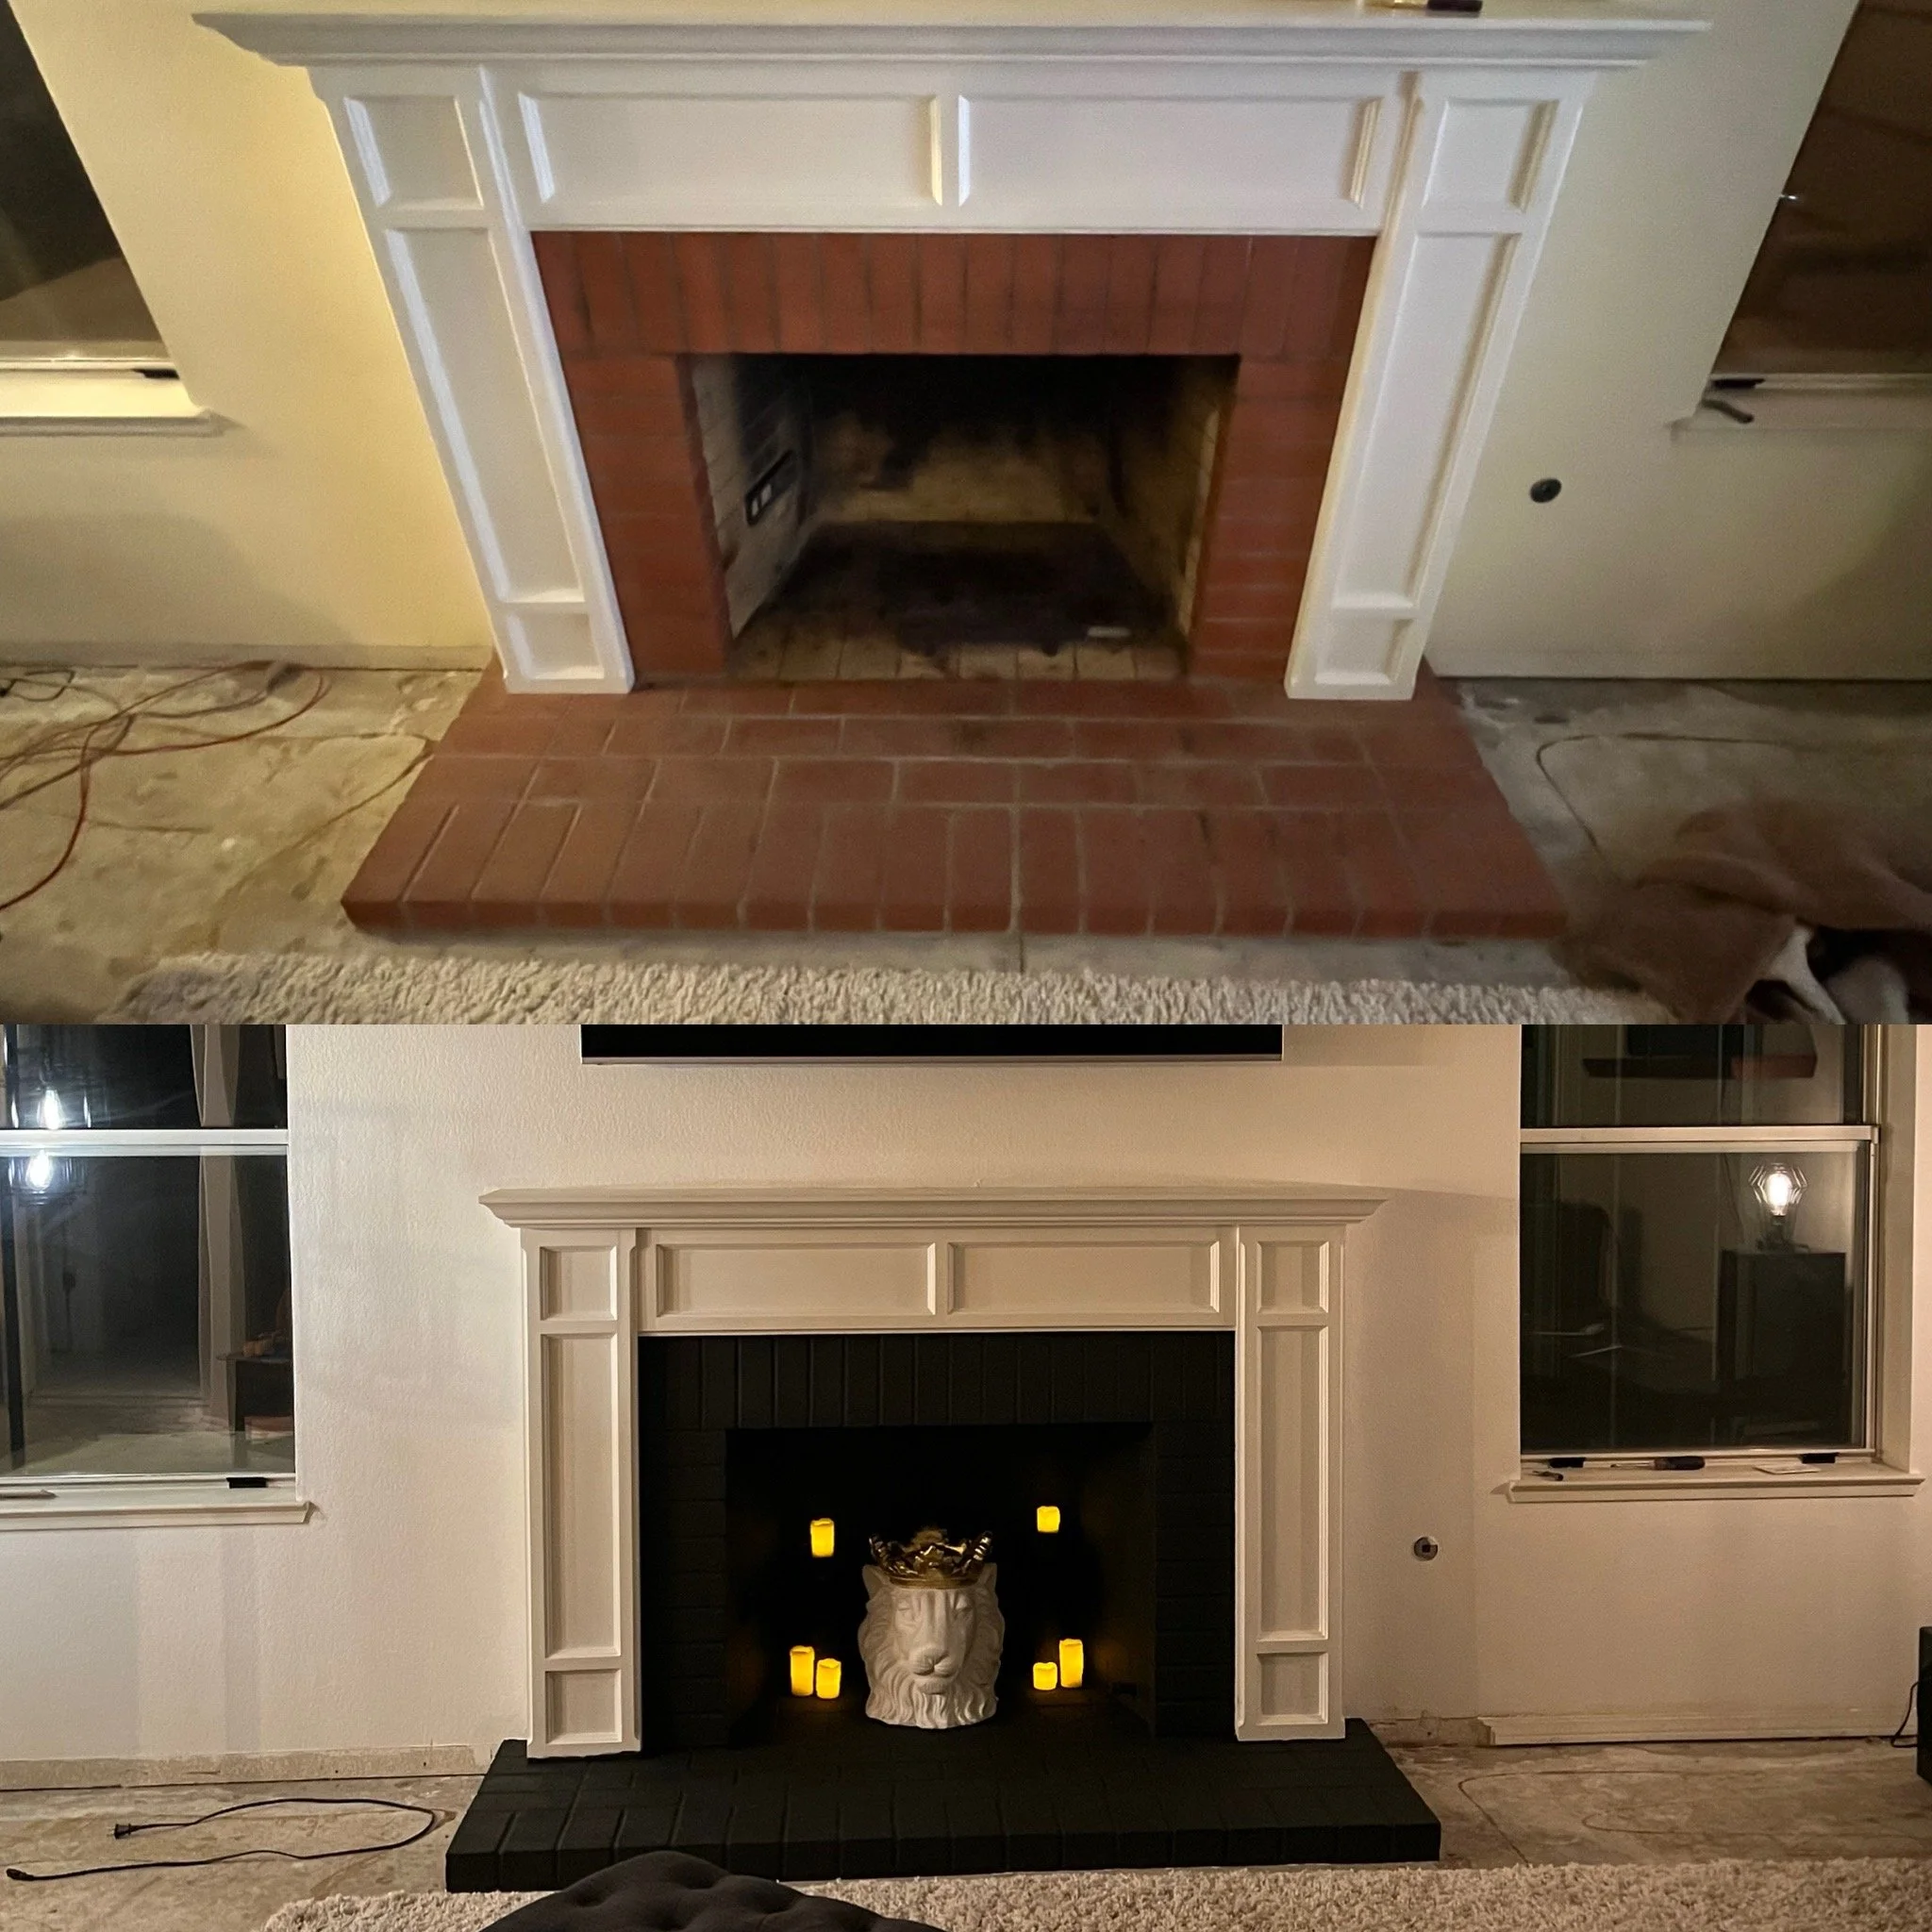
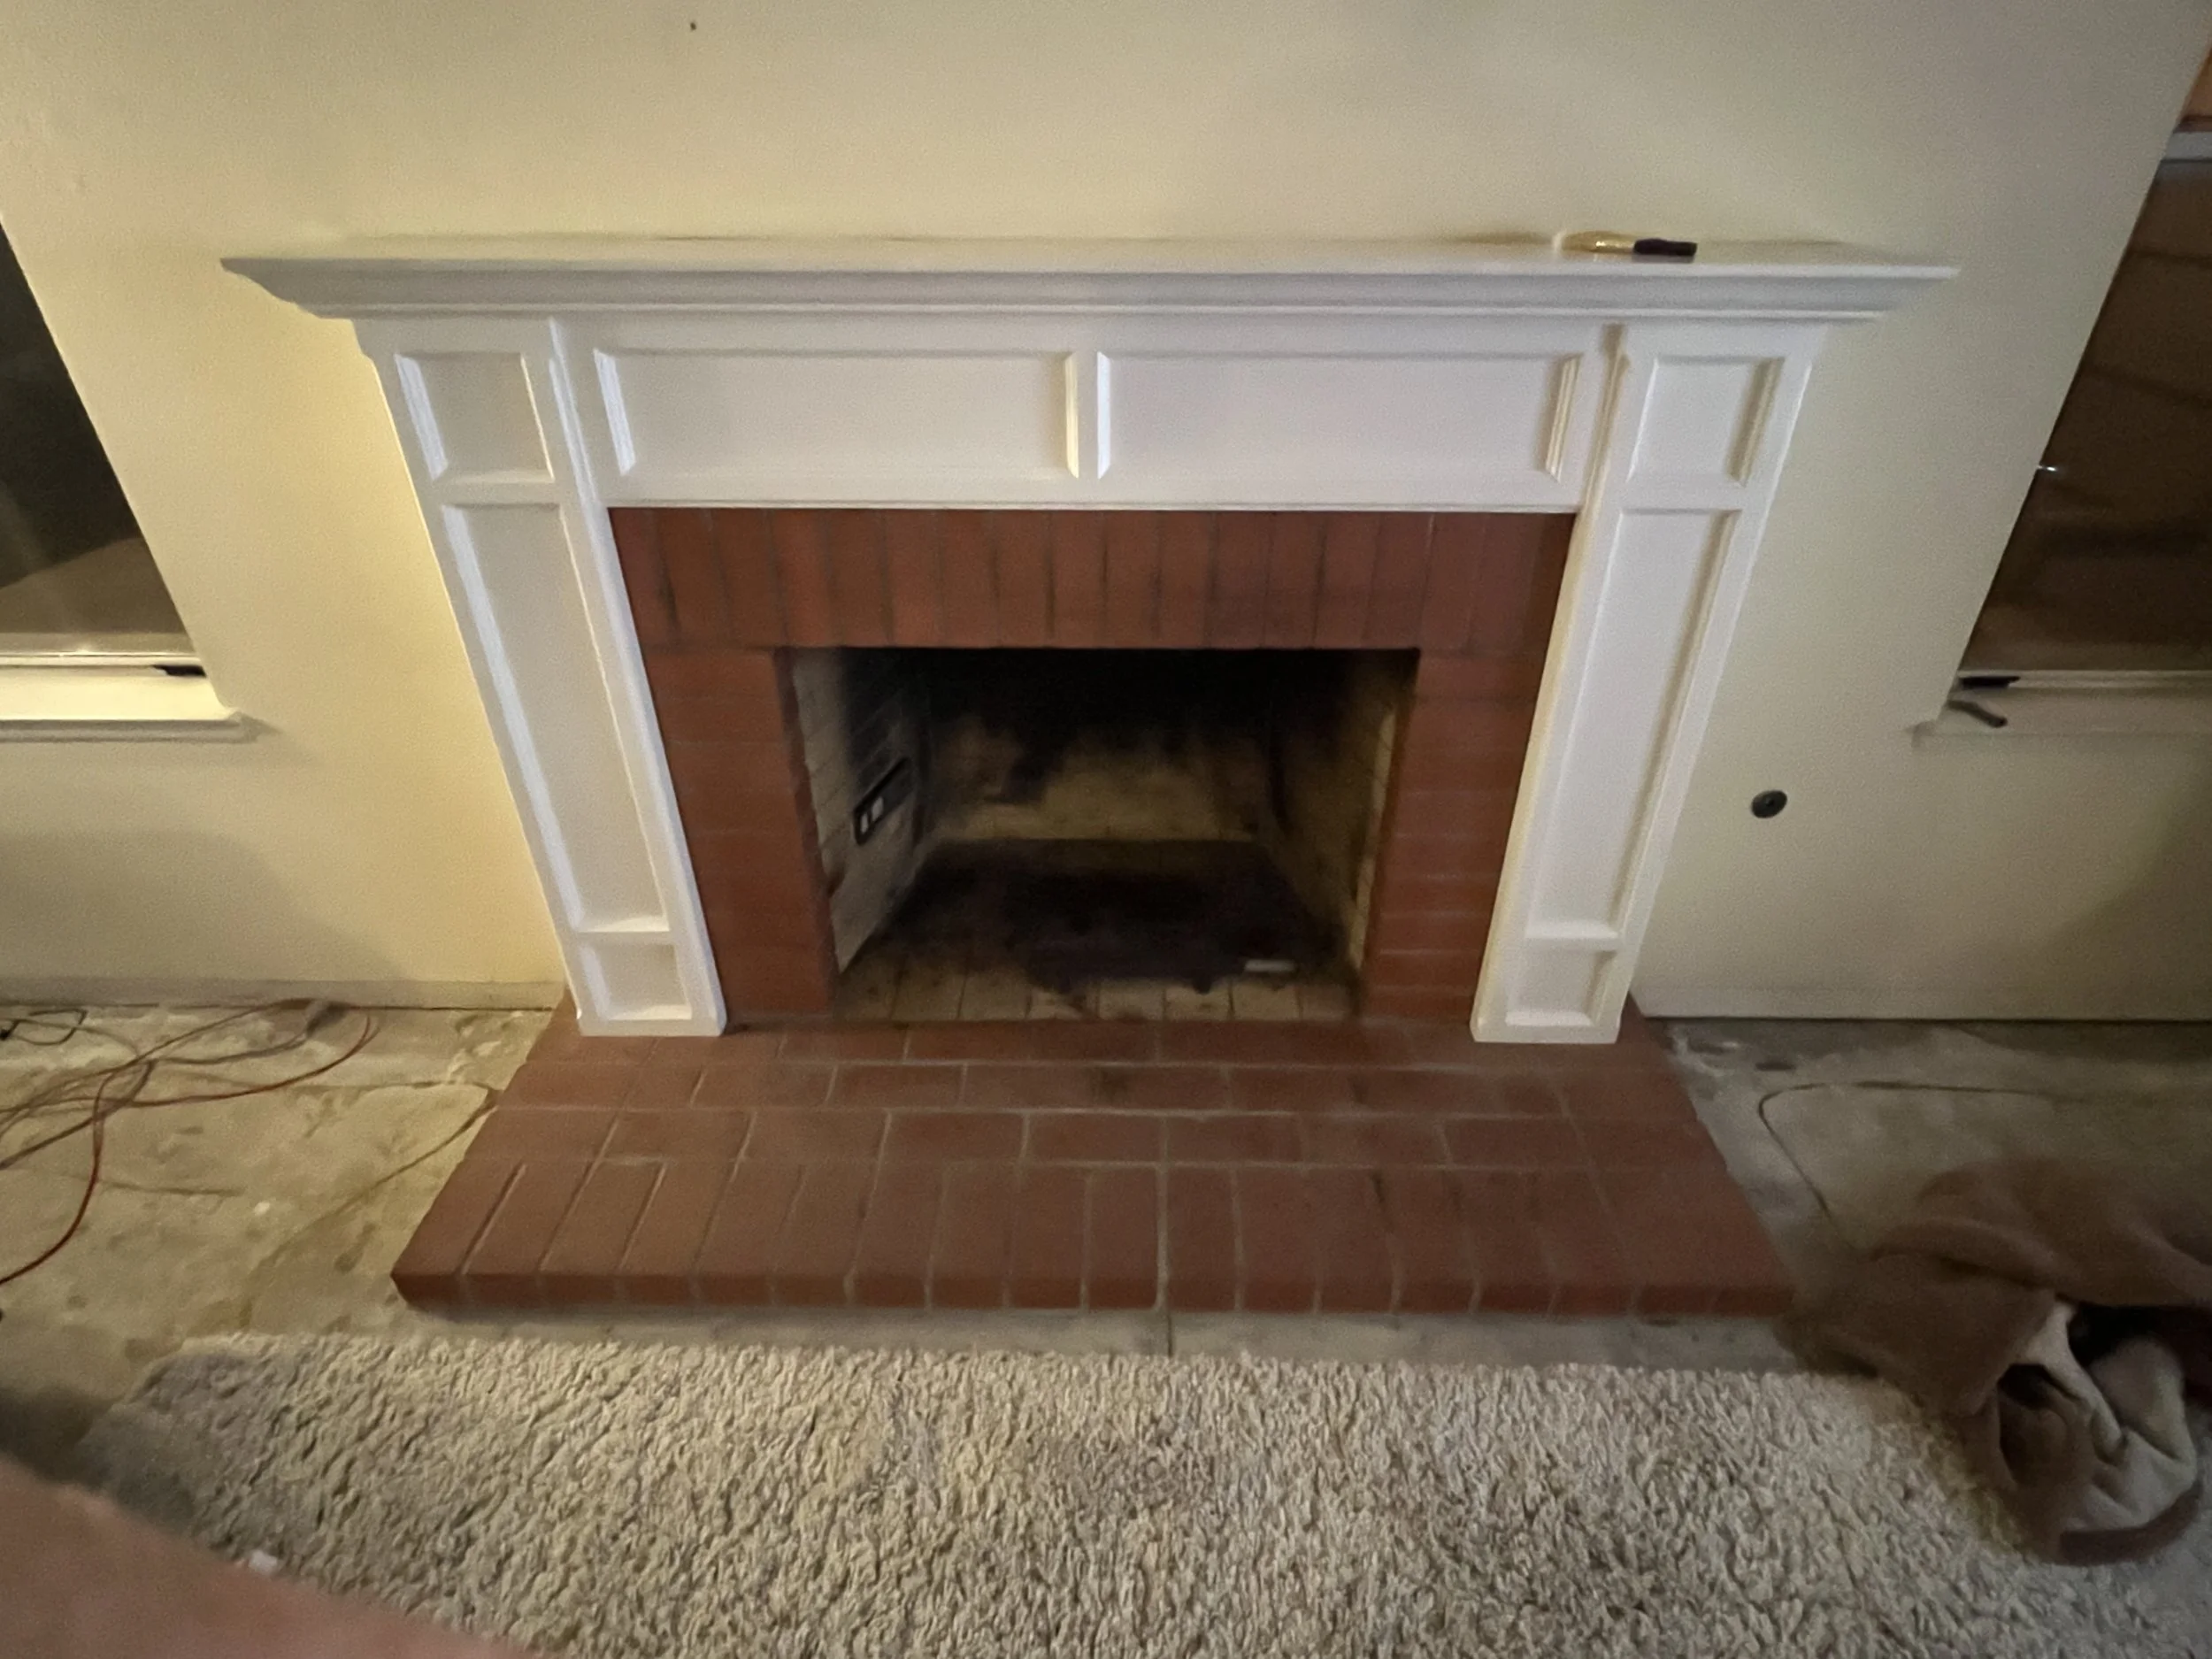
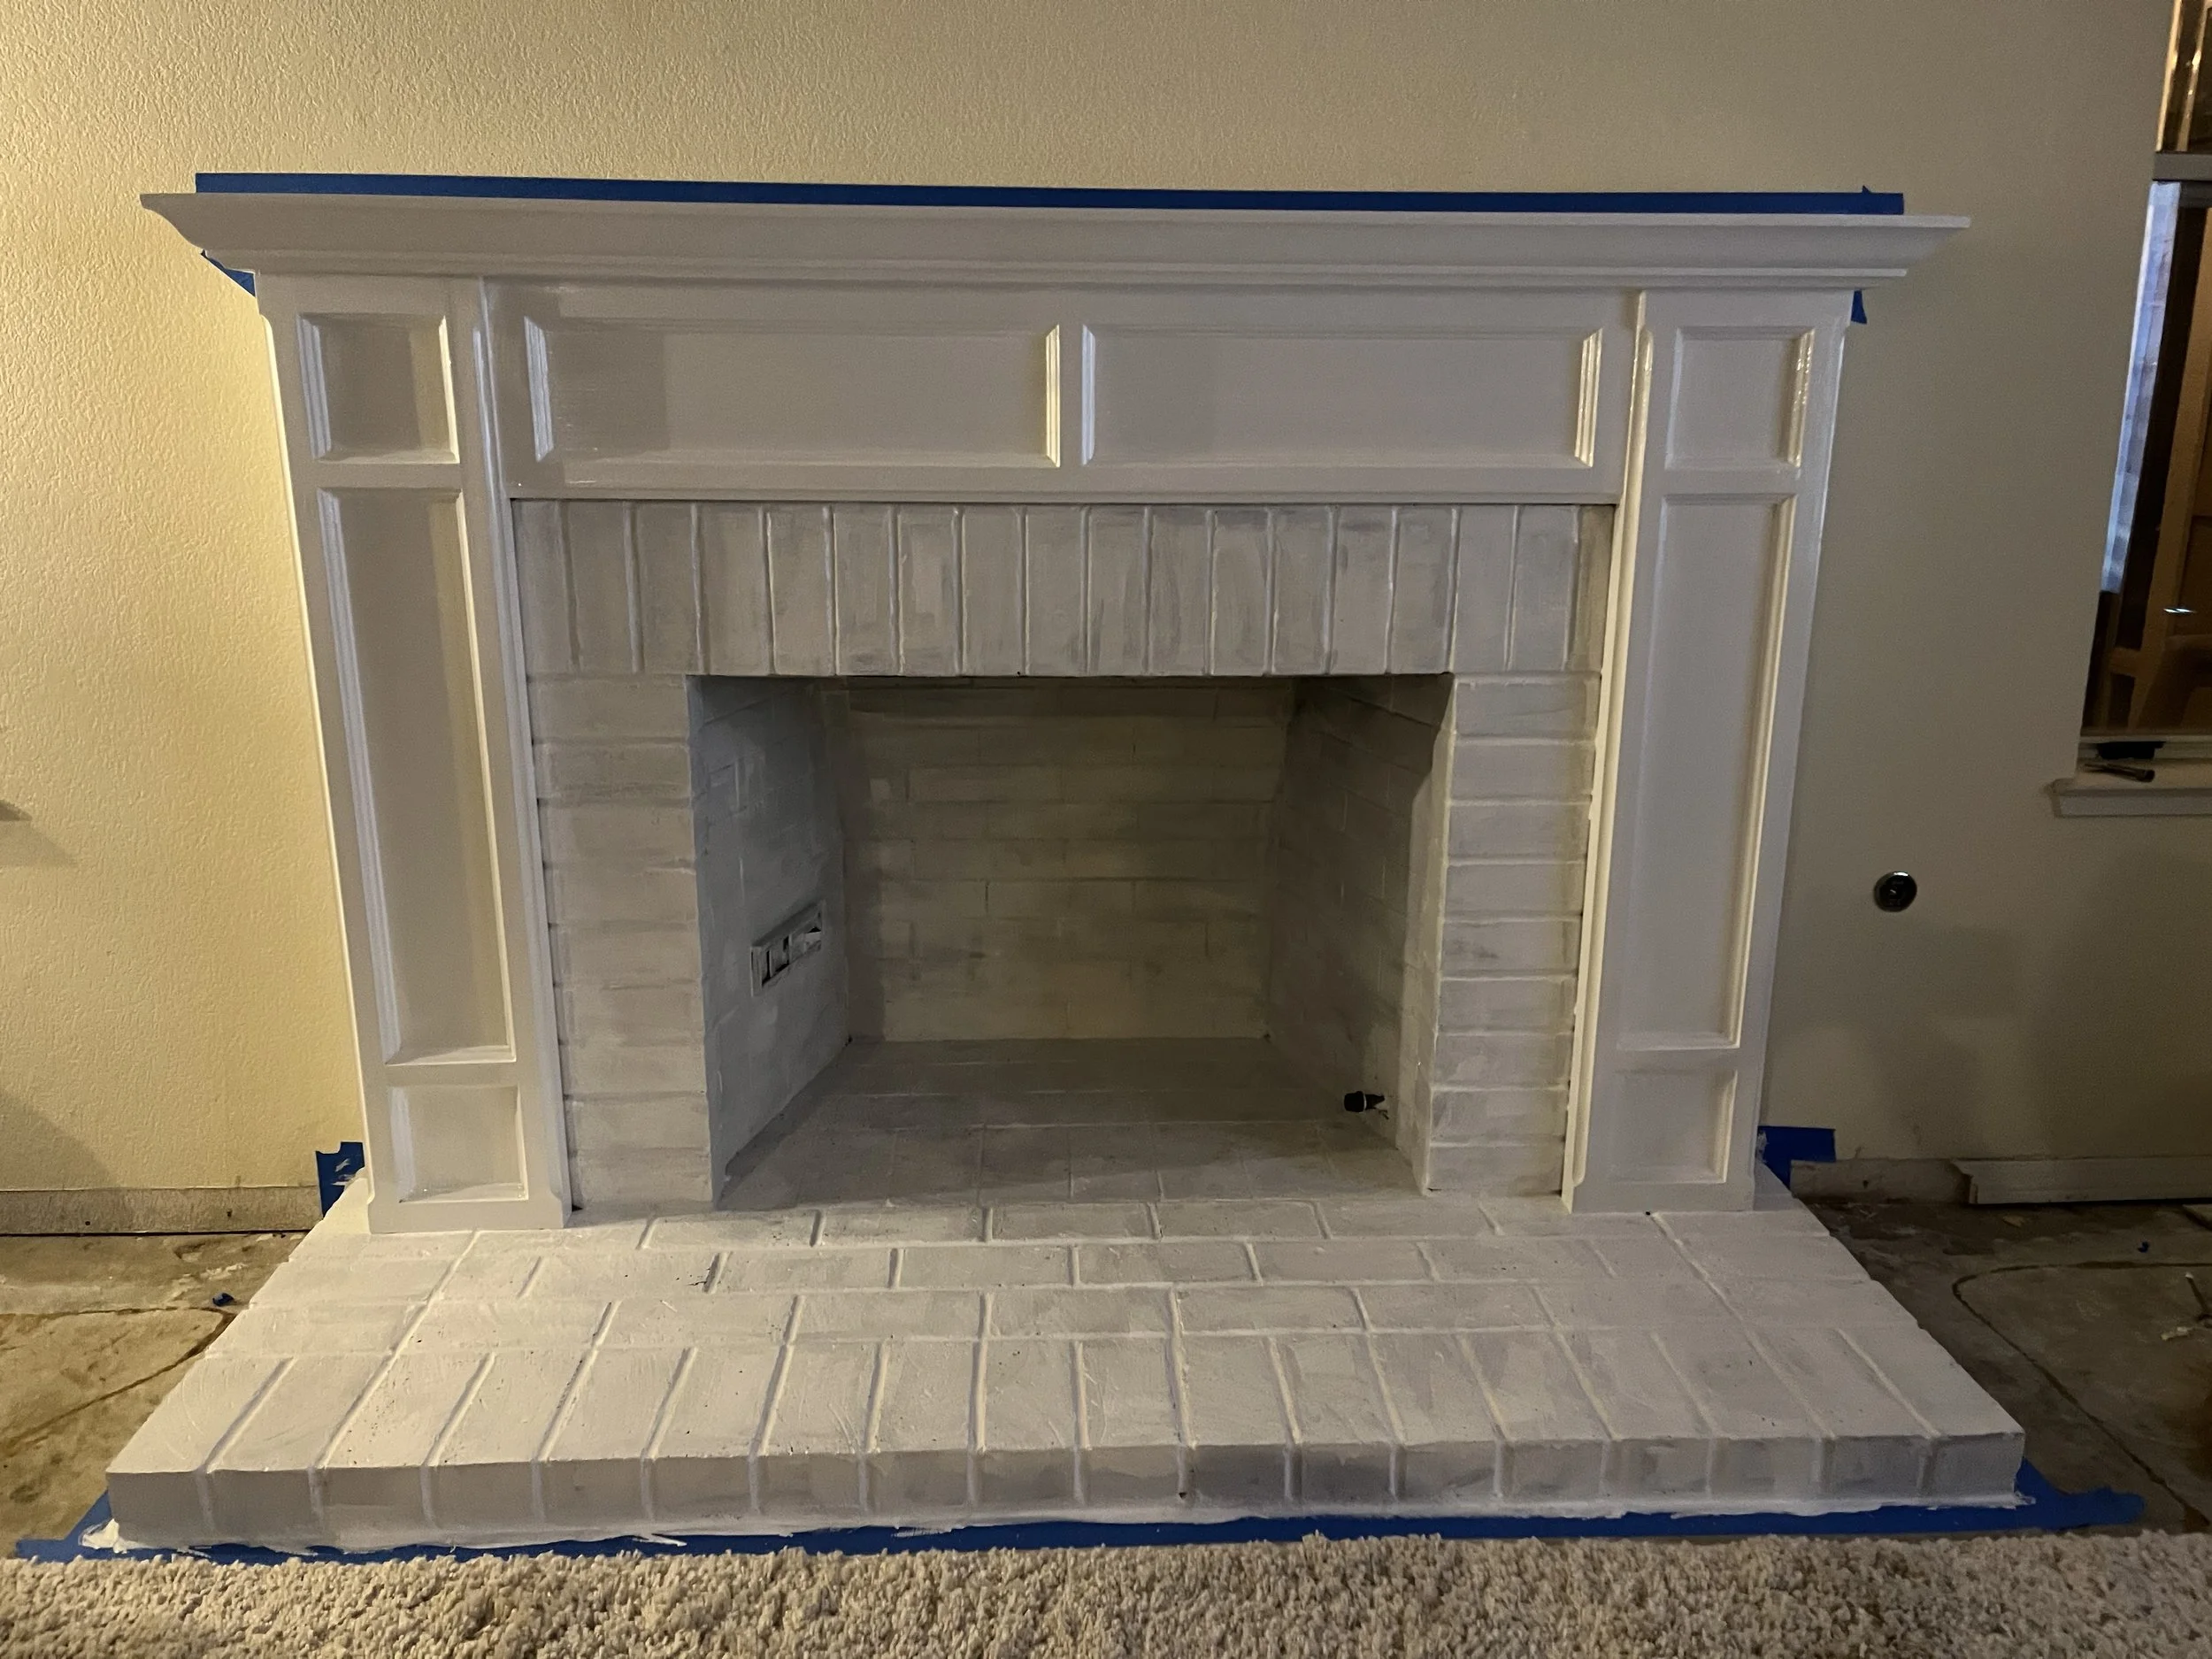
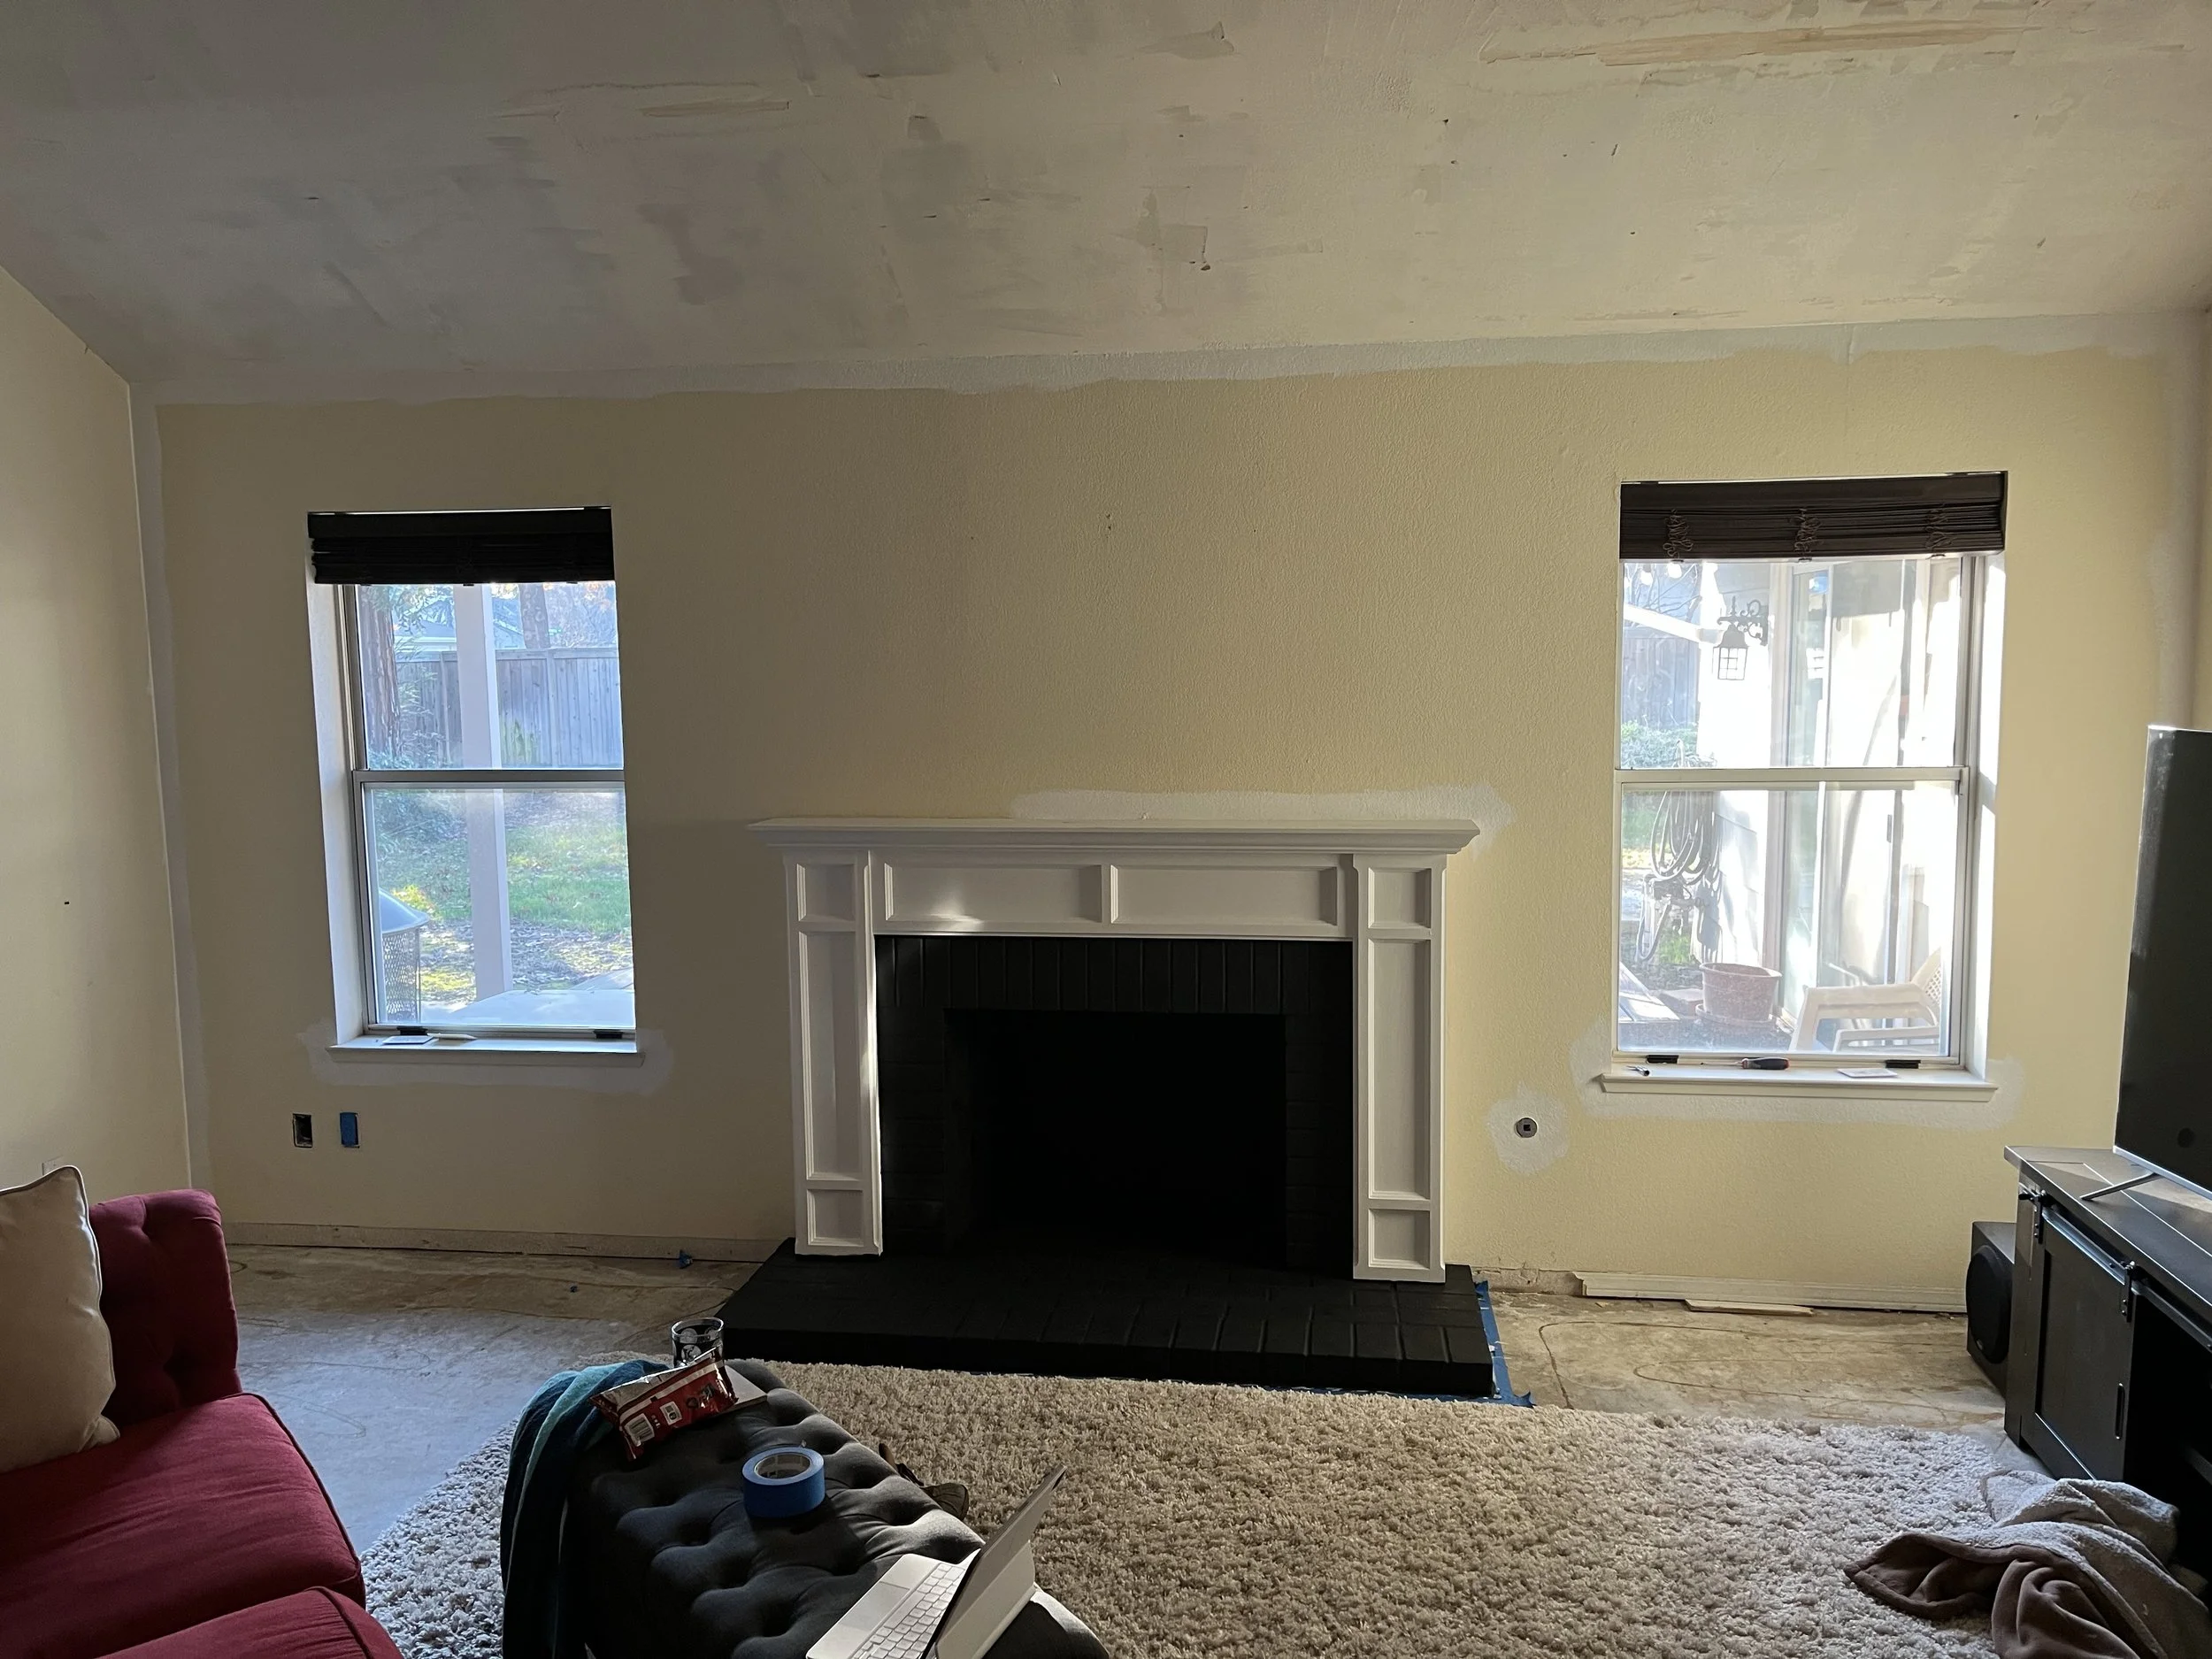
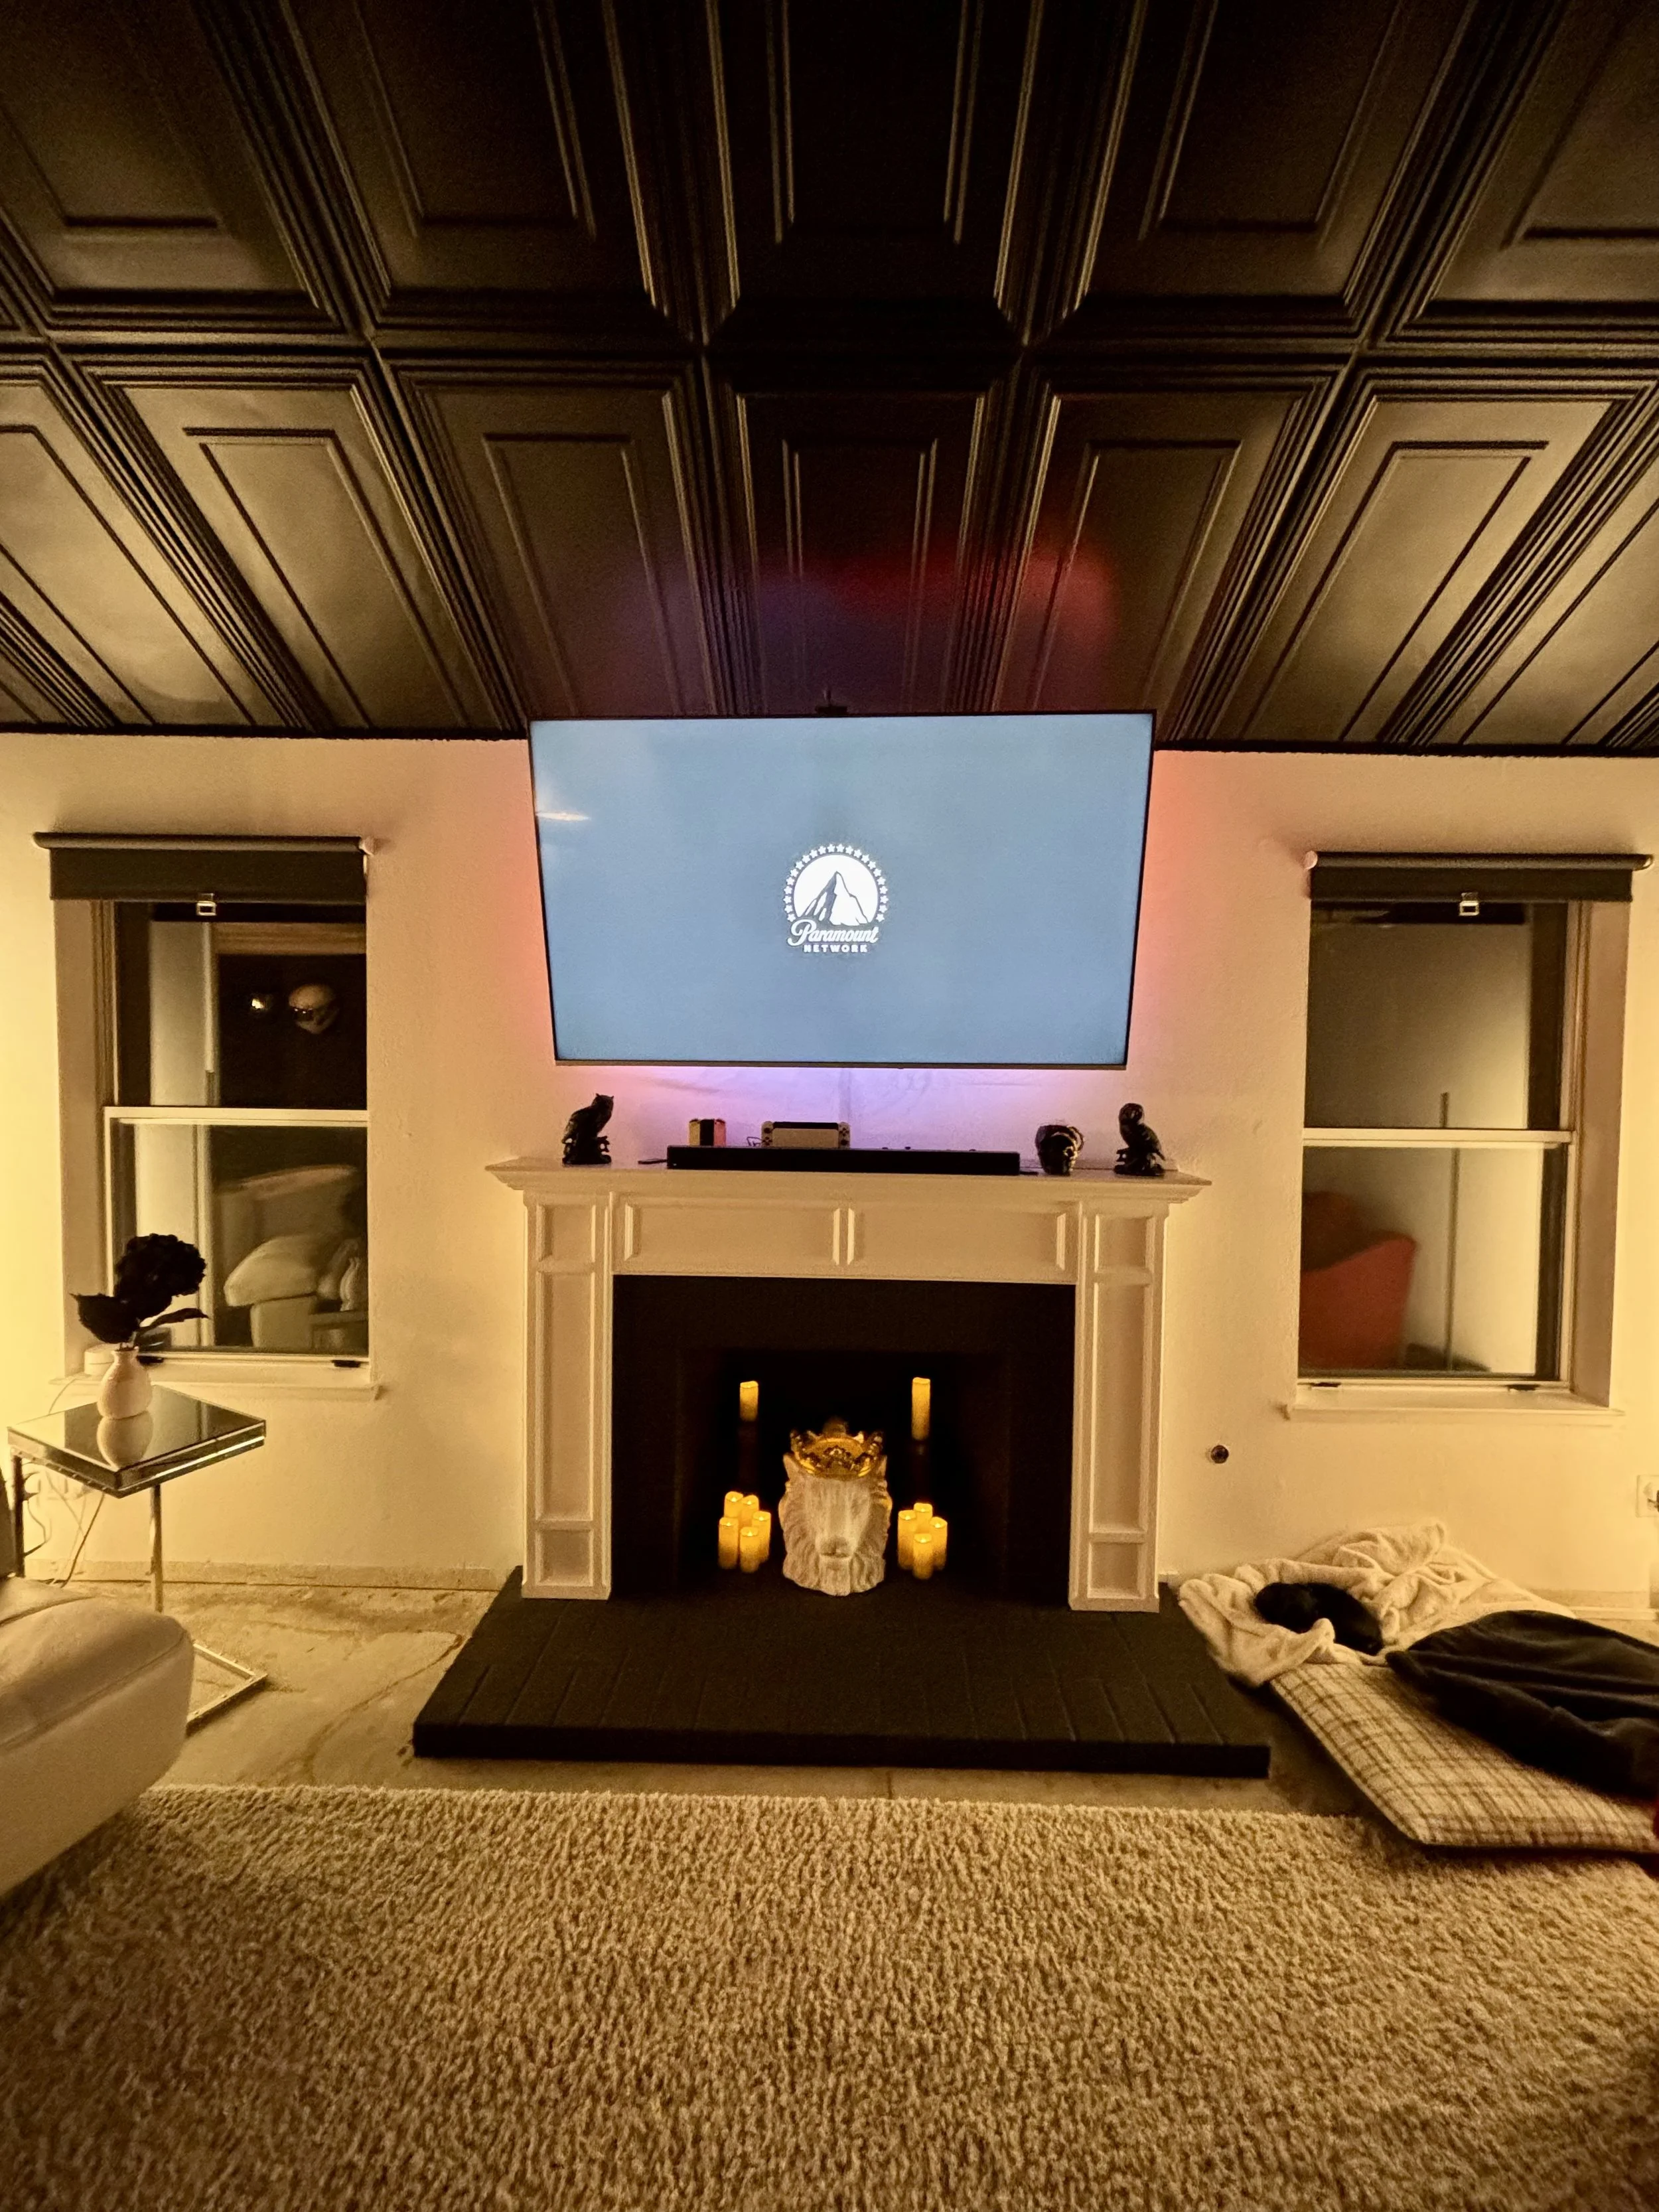
fireplace makeoverThe fireplace makeover was an idea we had after Jon enlightened me that there are certain days you’re allowed to have a fire due to air quality in the valley. Rather than have an ugly eyesore we could only use occasionally, we decided to create a stylish focal point for the area we spend the most of our time. We capped the gas line, thoroughly cleaned the fireplace, and got to work painting. We found the perfect bust to occupy our hearth, and remote-controlled candles finished the vibe we were looking for. This was a low-cost project that completely transformed the look and feel of our living room. It’s giving pride vibes.
Products used:
Behr masonry paint: Flat - Jet Black
Total project time = 6 hours
Total project cost = $150
Vendor: The Home Depot
Click product image below to see full details.
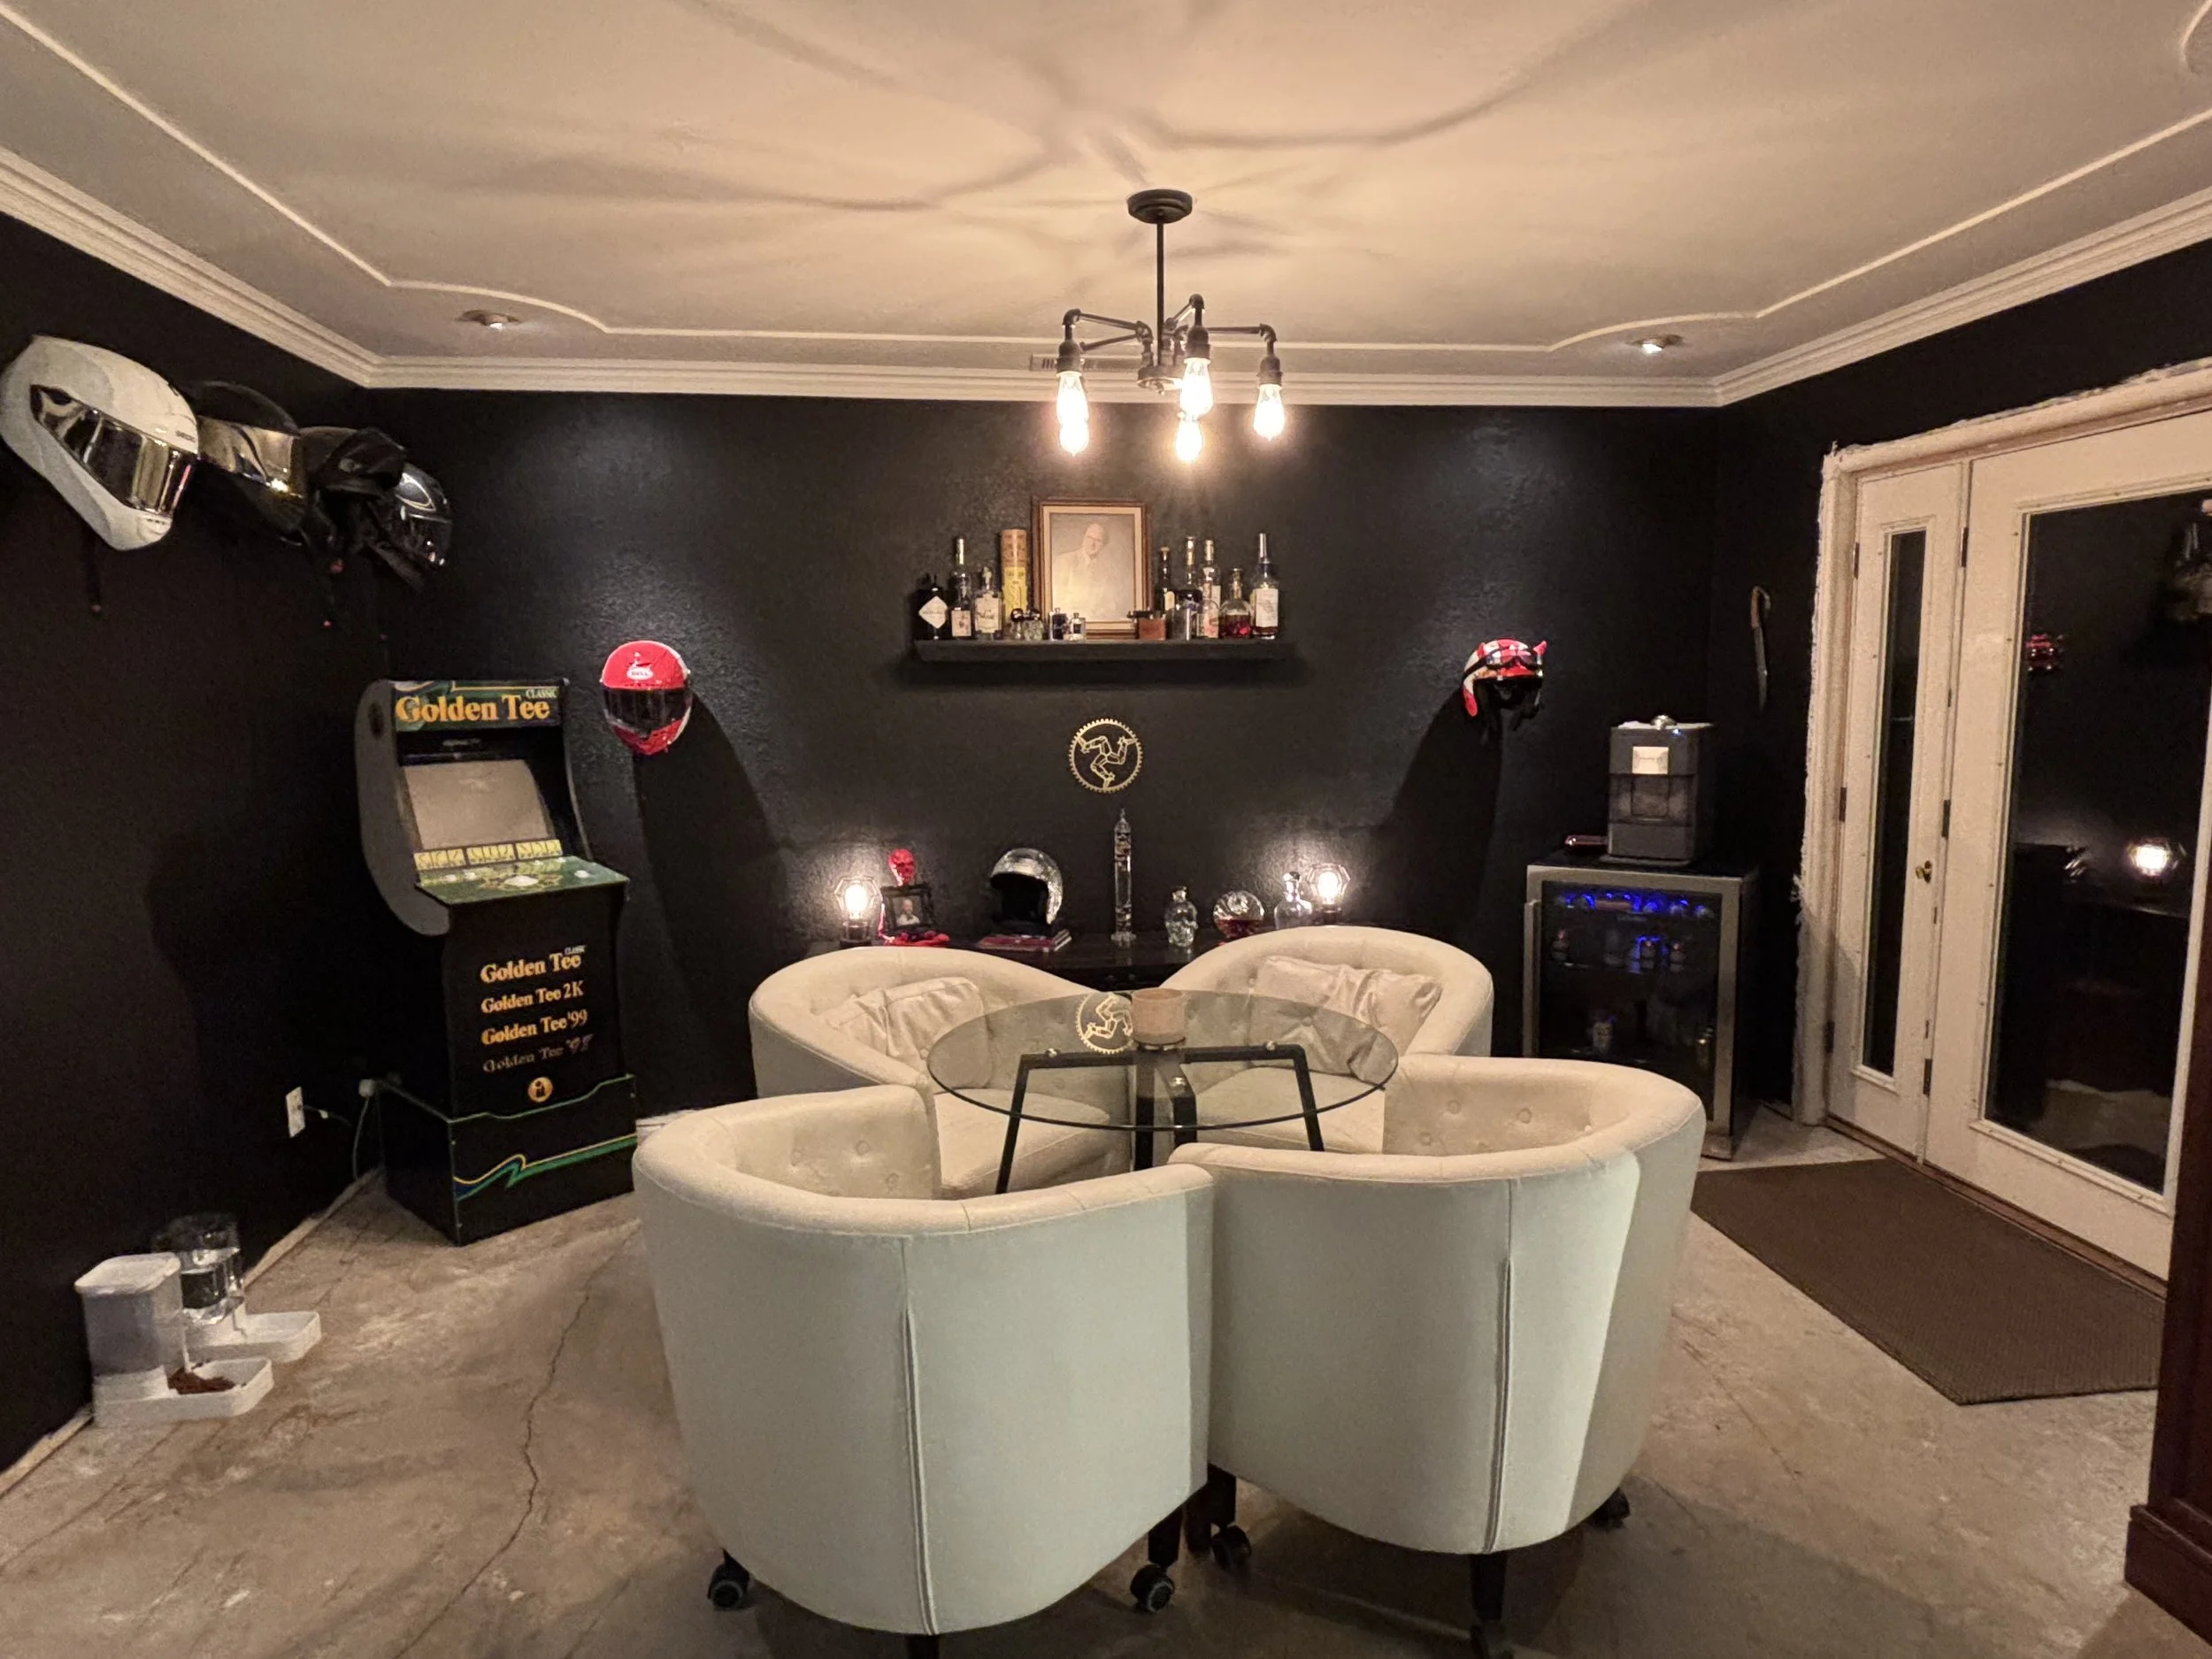
lounge revampProducts used:
Lounge furniture / appliances:
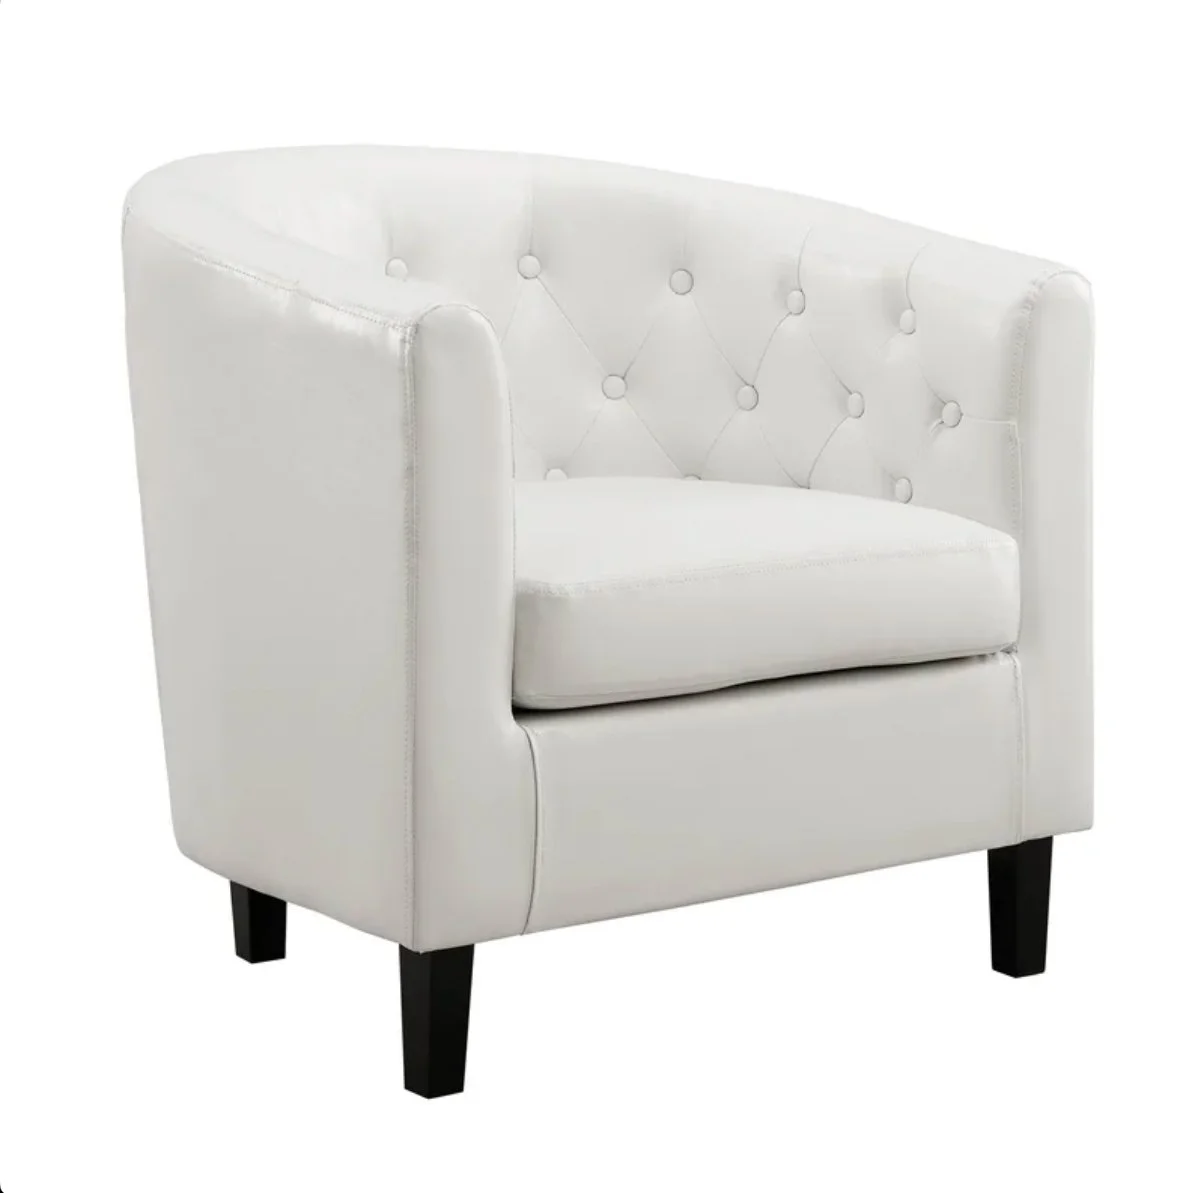
Faux leather barrel tufted accent chair x 4
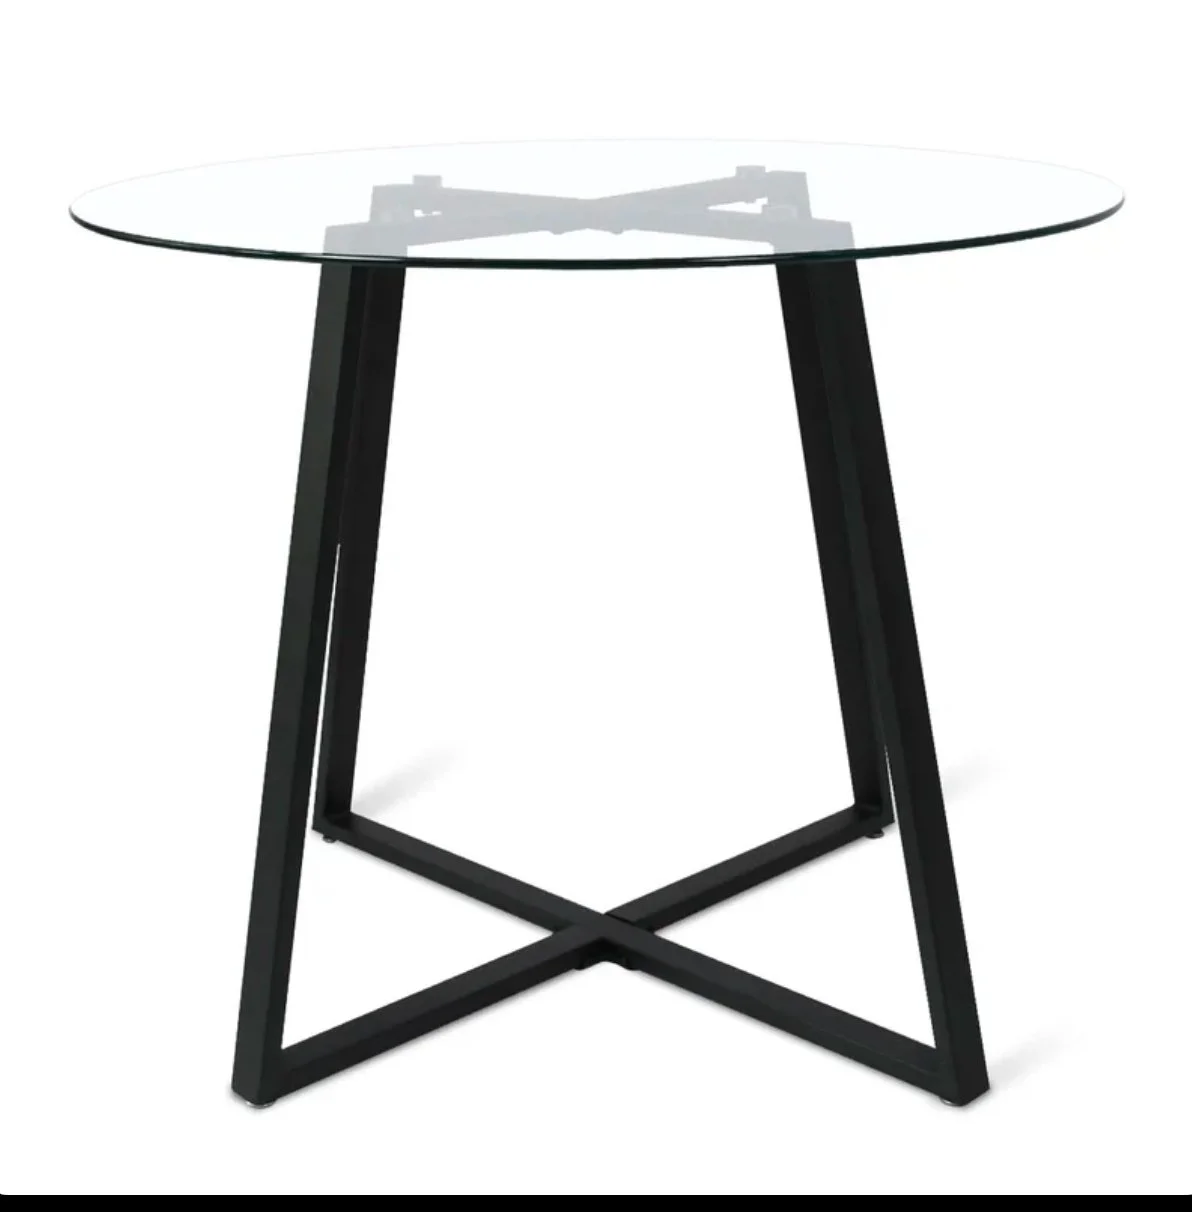
Glass dining table
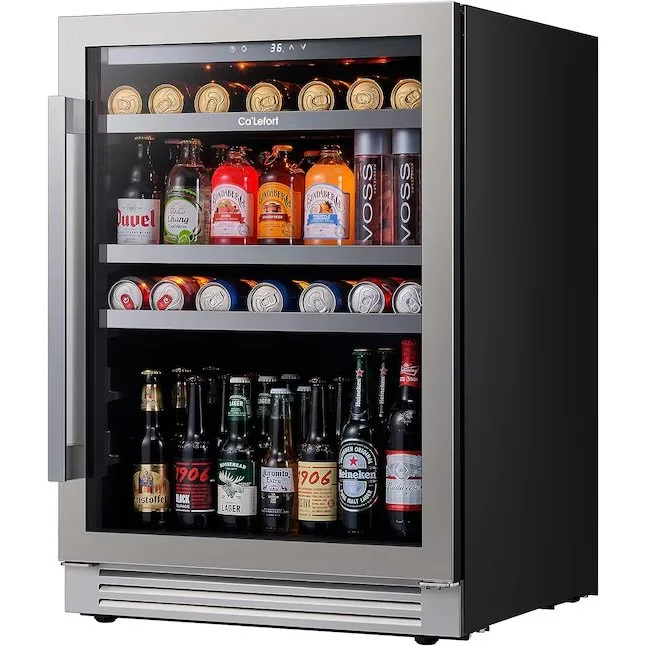
Stainless beverage cooler w/ glass door
Total project time = 4 hours
Total project cost = $1916.64
Vendor: Wayfair + Lowes
Click product images below to see full details.
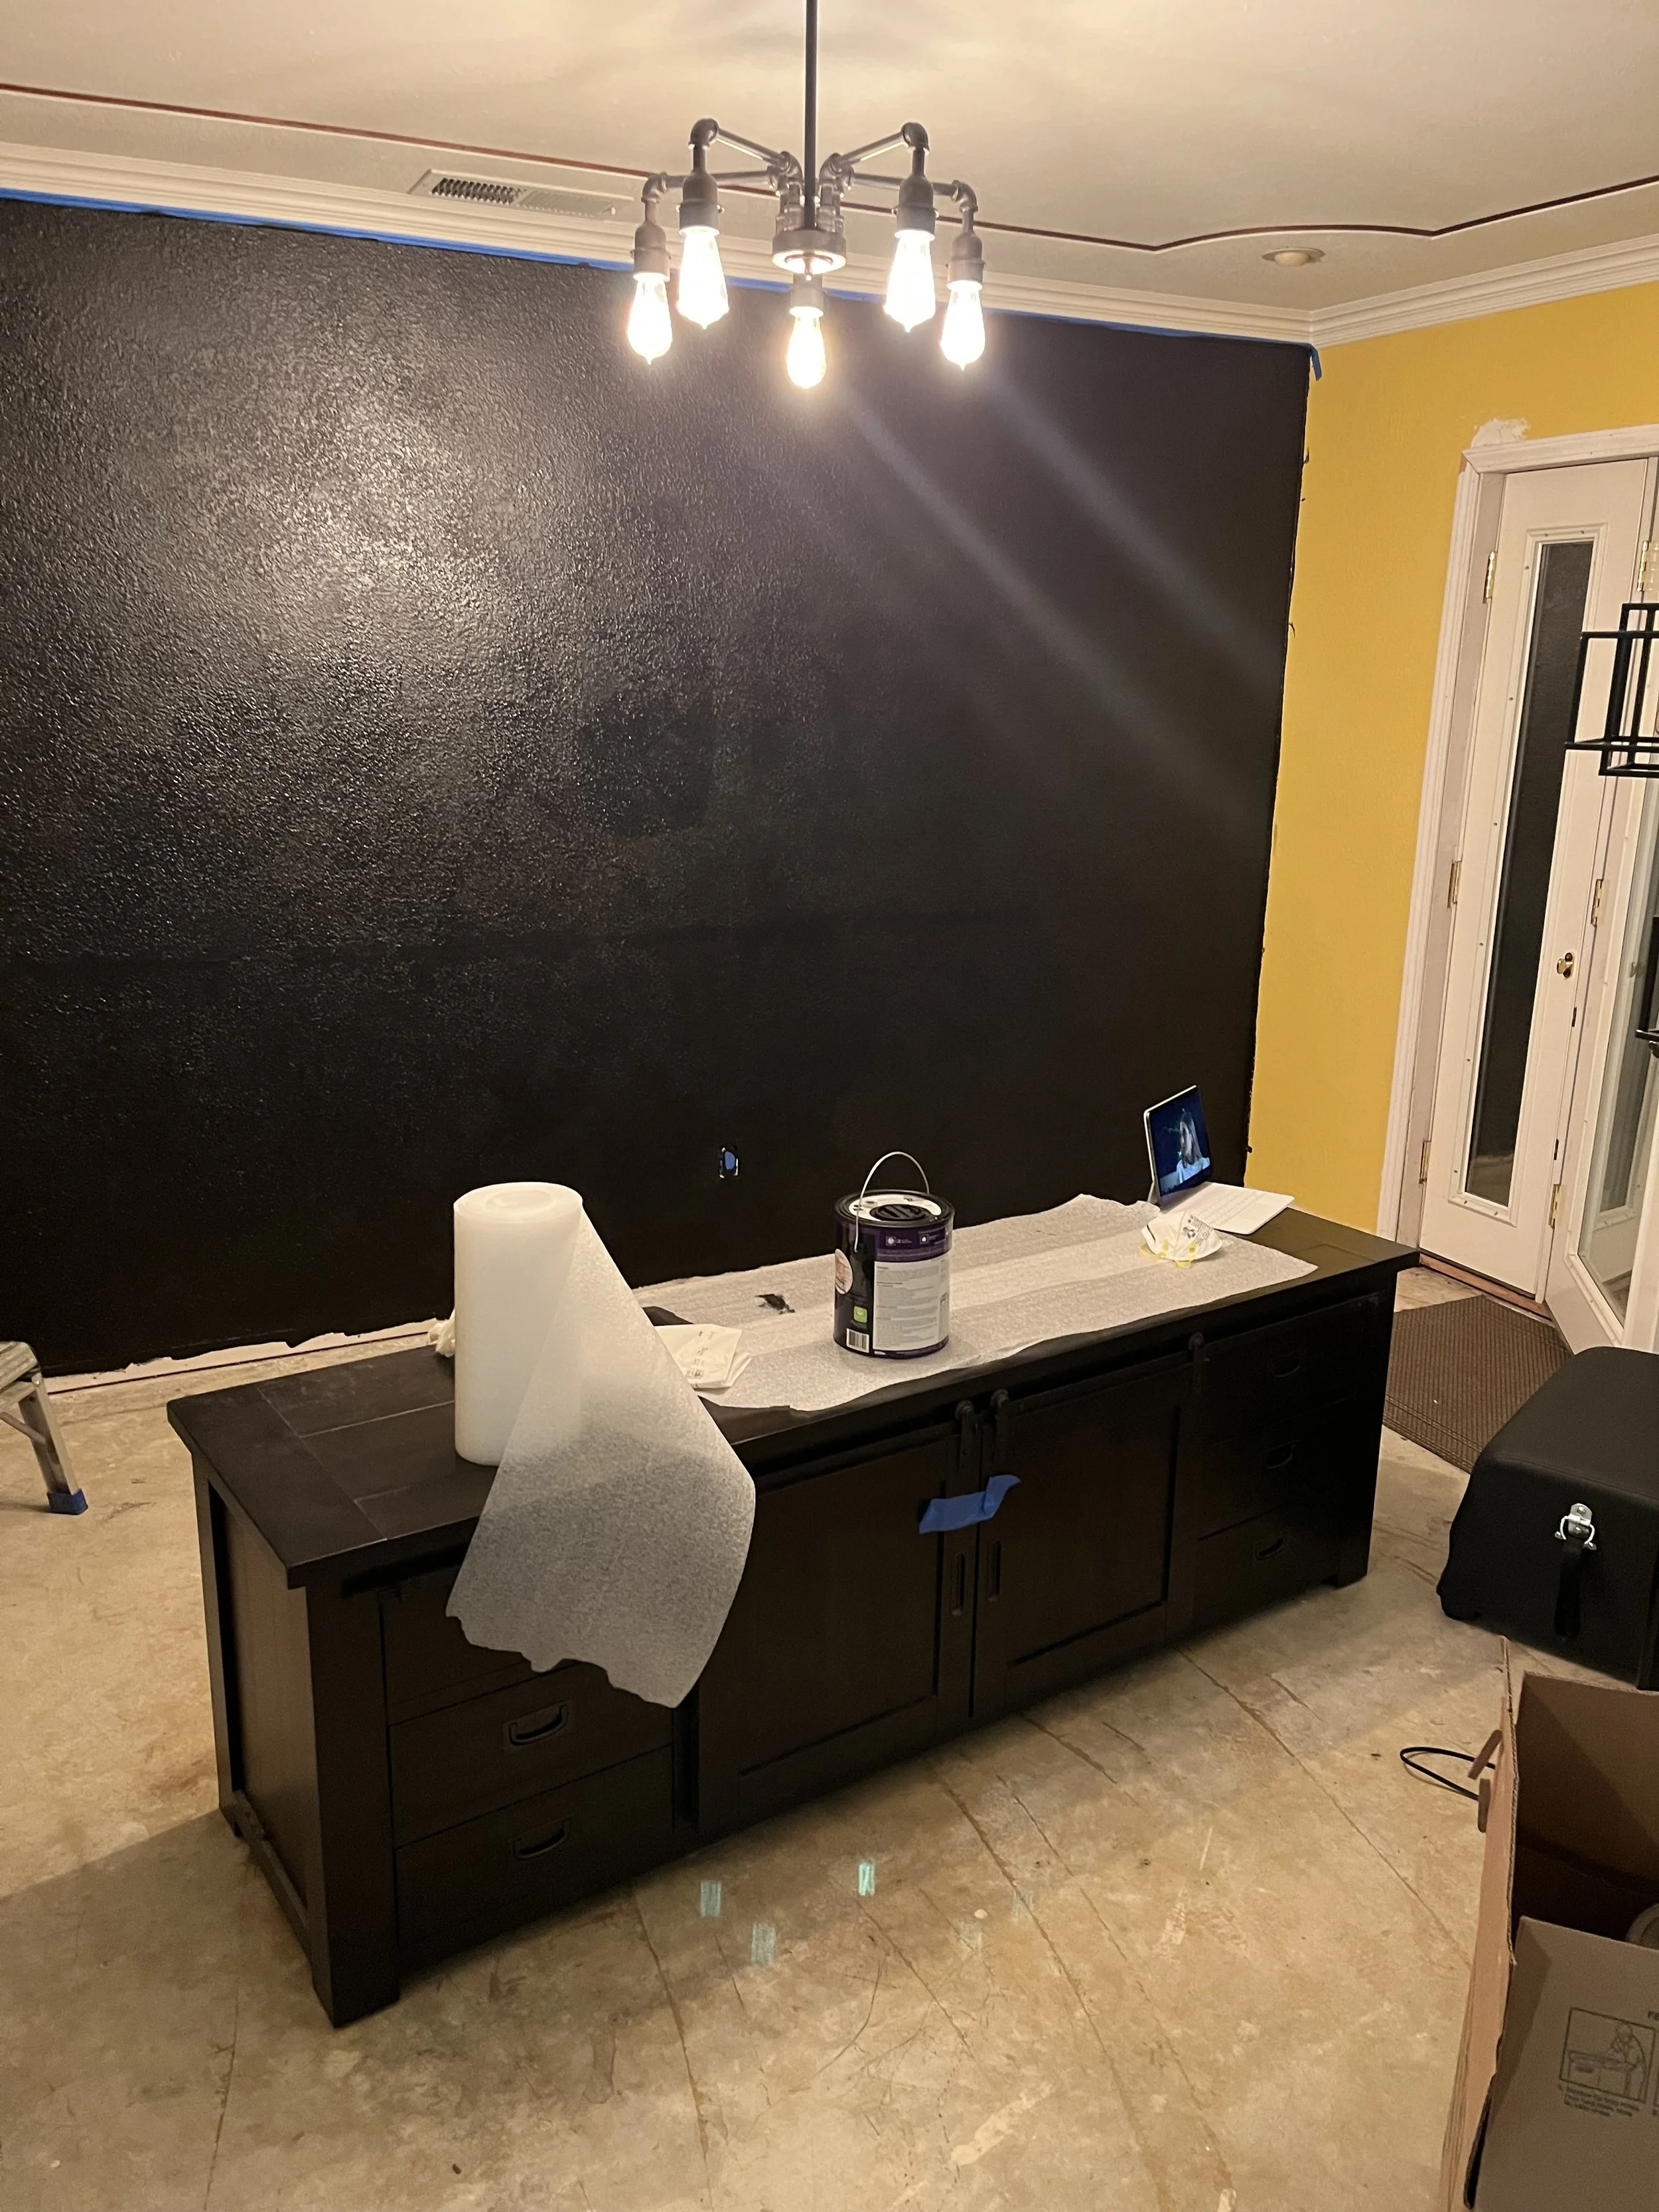
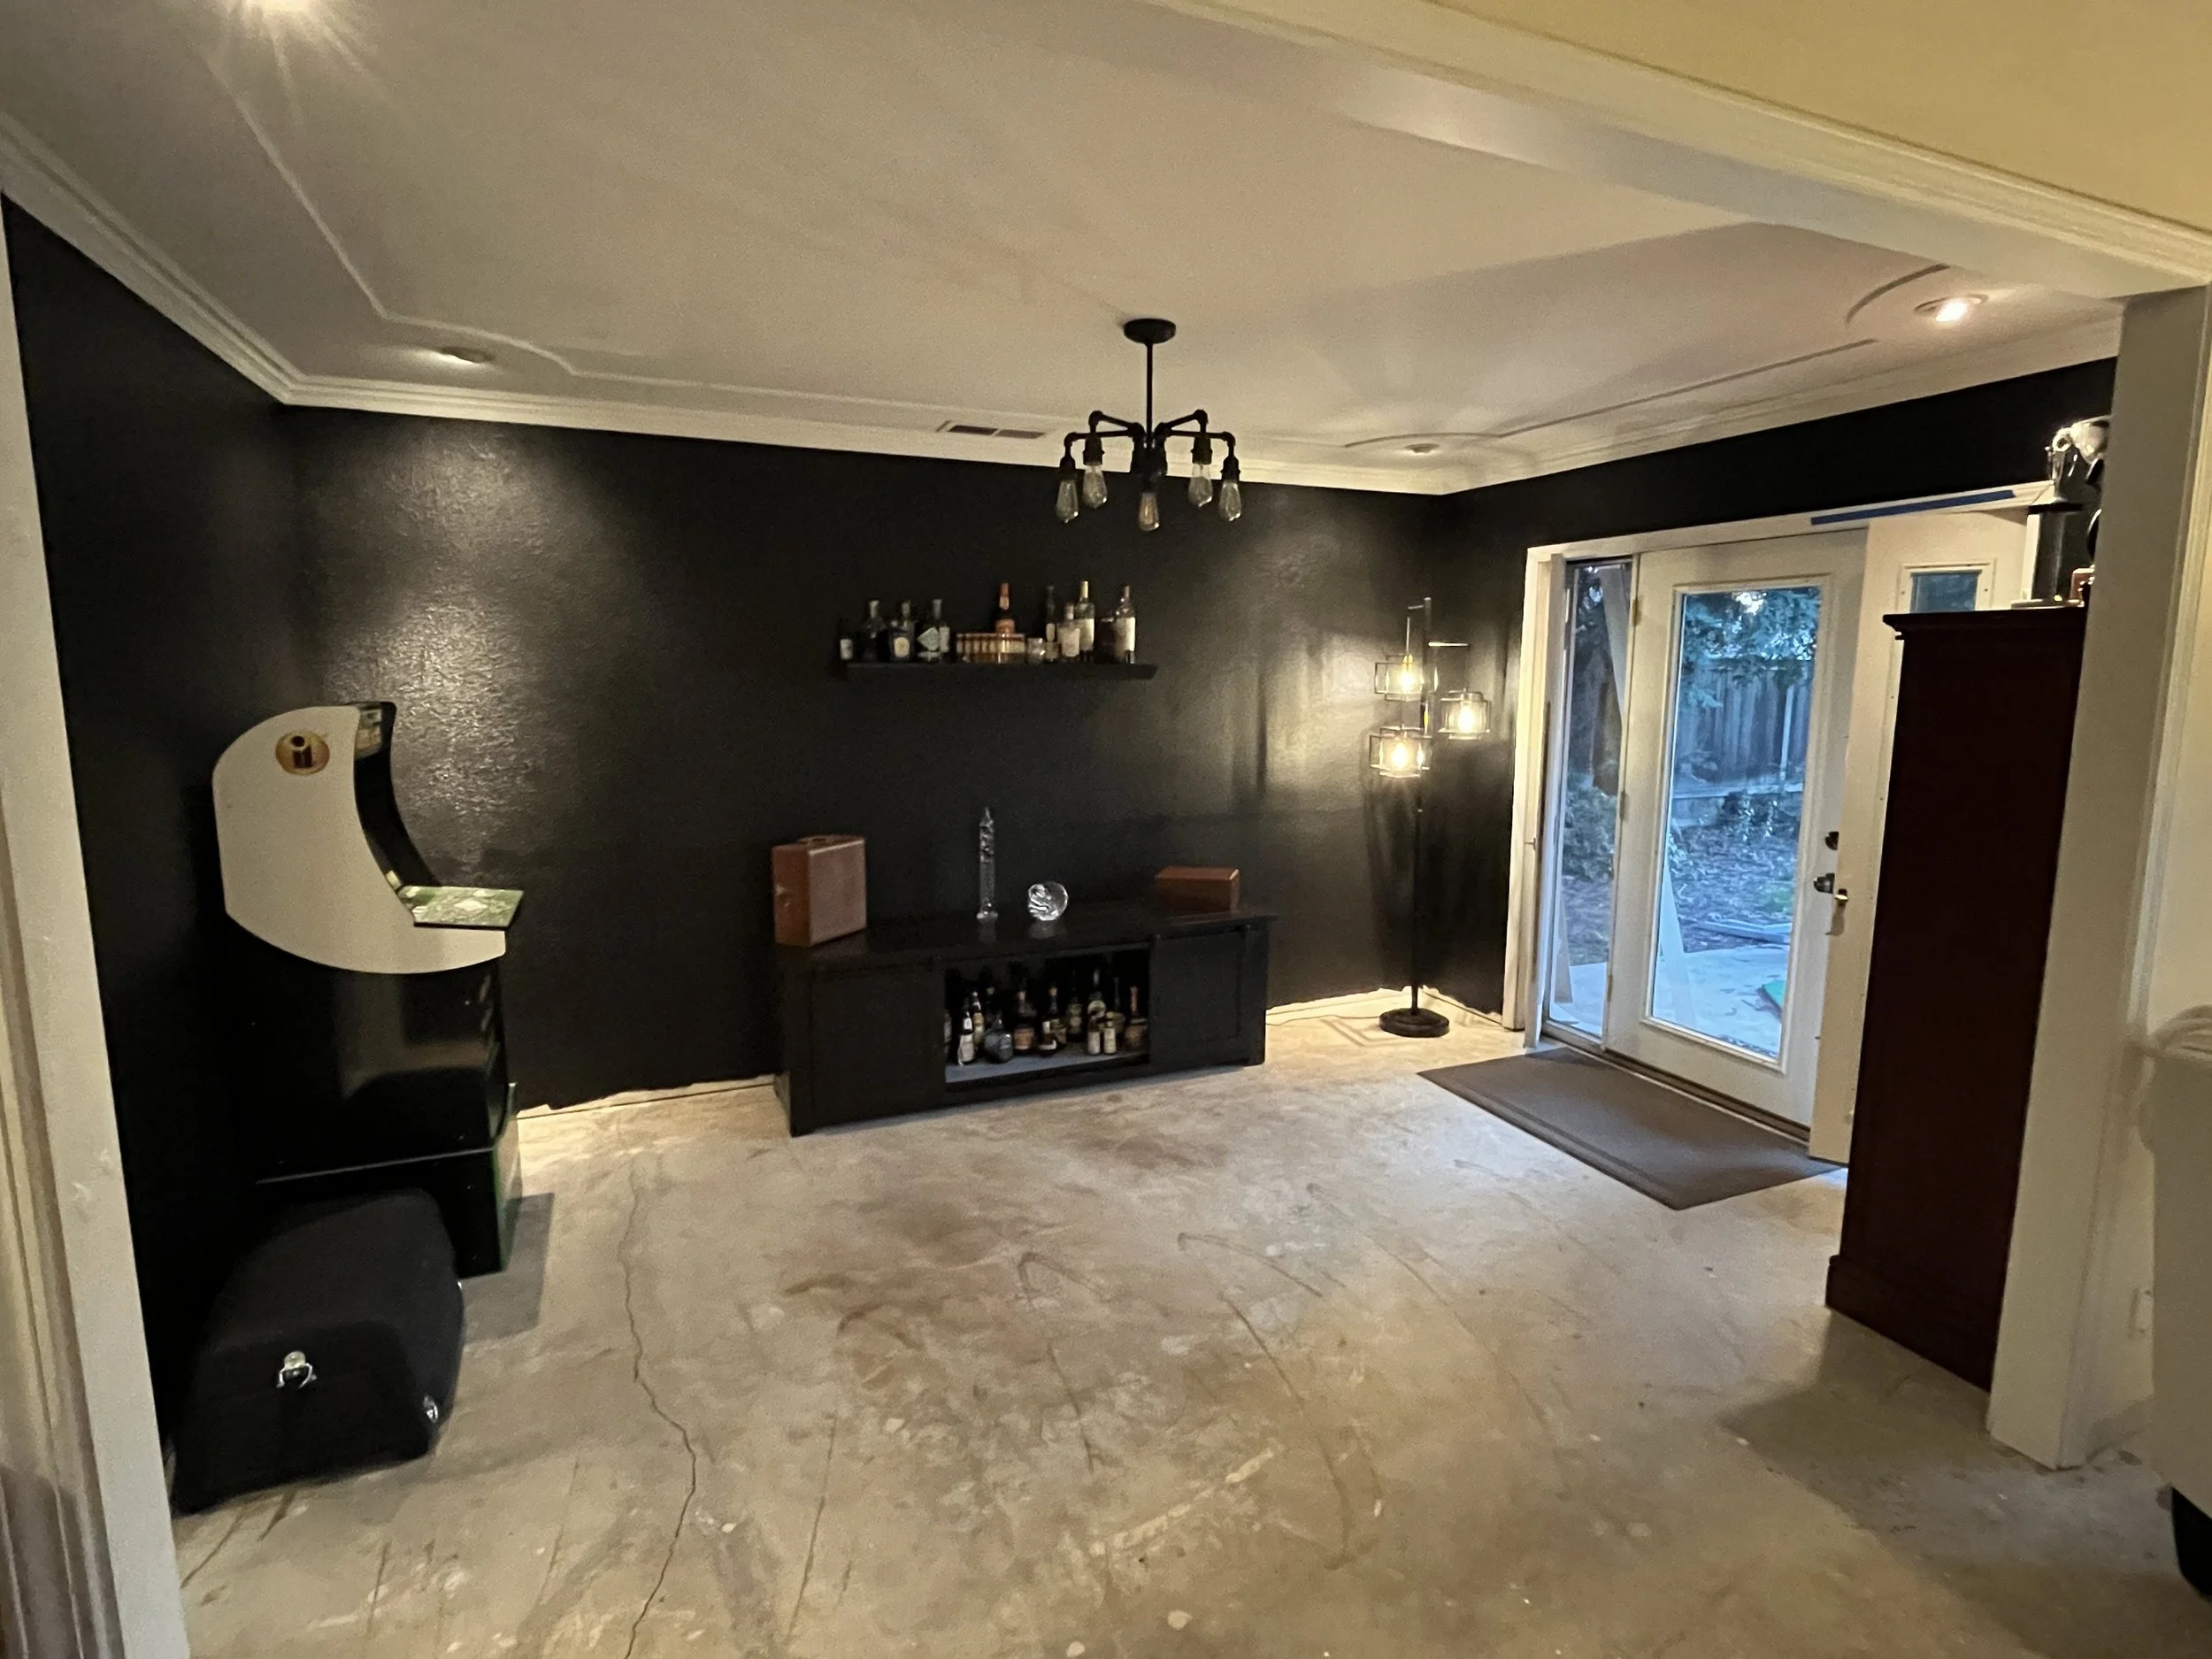
The lounge revamp served two purposes:
Enabled me to remove the corner bar from the living room (more details further down on this page!).
Made a comfortable and stylish place for us to enjoy meals, cocktails, friends, and family.
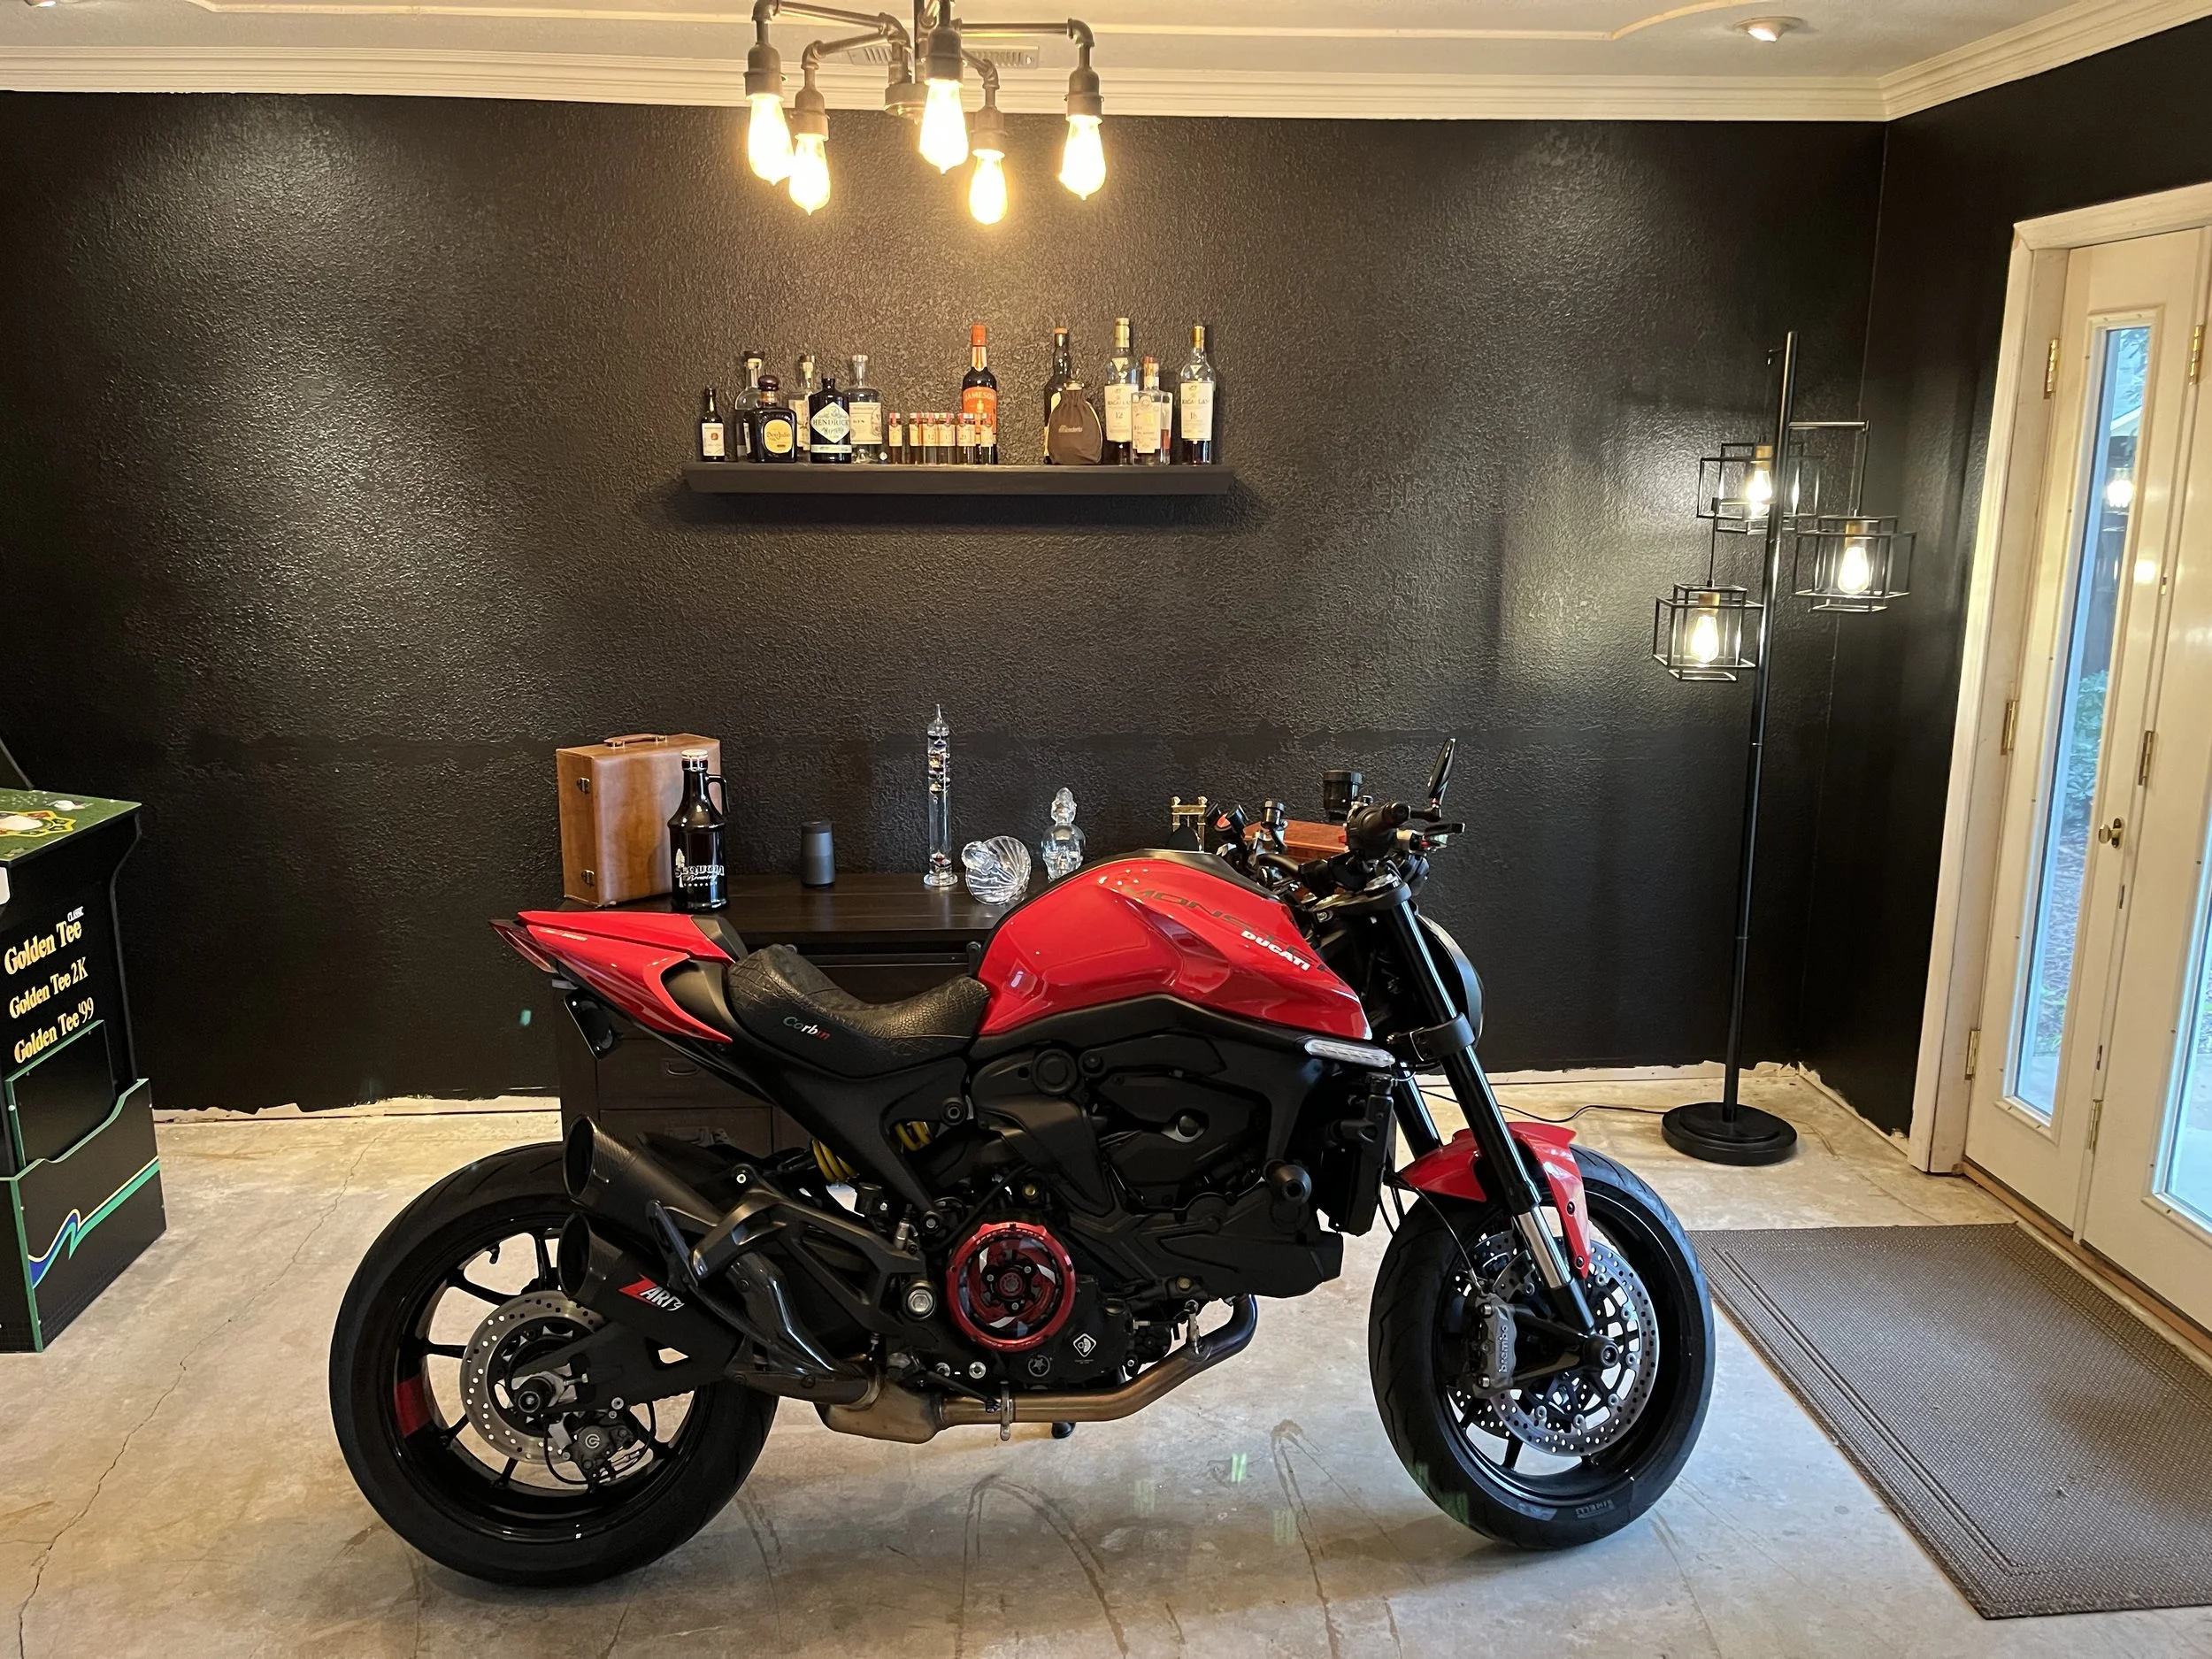
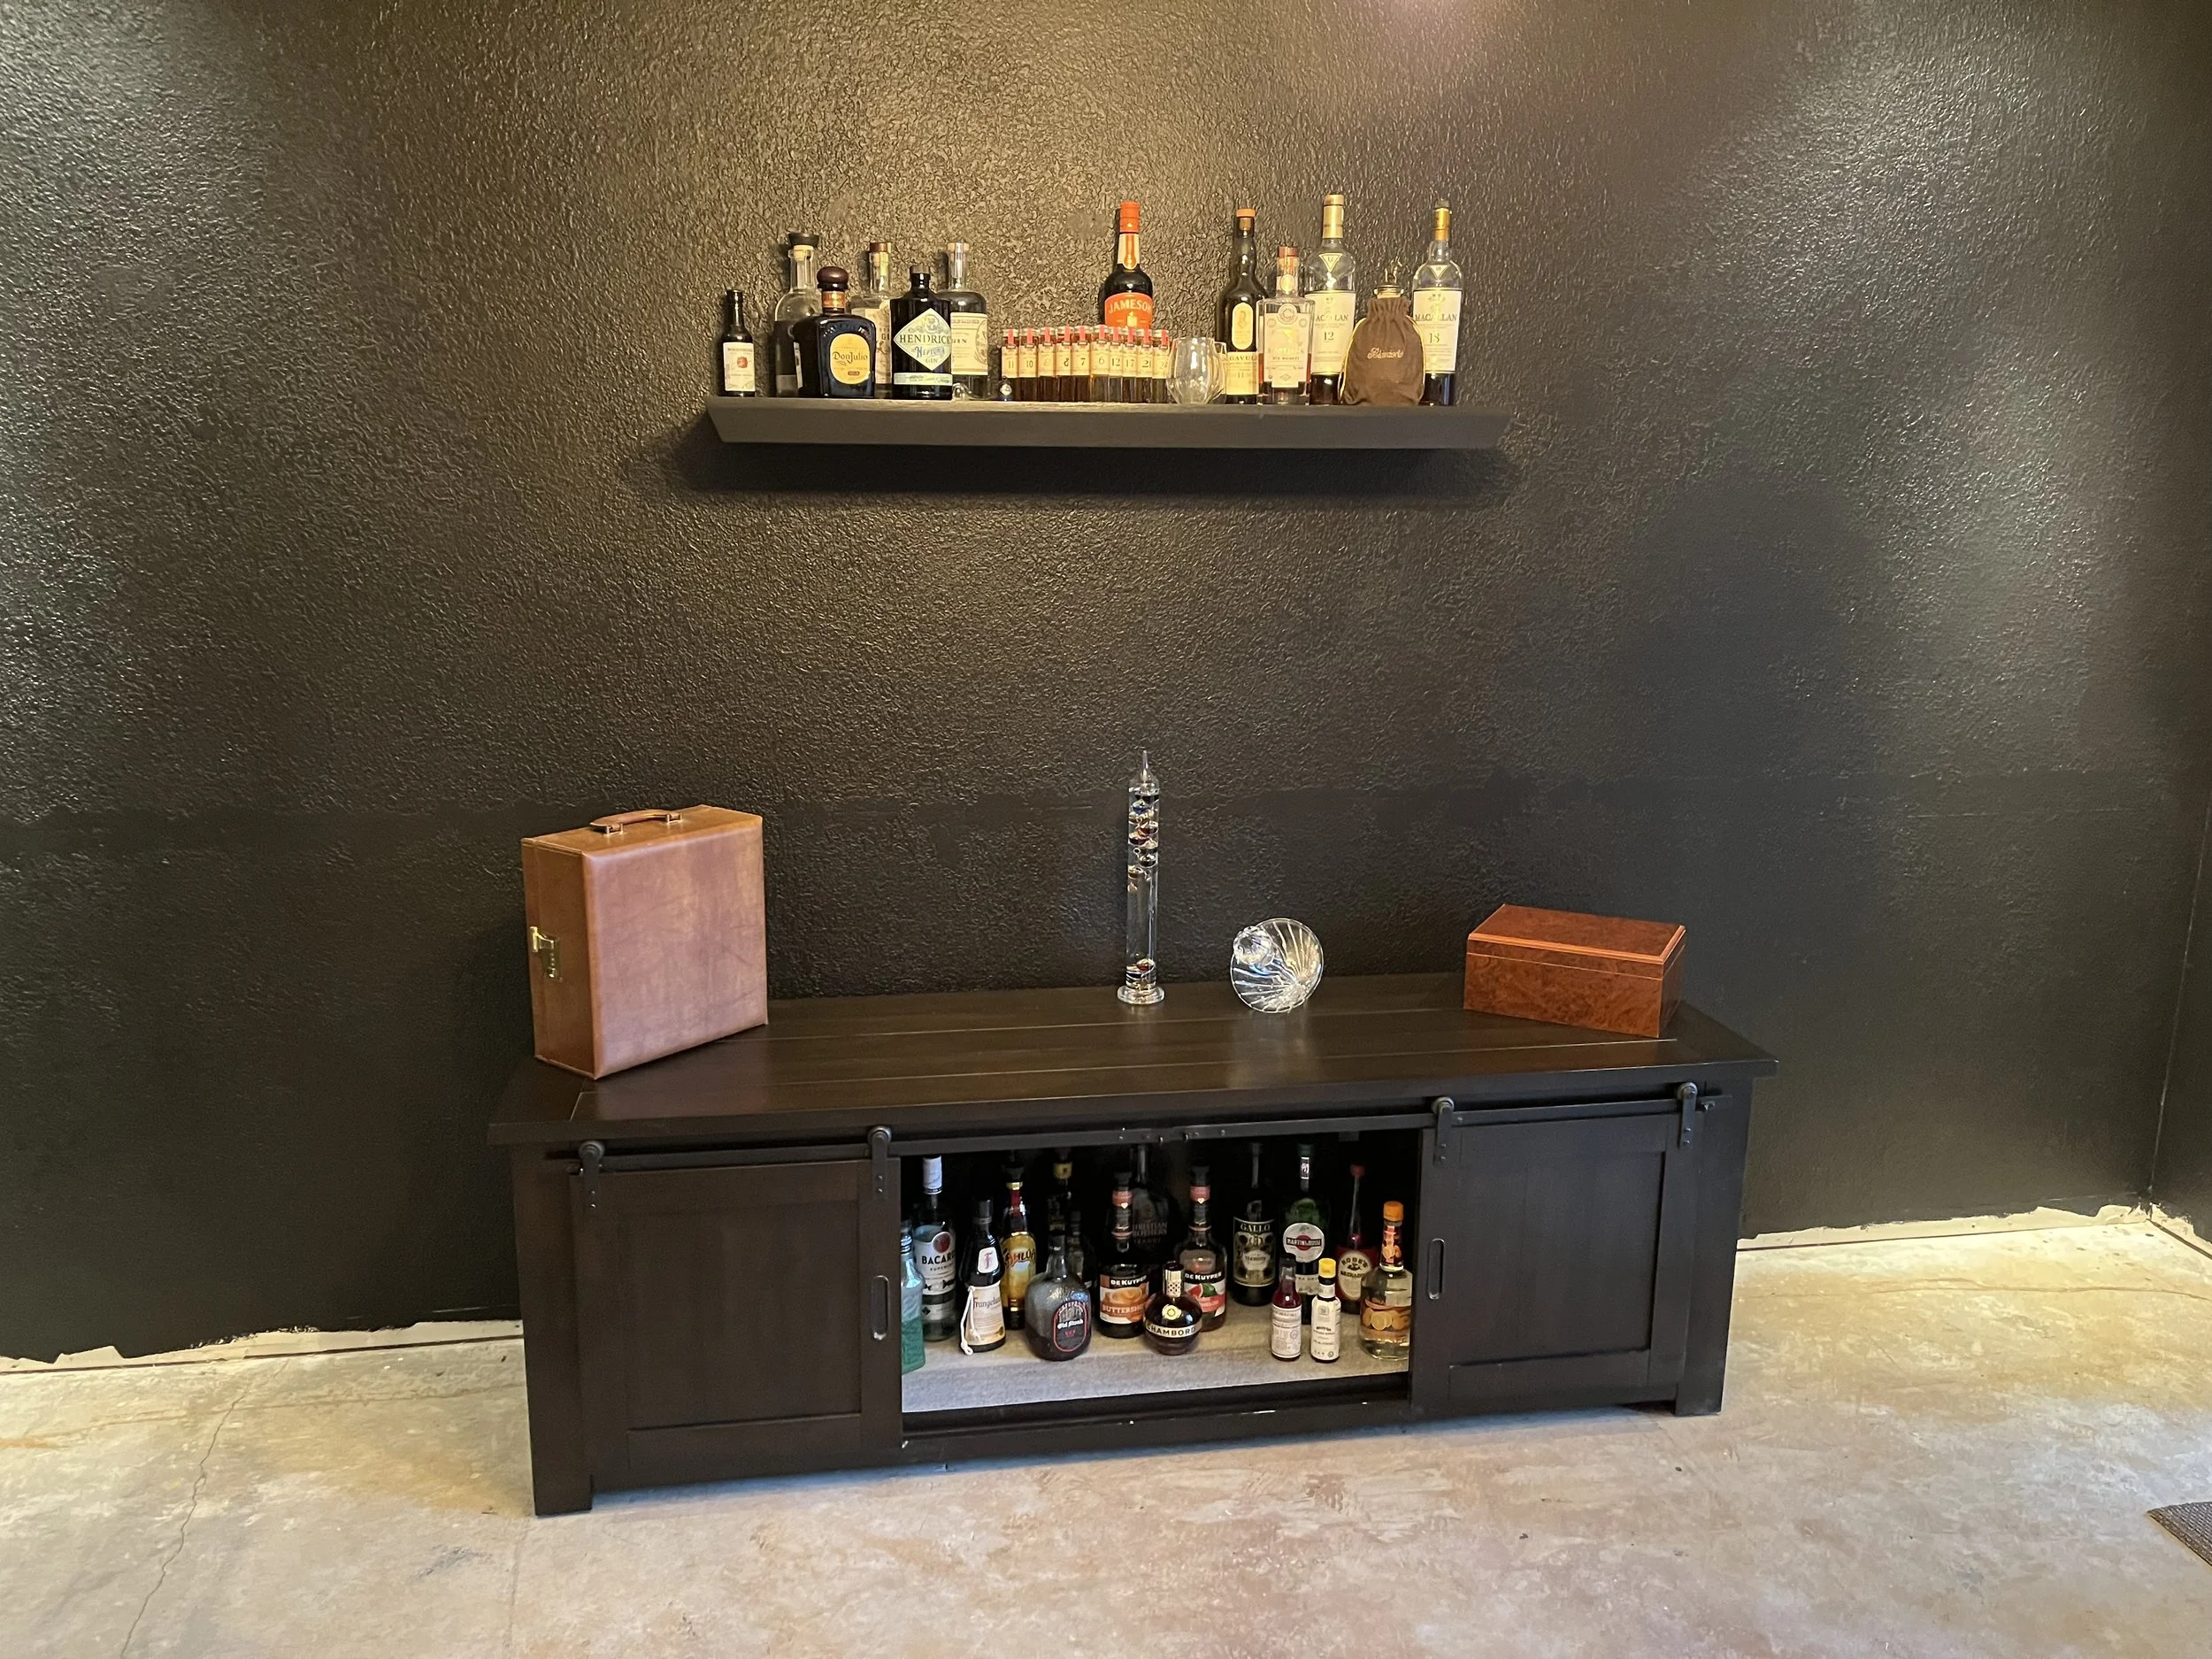
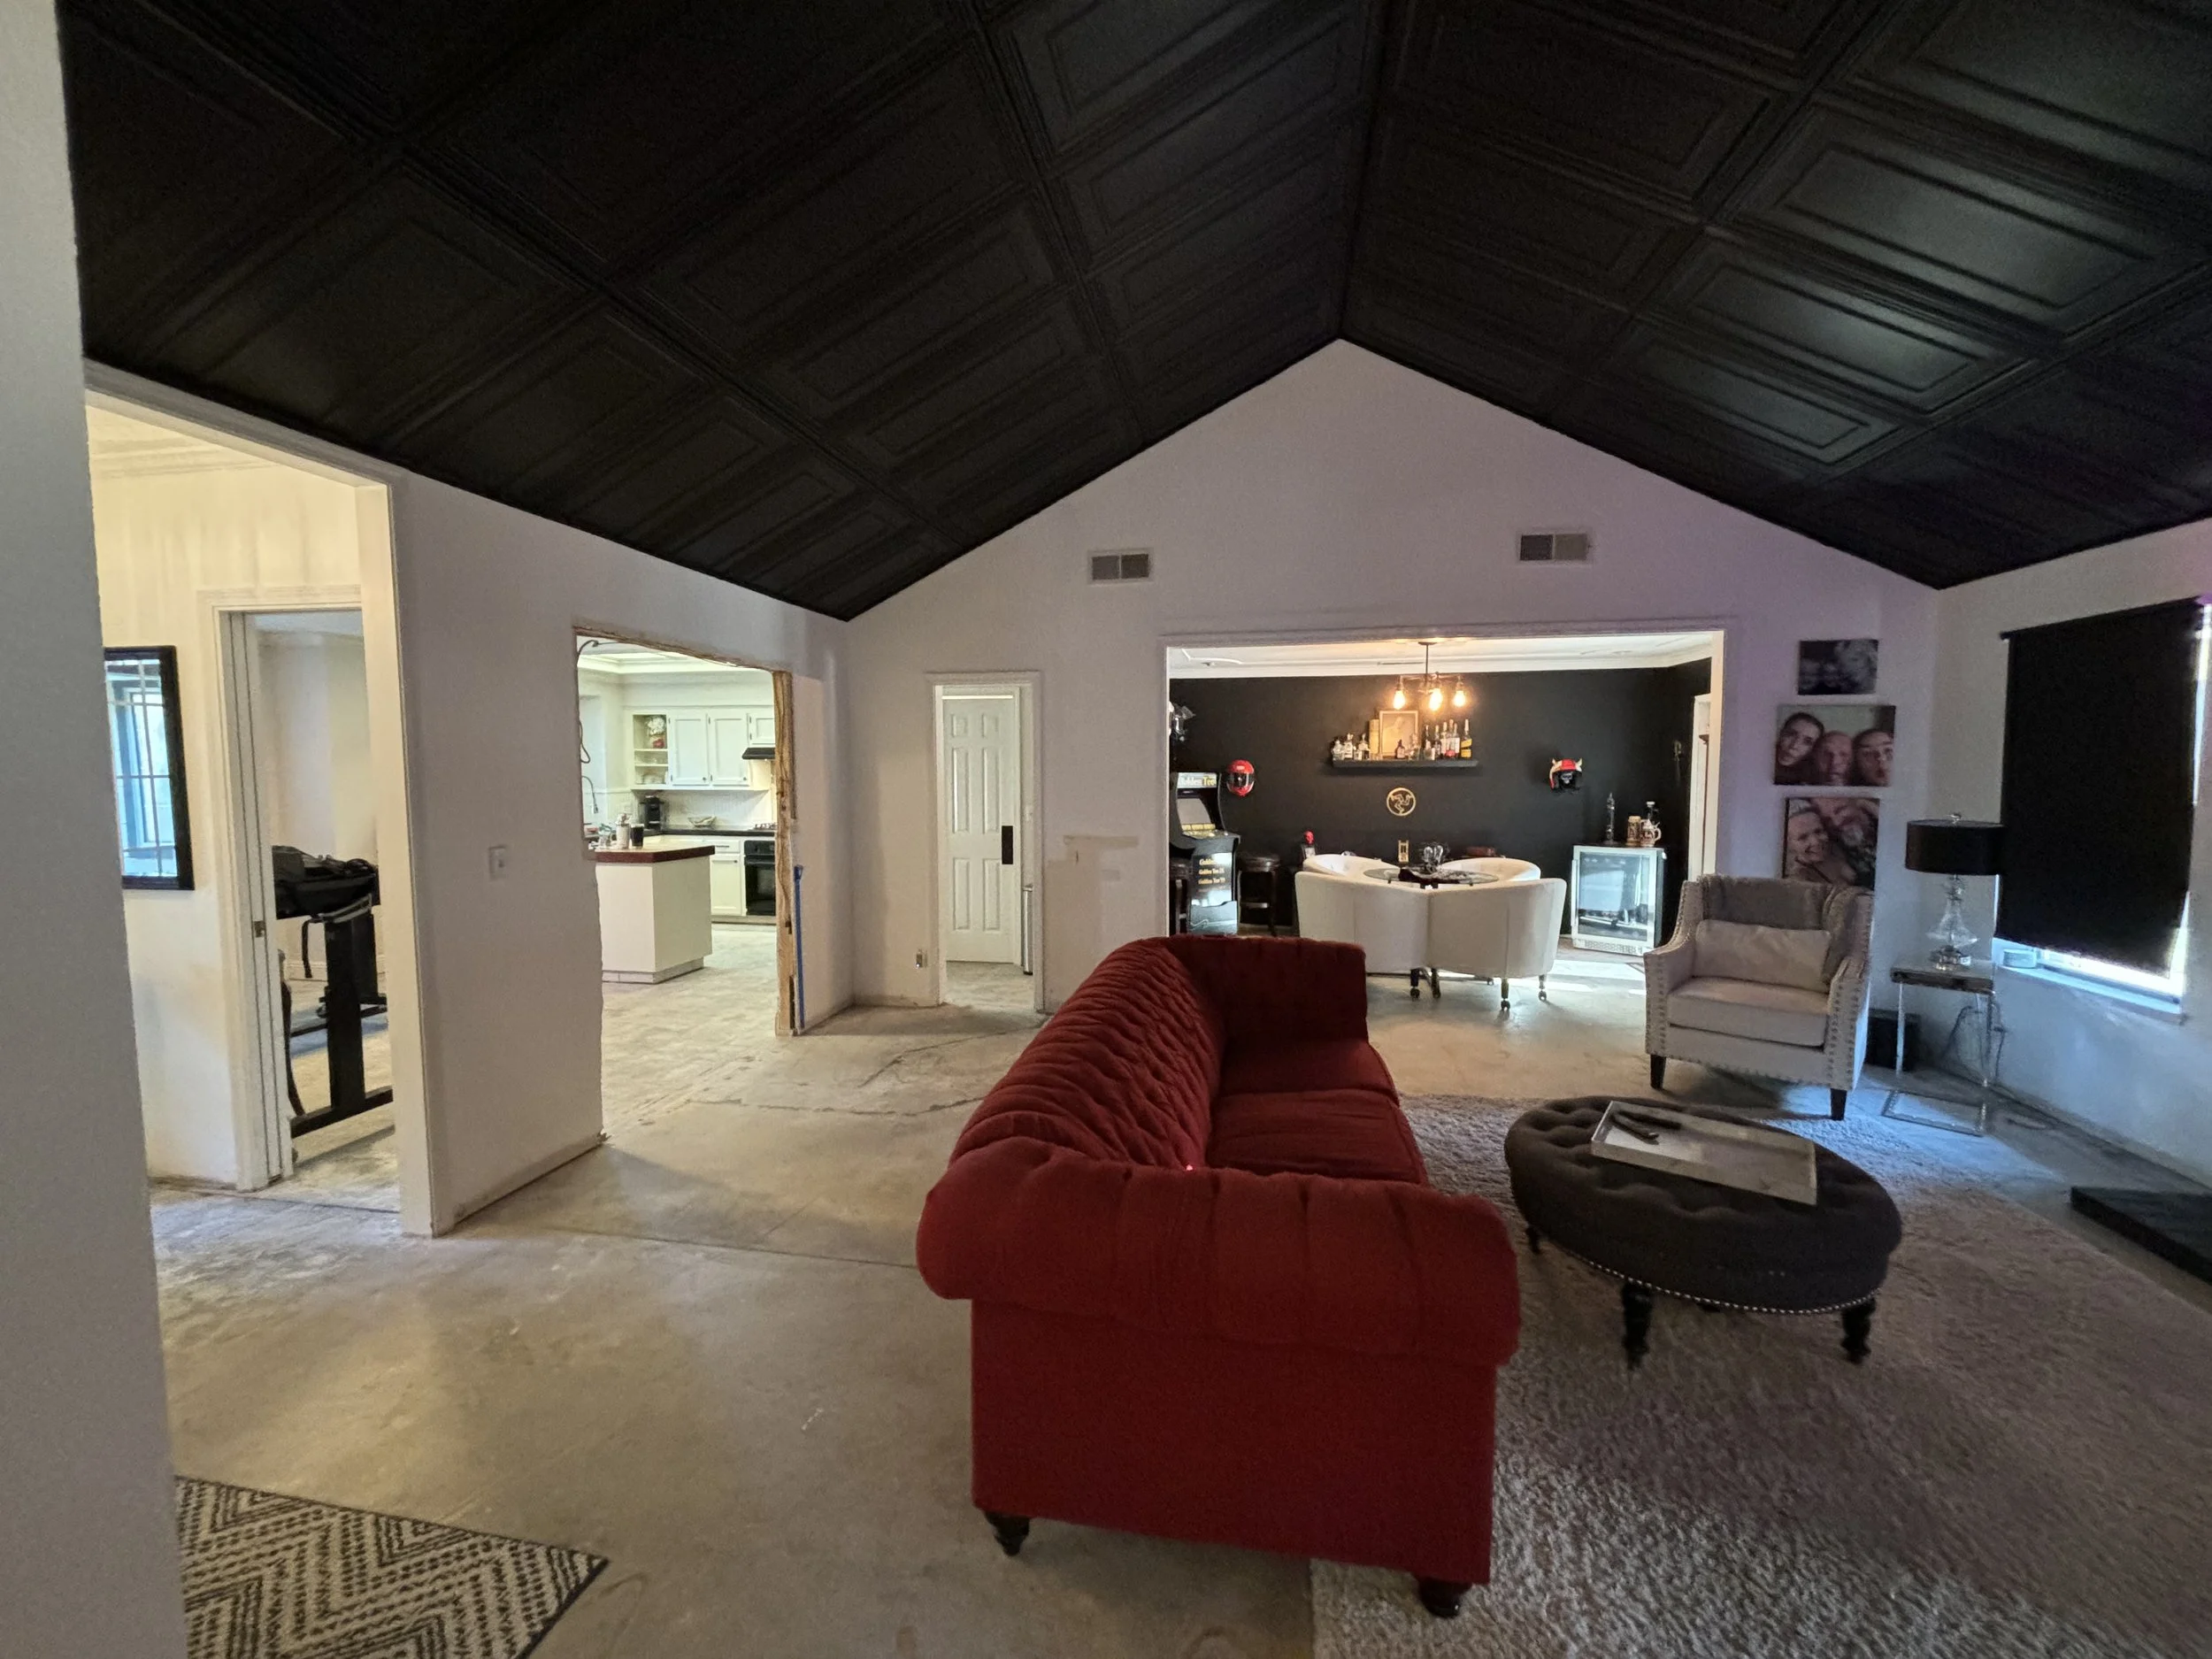
Fresh paint, new furniture, floating liquor shelf, and a beverage refrigerator are surrounded by our motorcycle helmets which are stylish and functional aspects of the overall style and design we were aiming for.
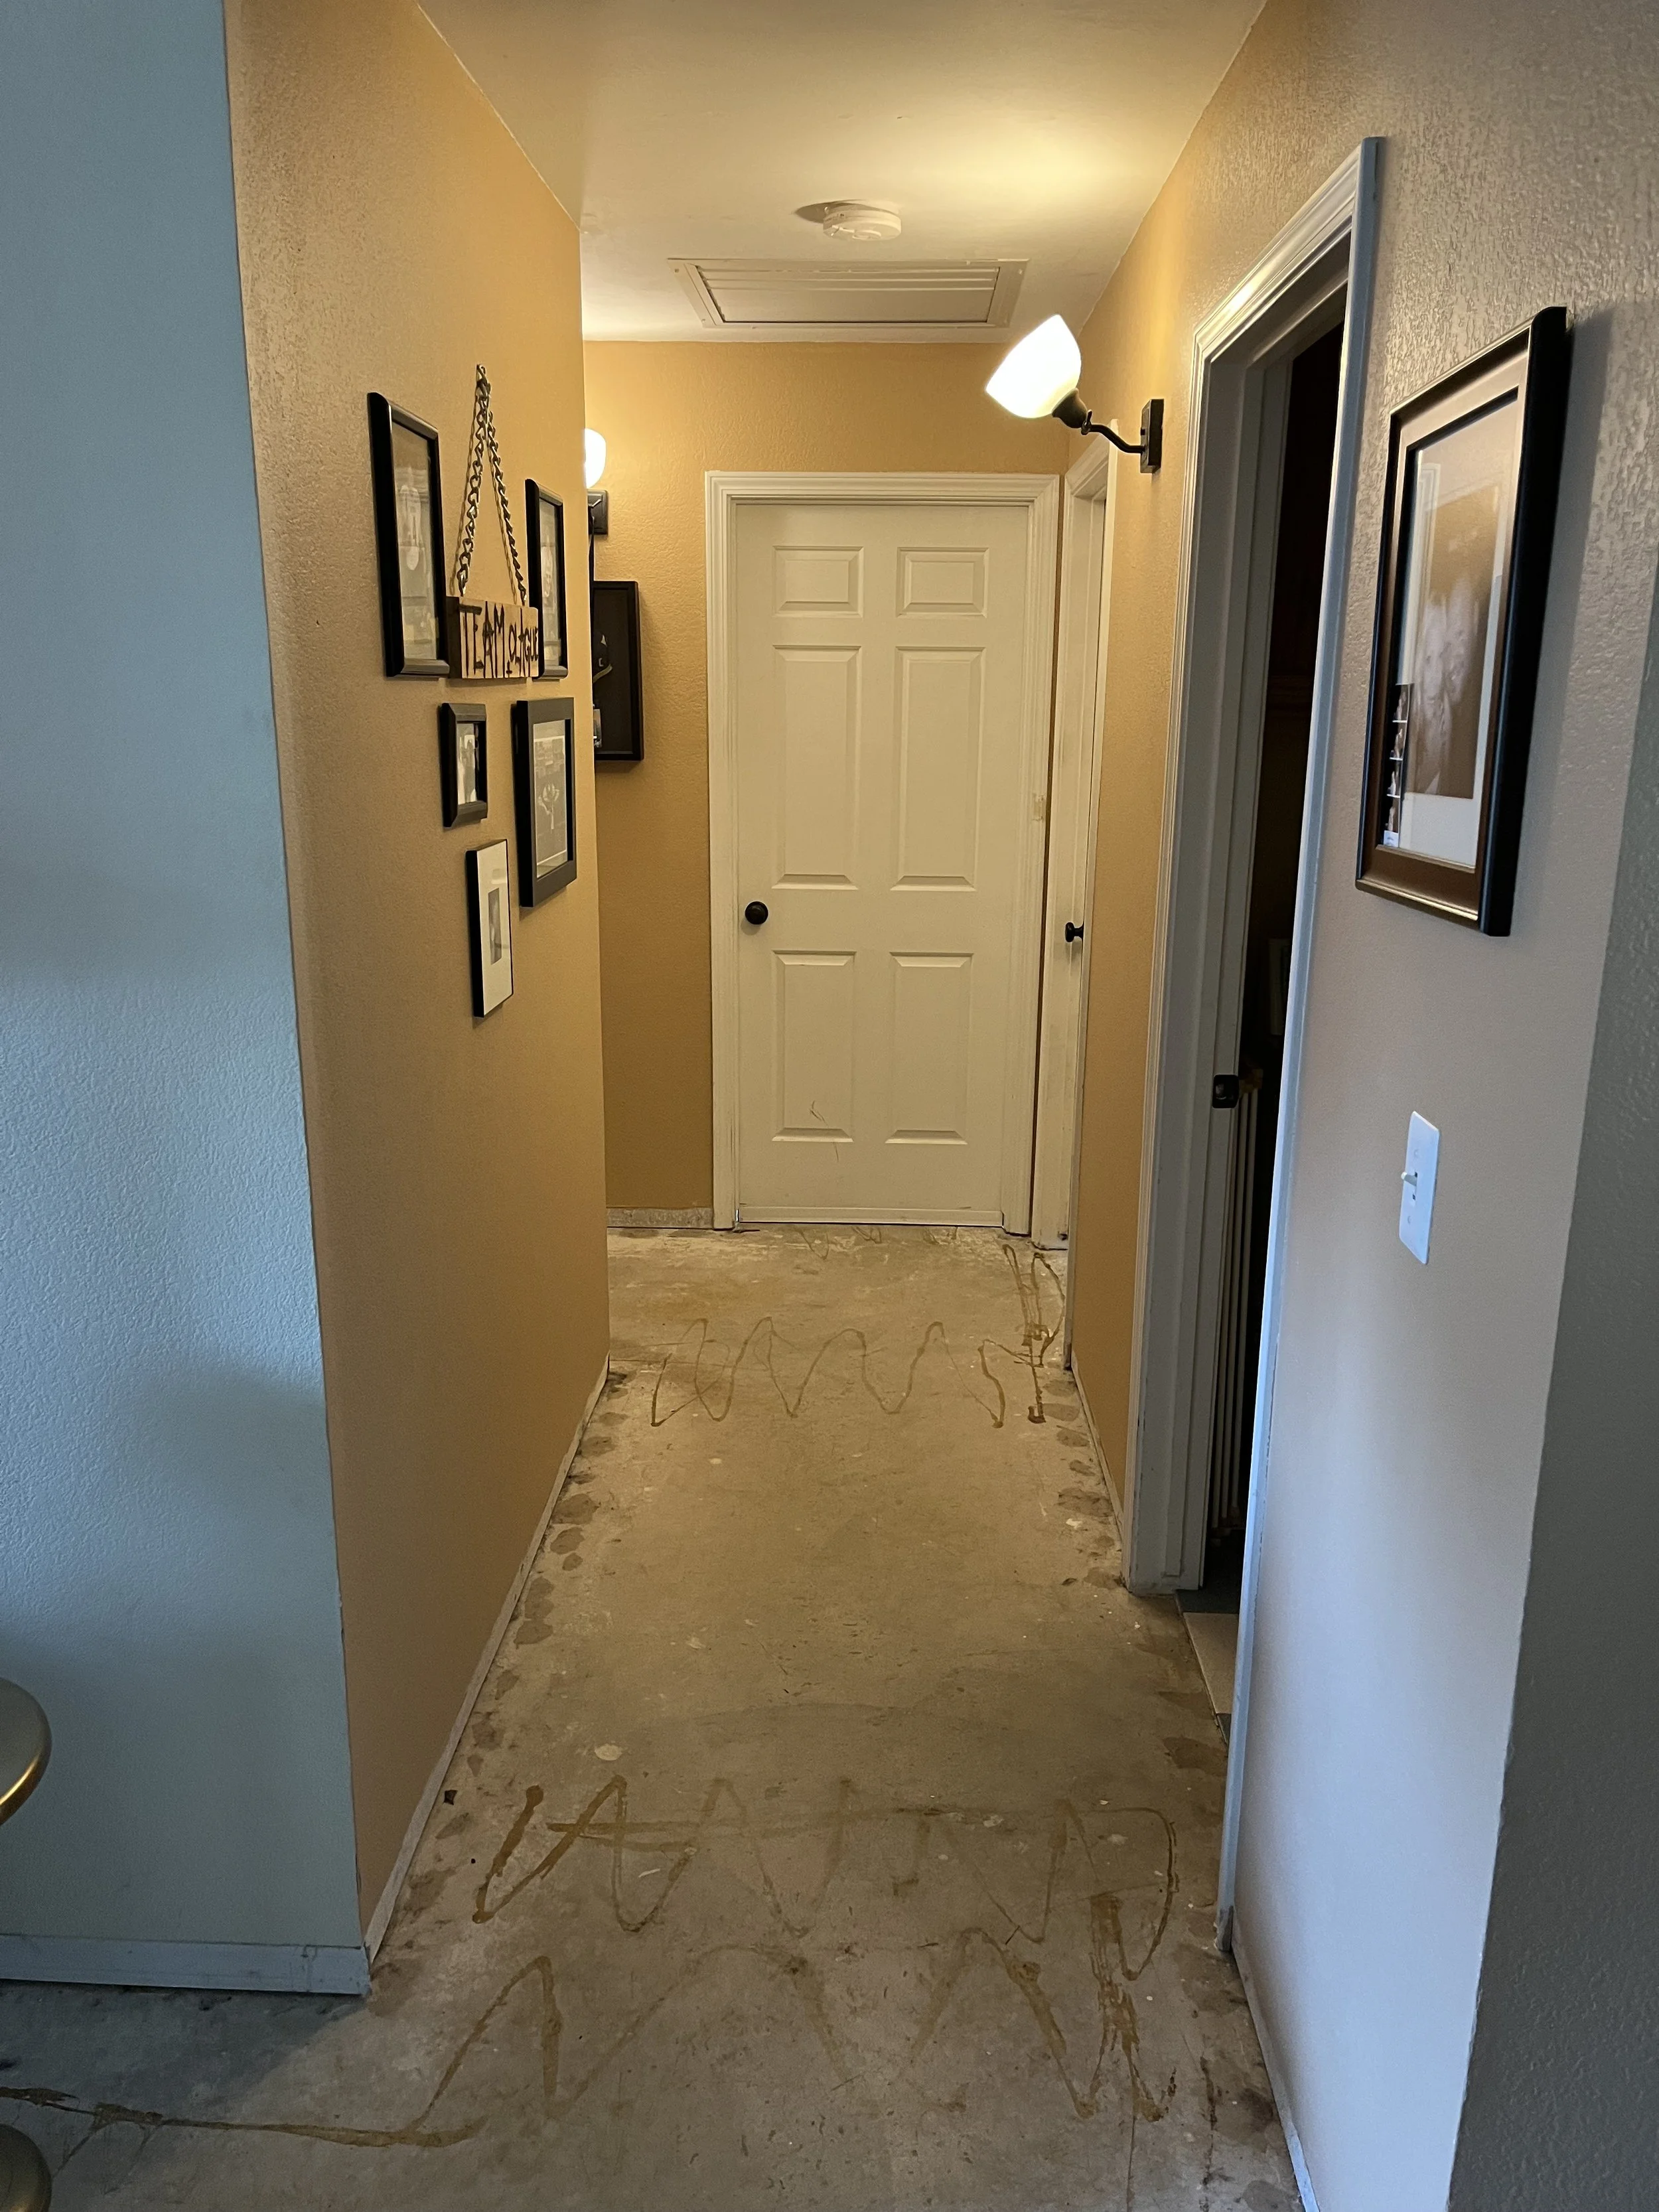
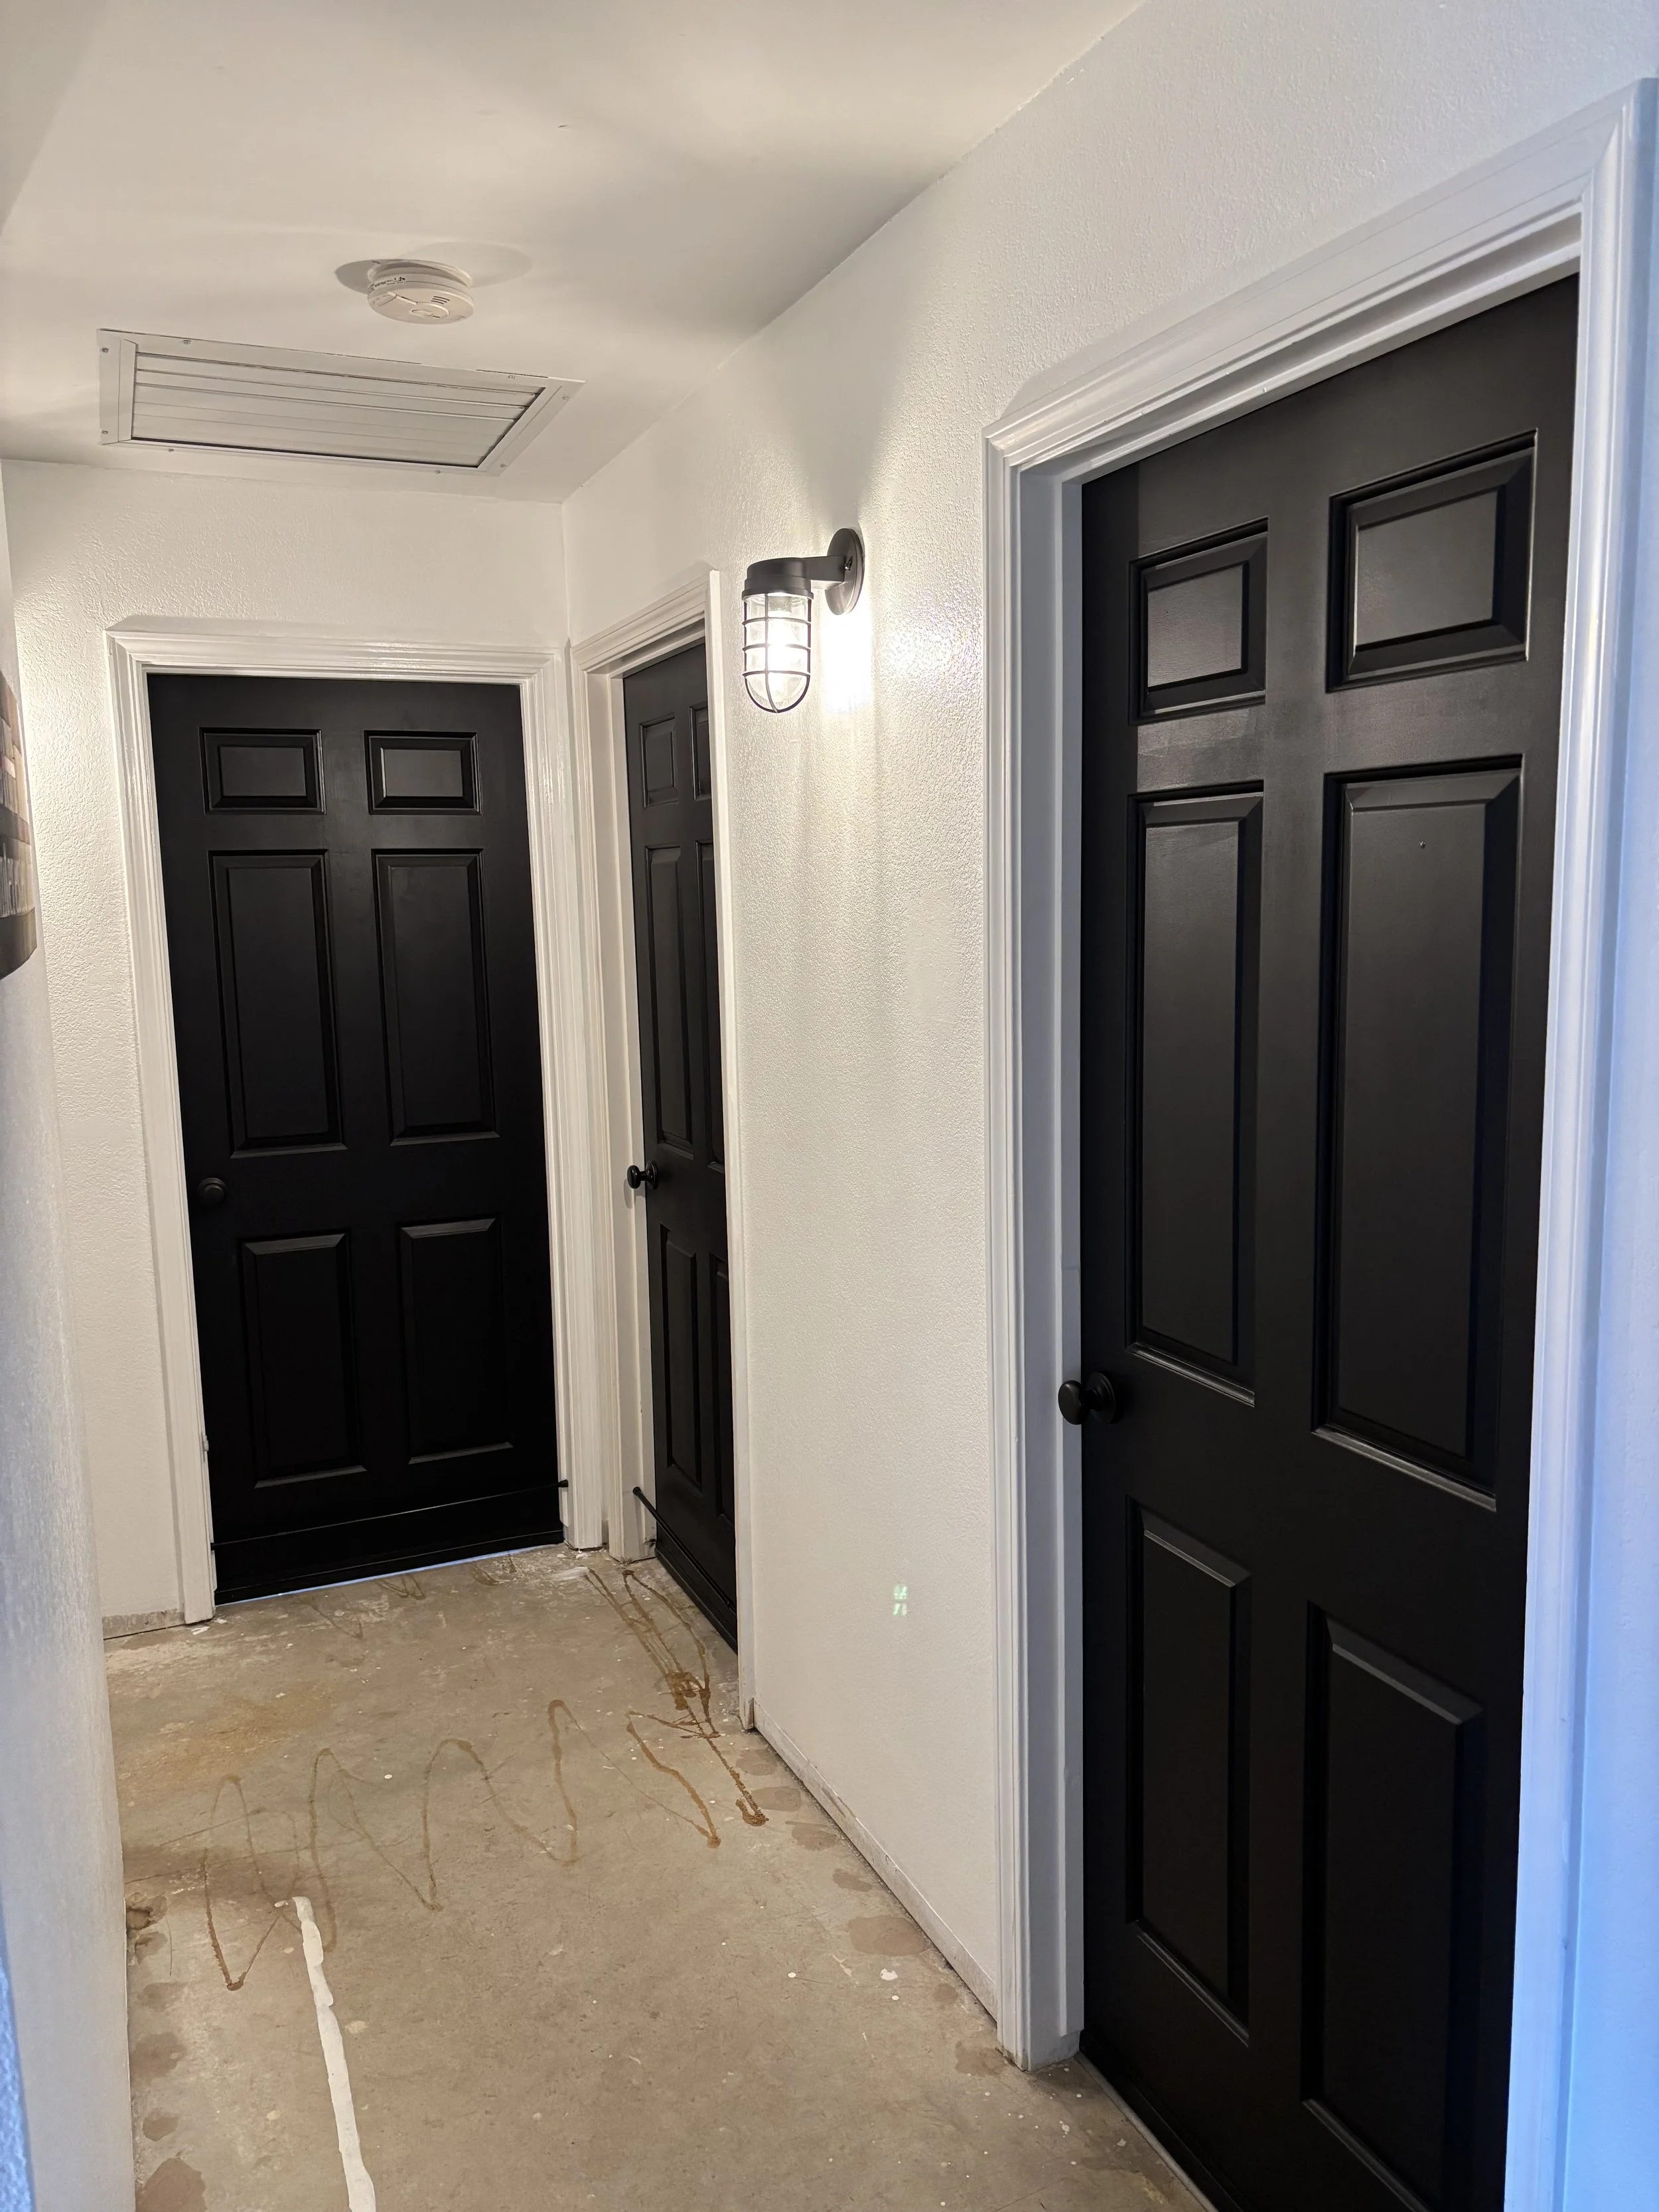
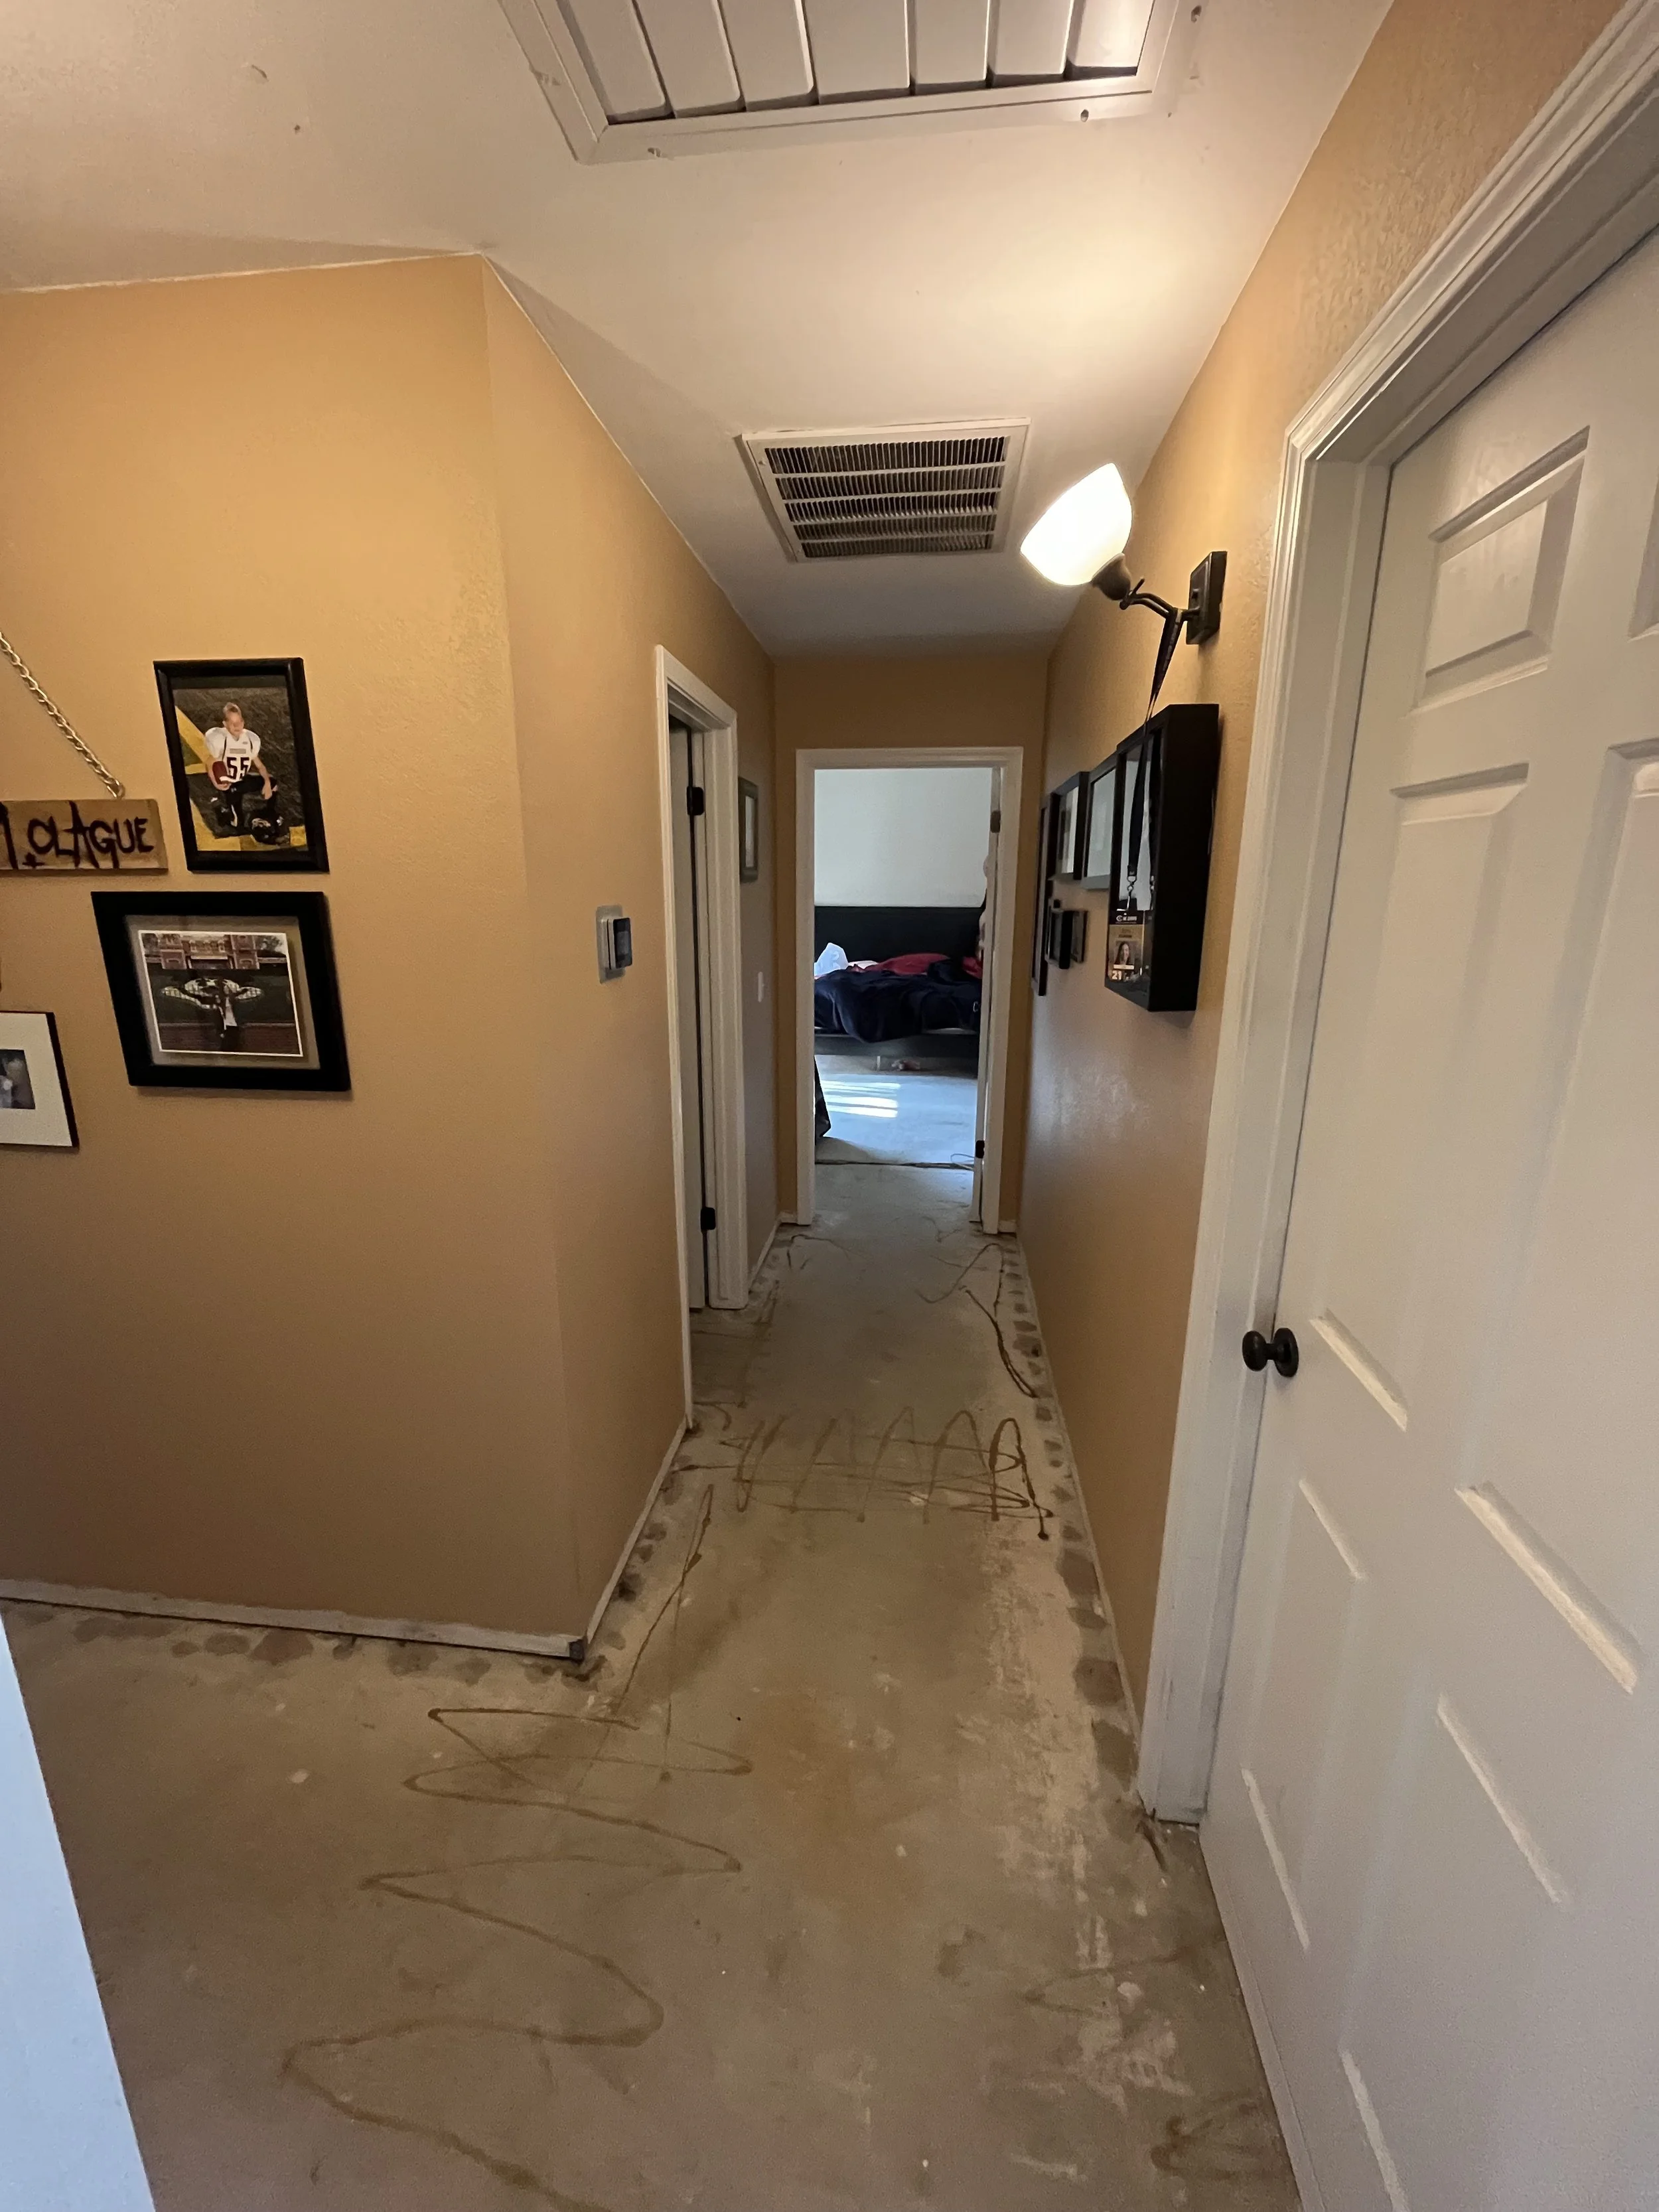
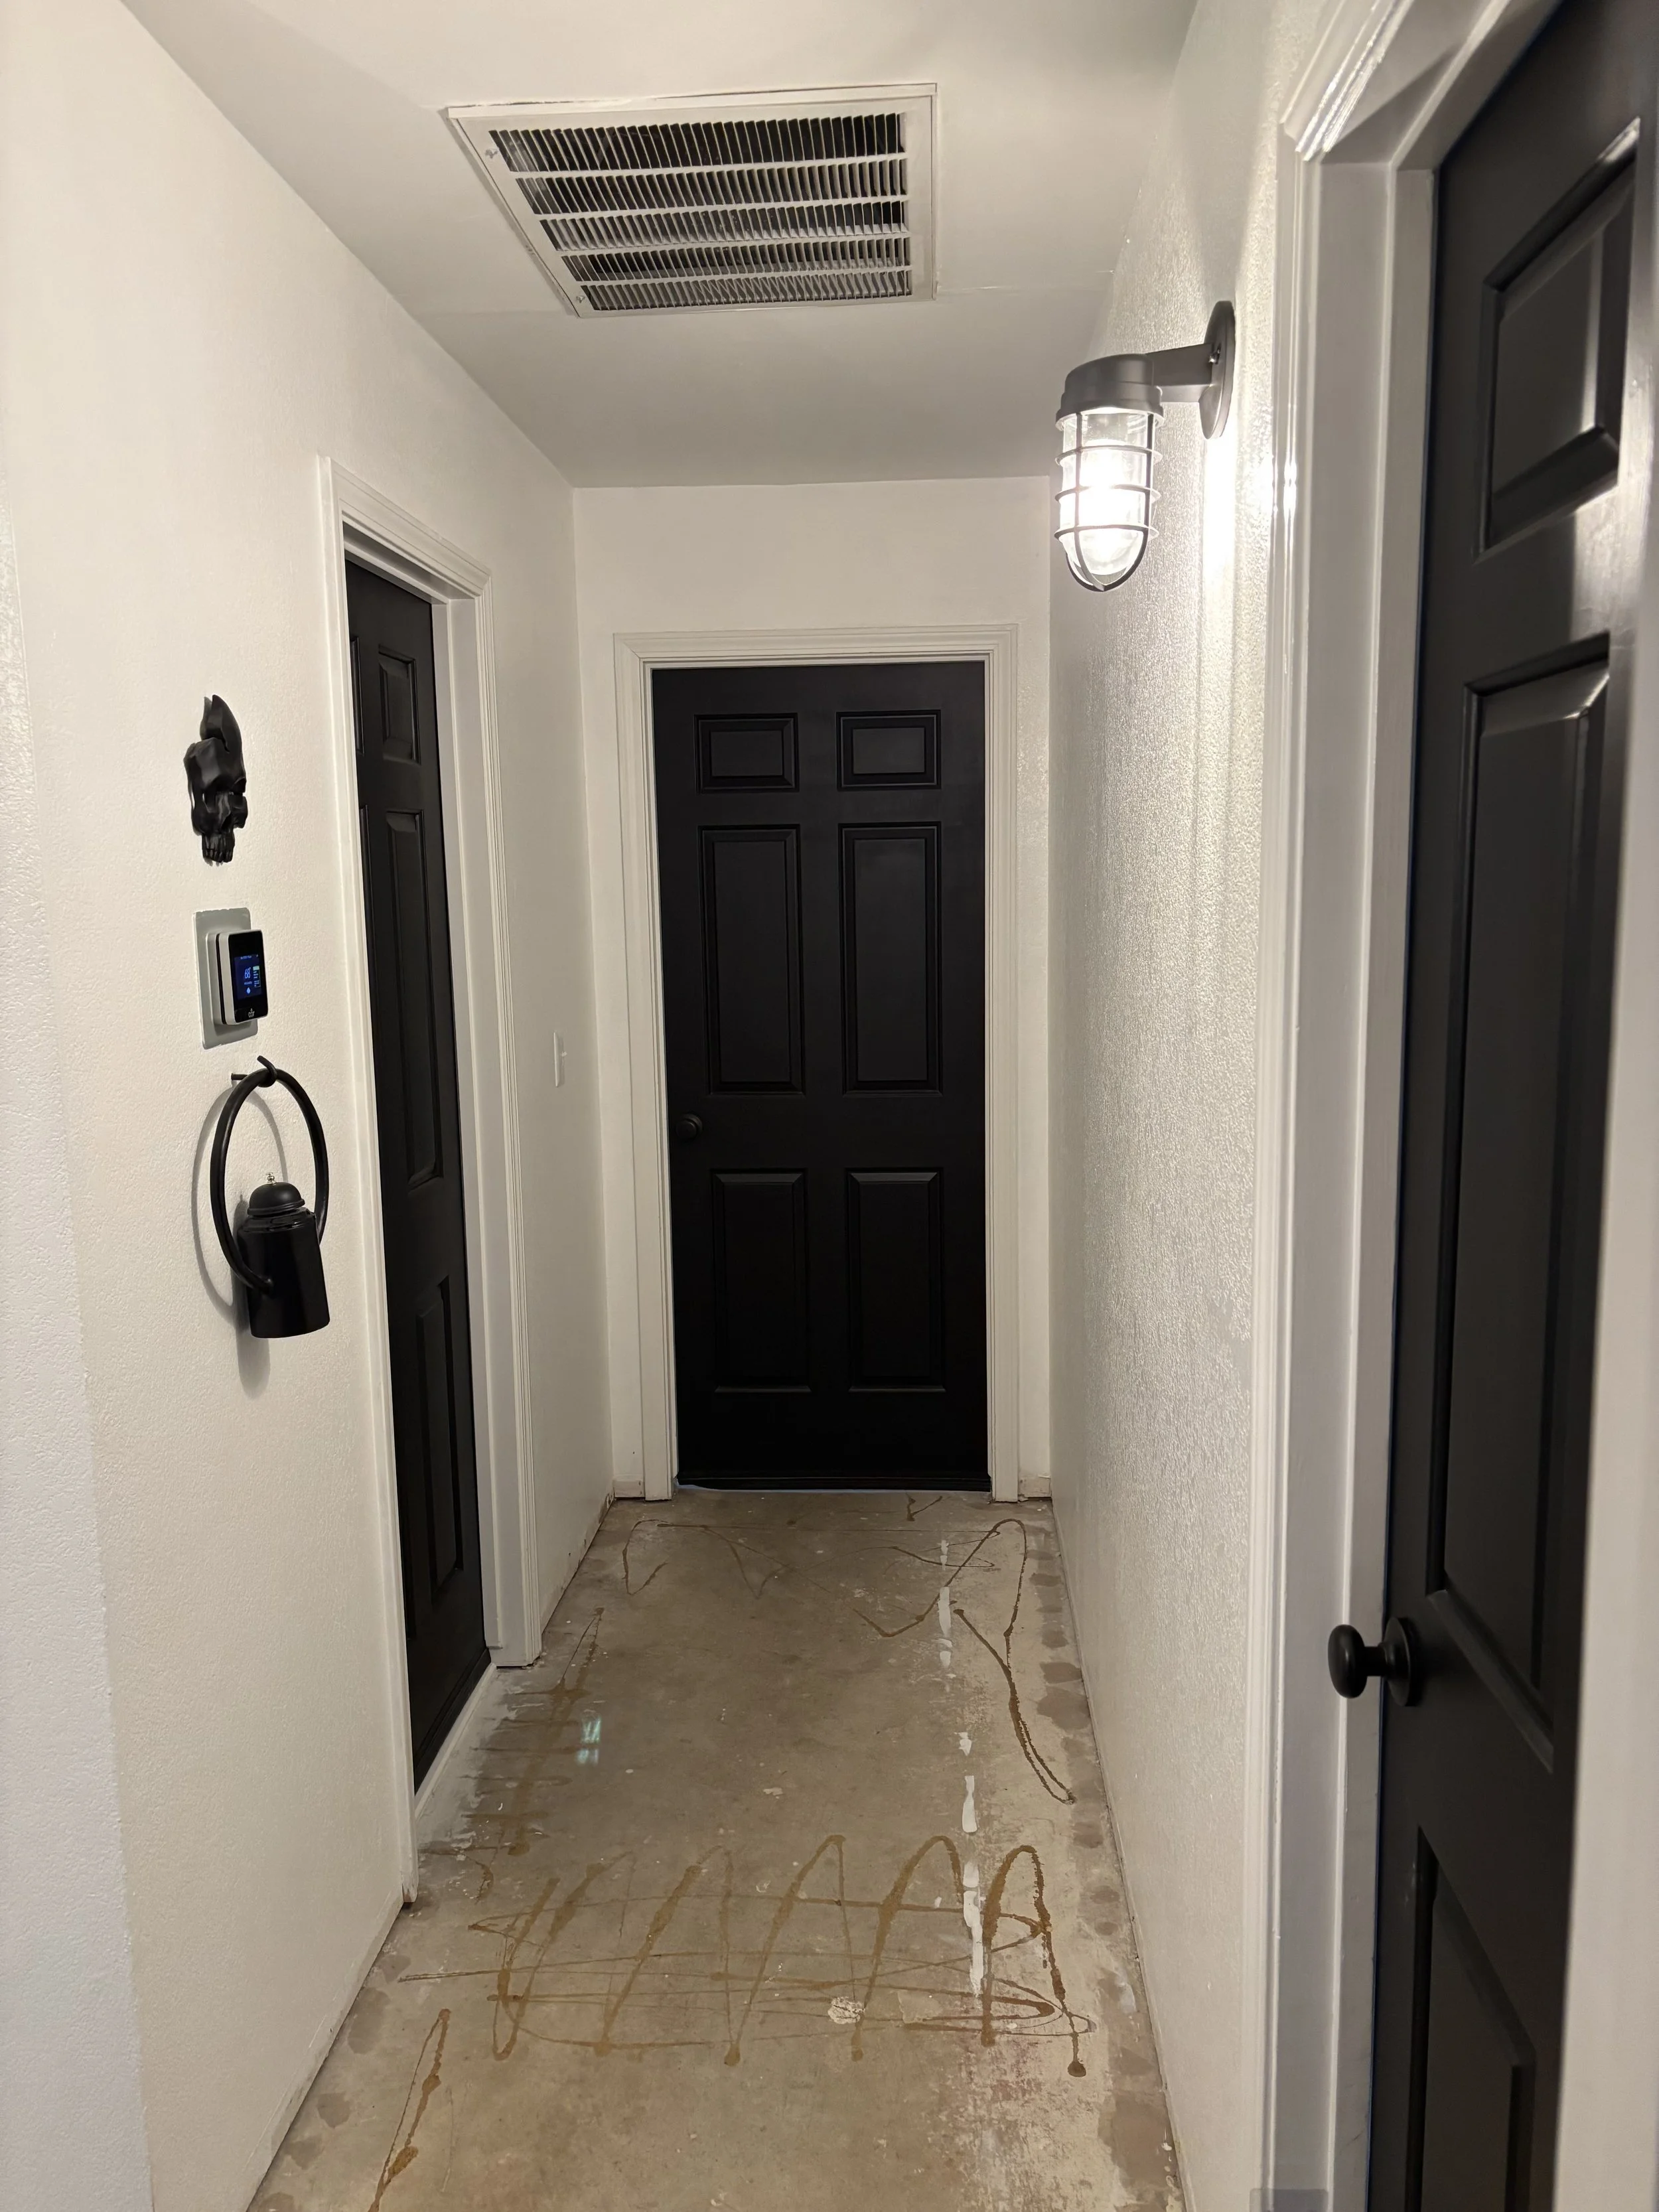
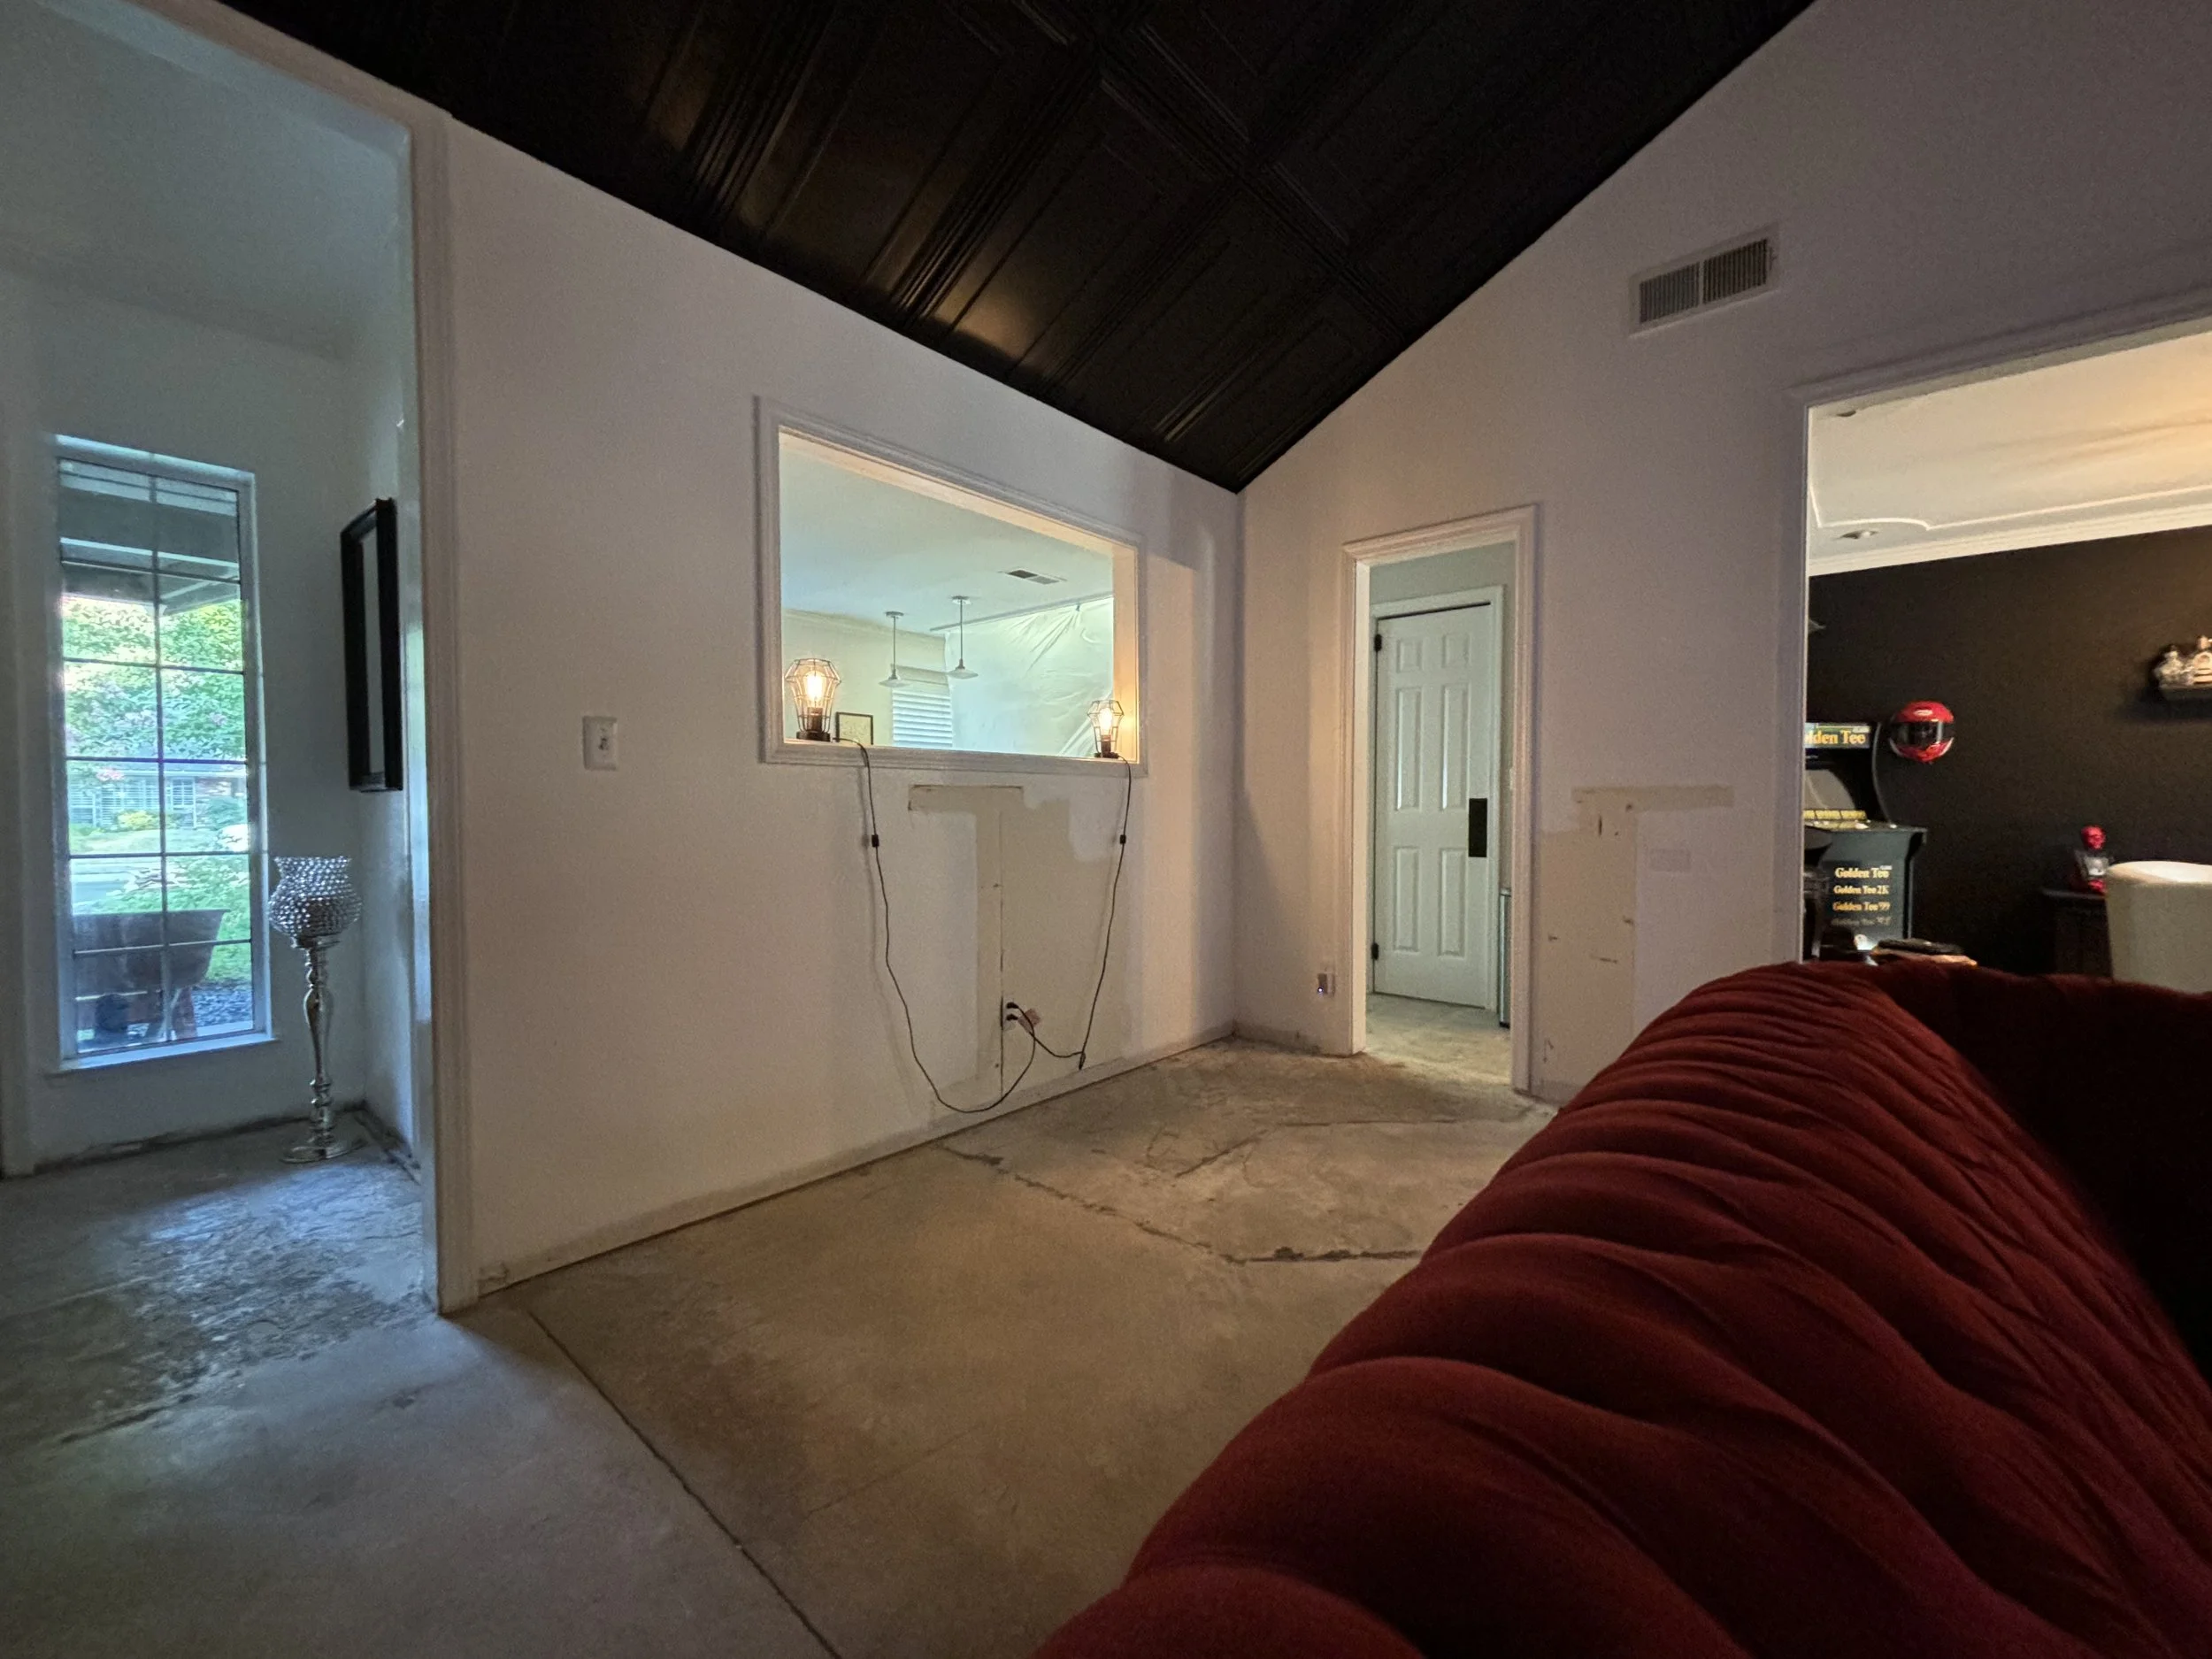
hall modernizationOur hall modernization project was born from my love of the color black, especially for design. Our goal was to make the hall feel larger, clean, and sophisticated. By removing all photos and art we decluttered the space. Painting the walls white helped give a clean, stylish feel against the stark contrast of the black doors. This was an inexpensive day project that modernized the space tying in our black color palate seen throughout other areas in our home. Finishing touches included changing the lighting to industrial cage lamps for a cool, institutional vibe.
Products used:
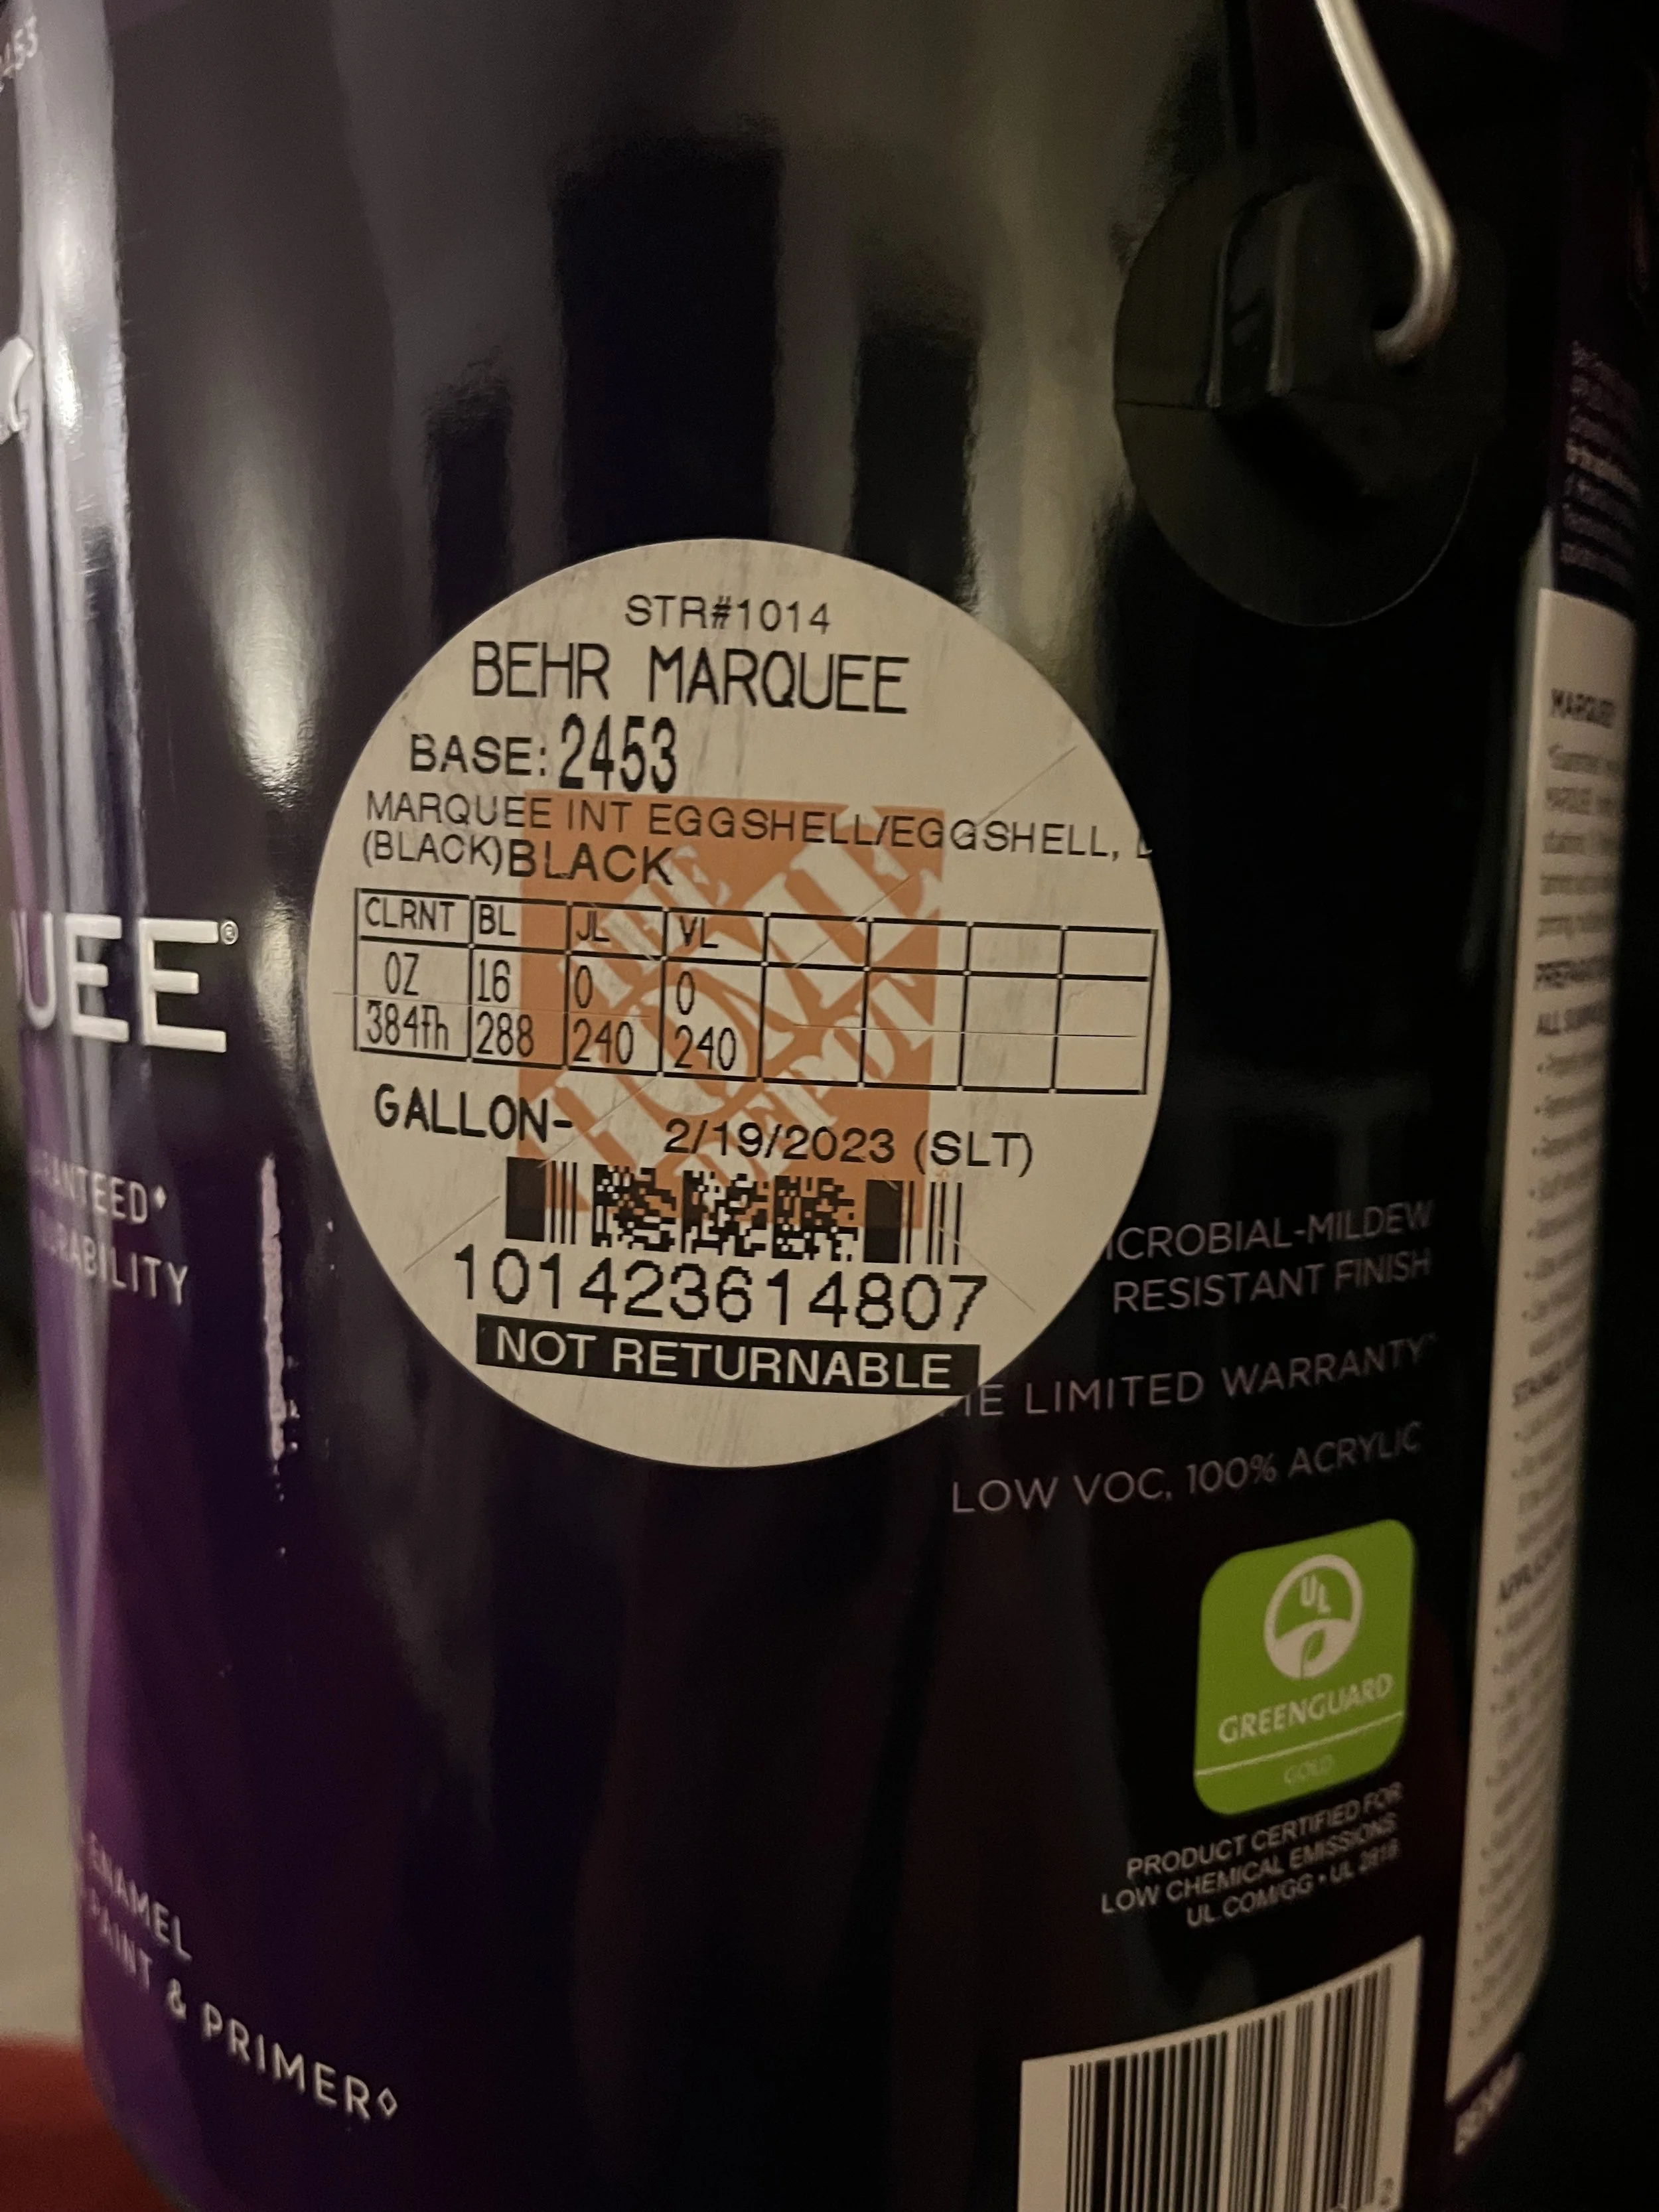
Behr Marquee paint: Eggshell - Black
Behr Marquee paint: Semi-gloss - White
Total project time = 6 hours
Total project cost = $250
Vendor: The Home Depot
Click product image below to see full details.
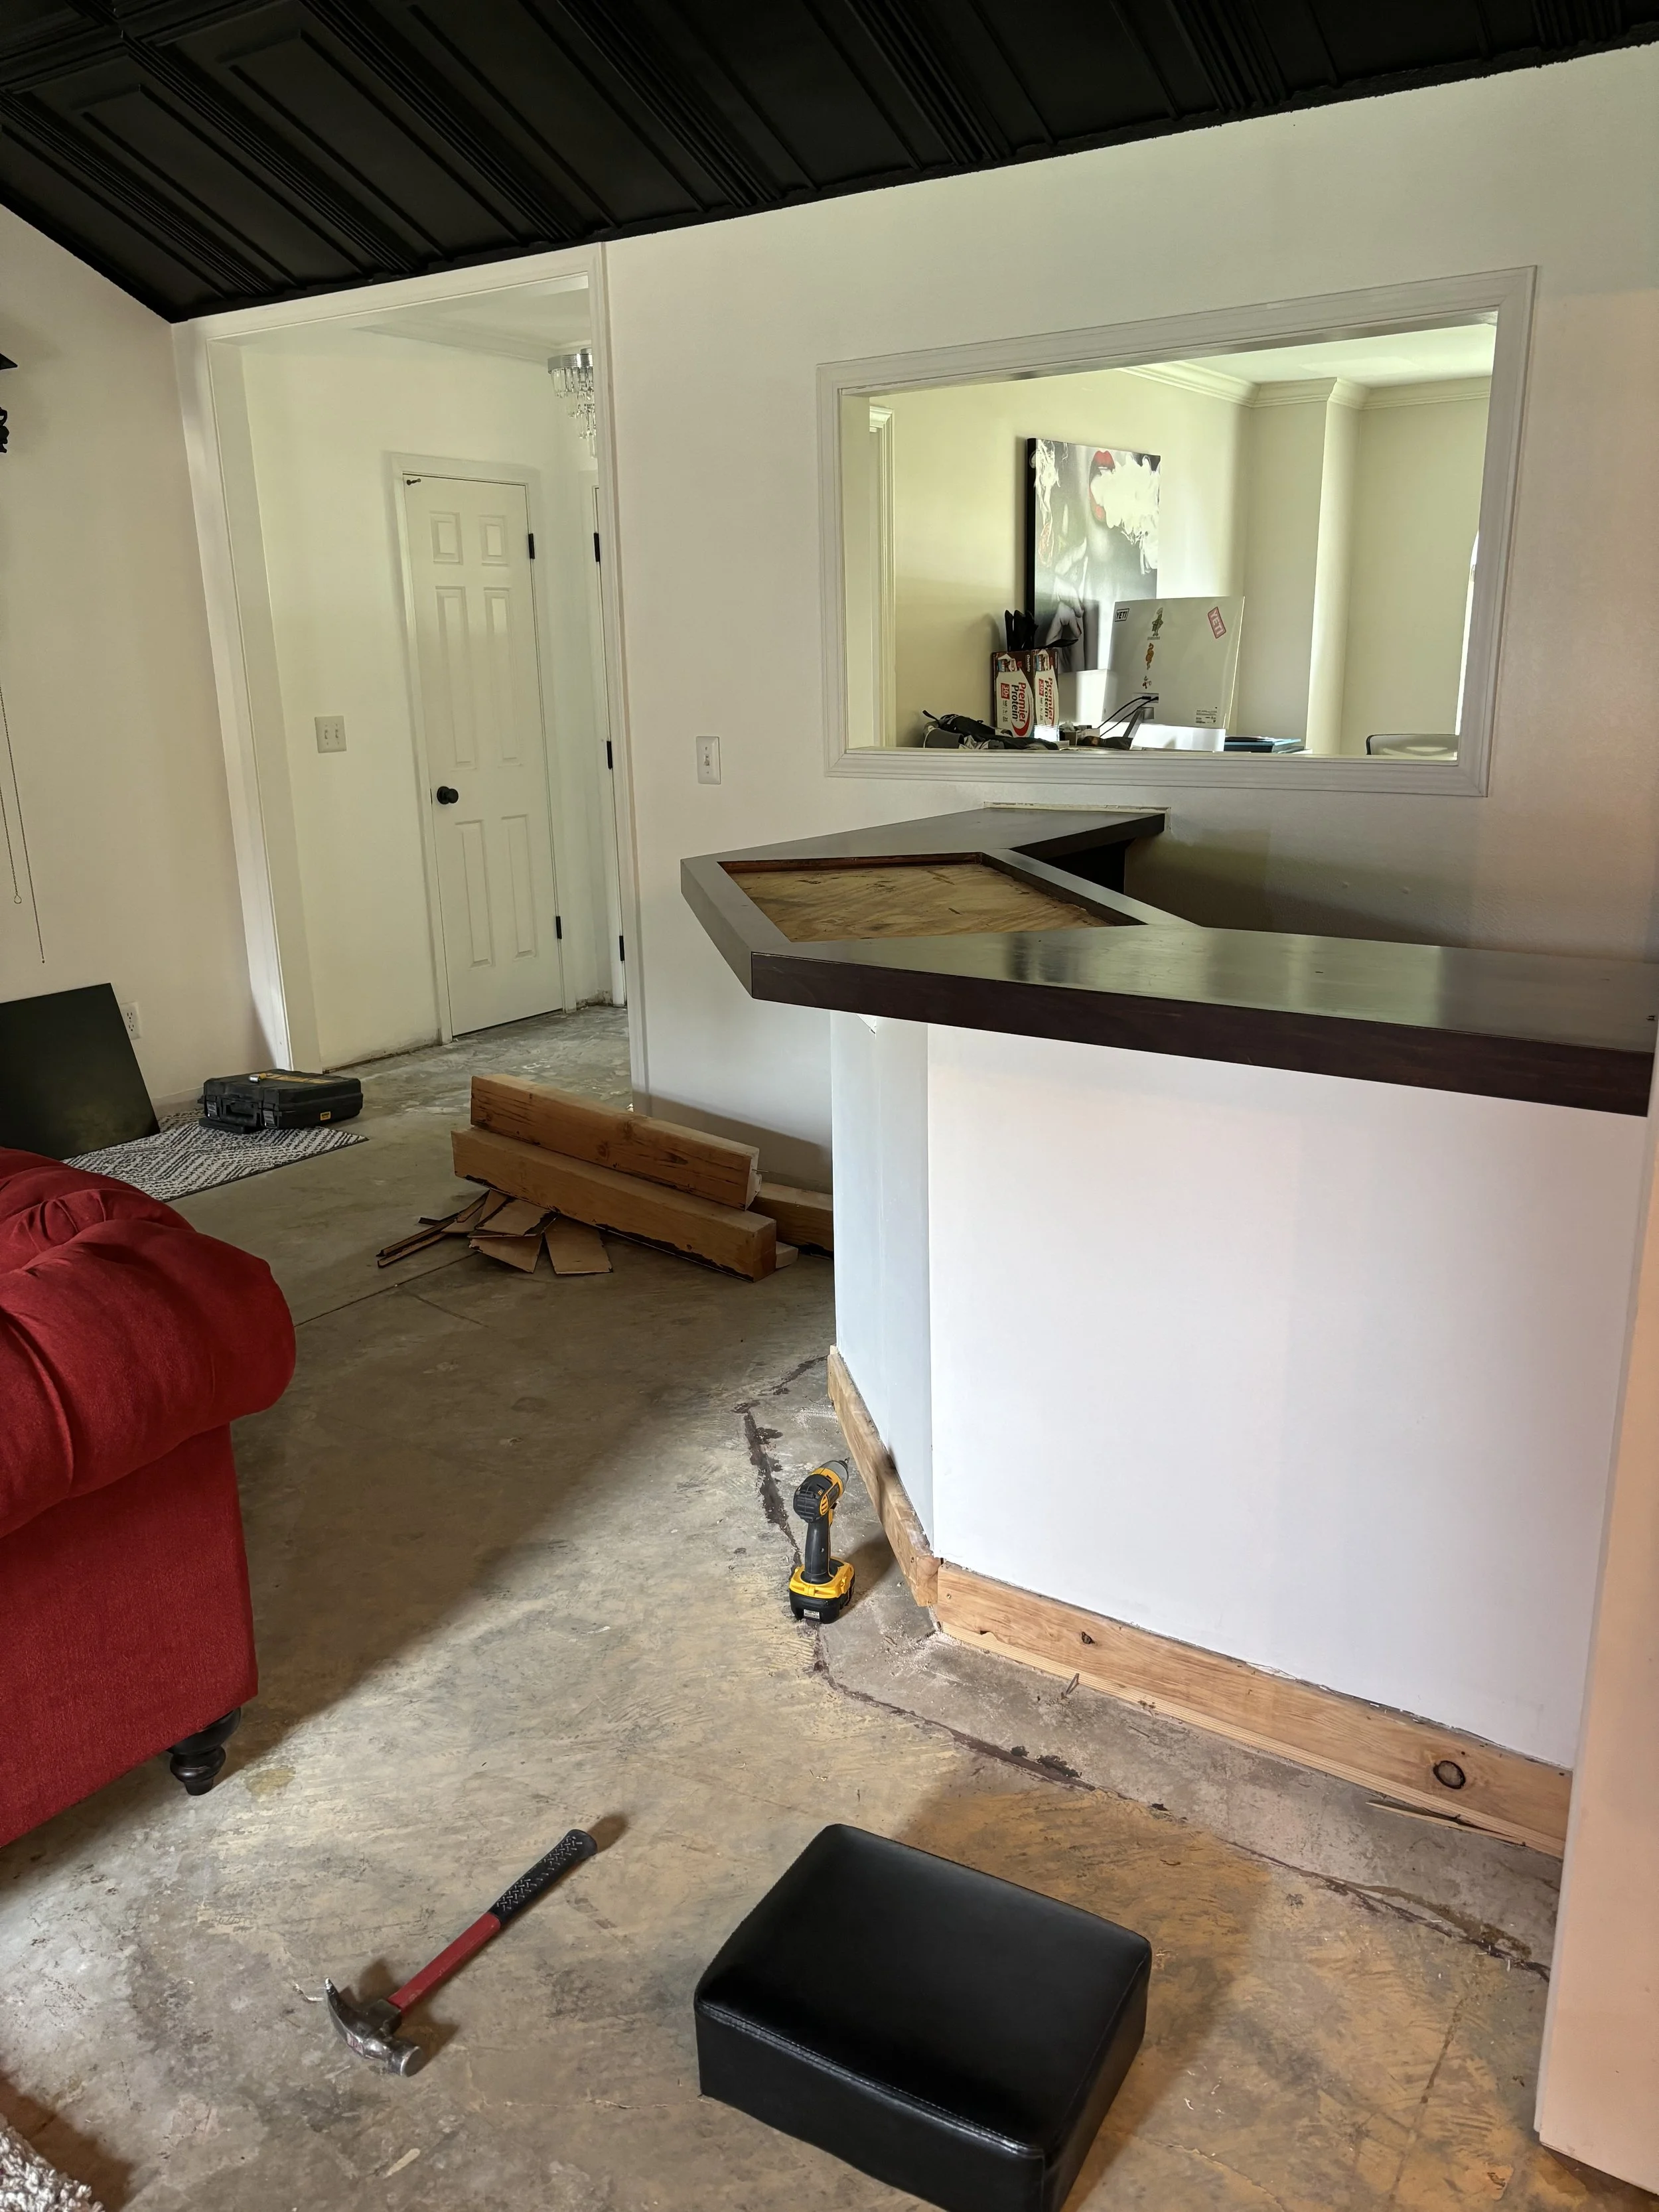
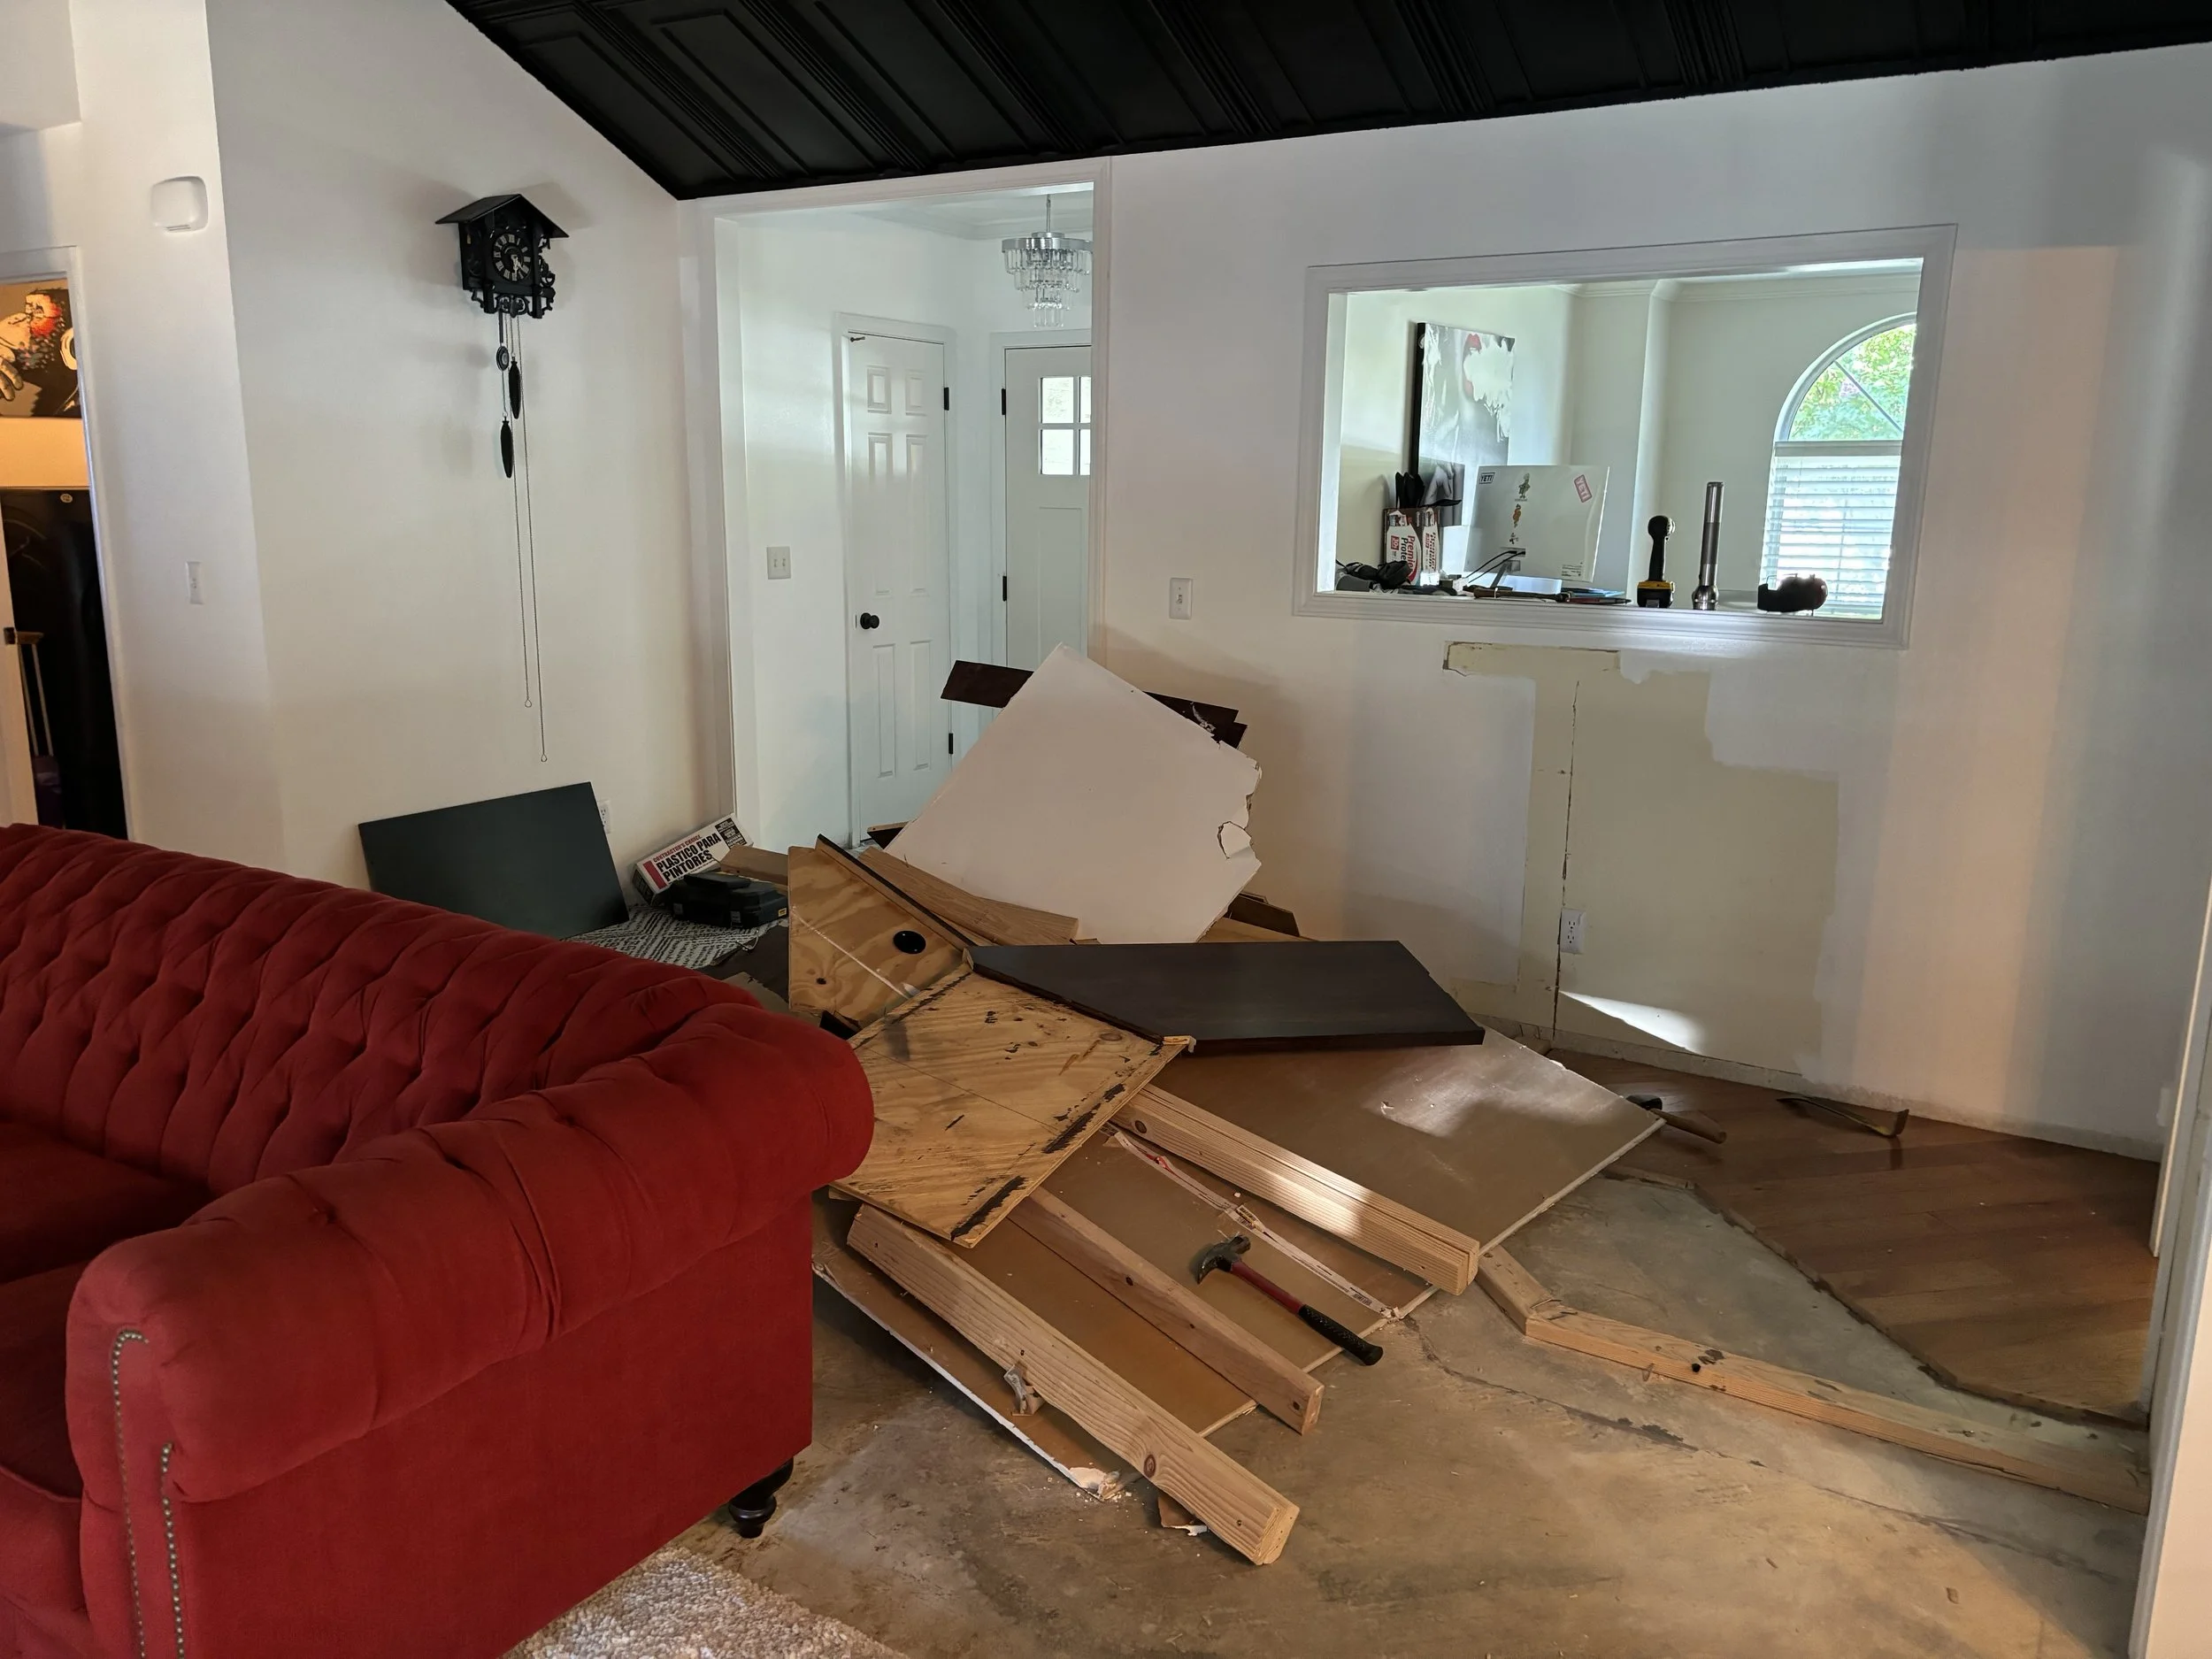
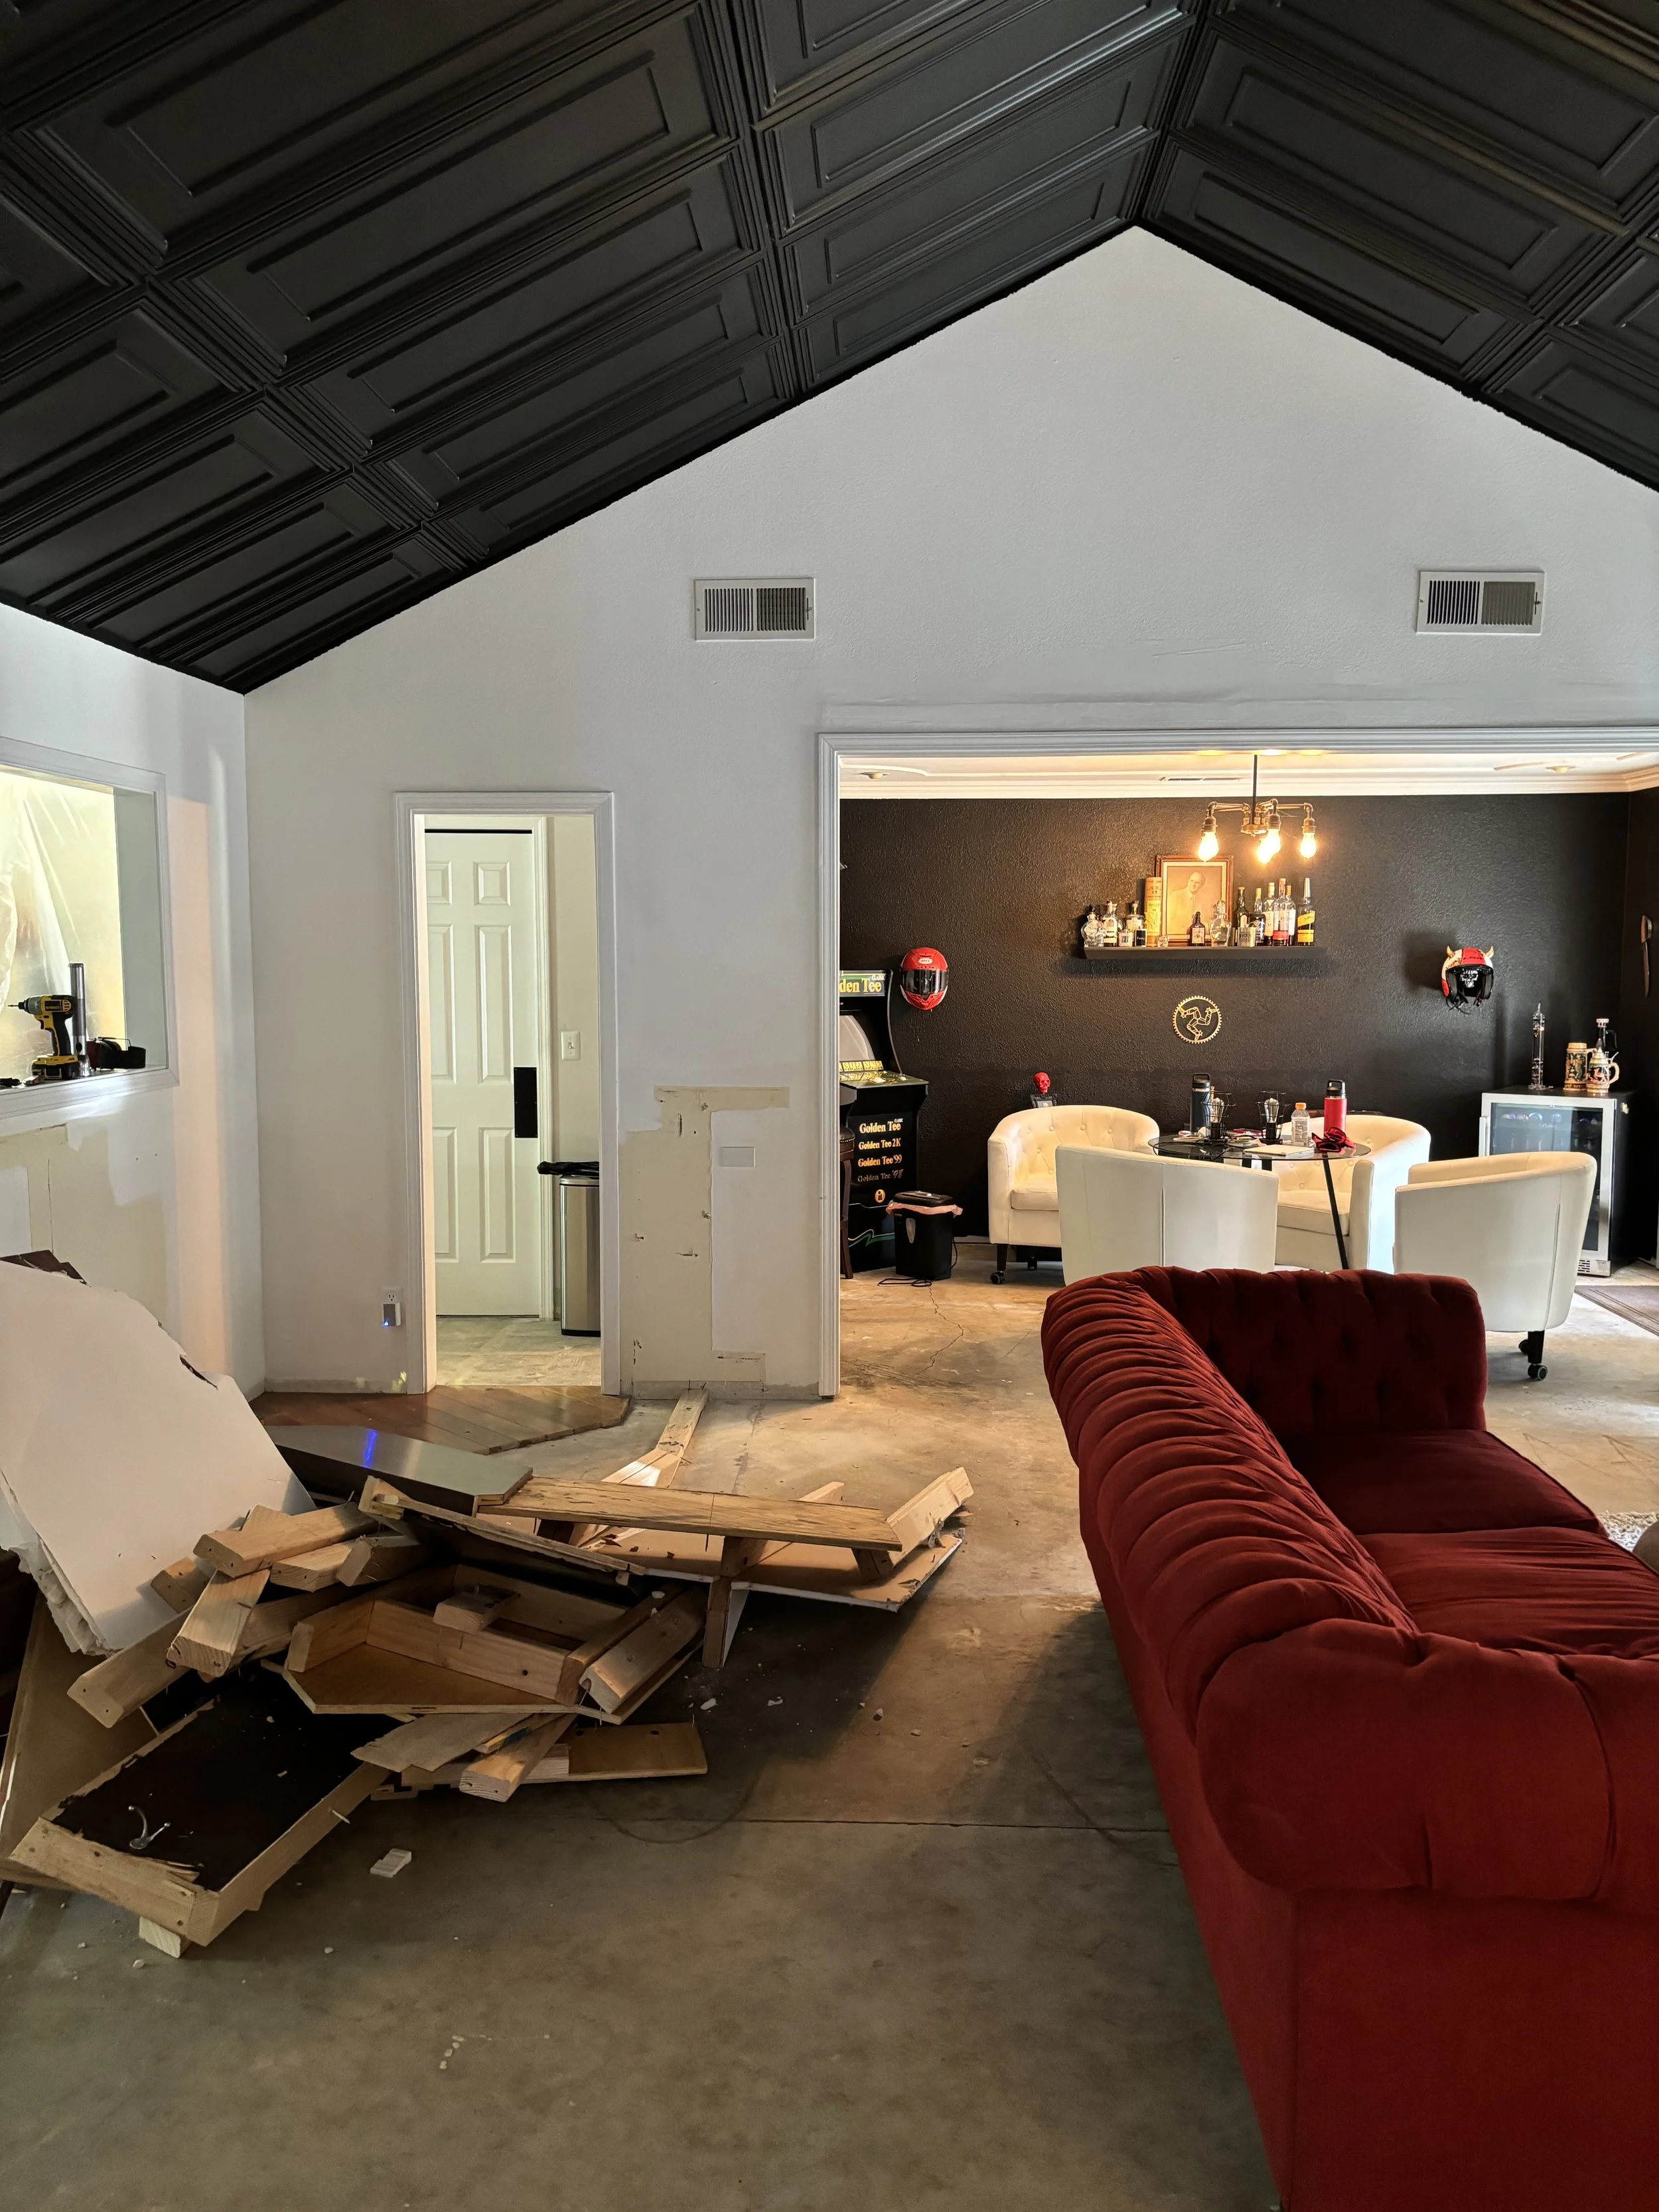
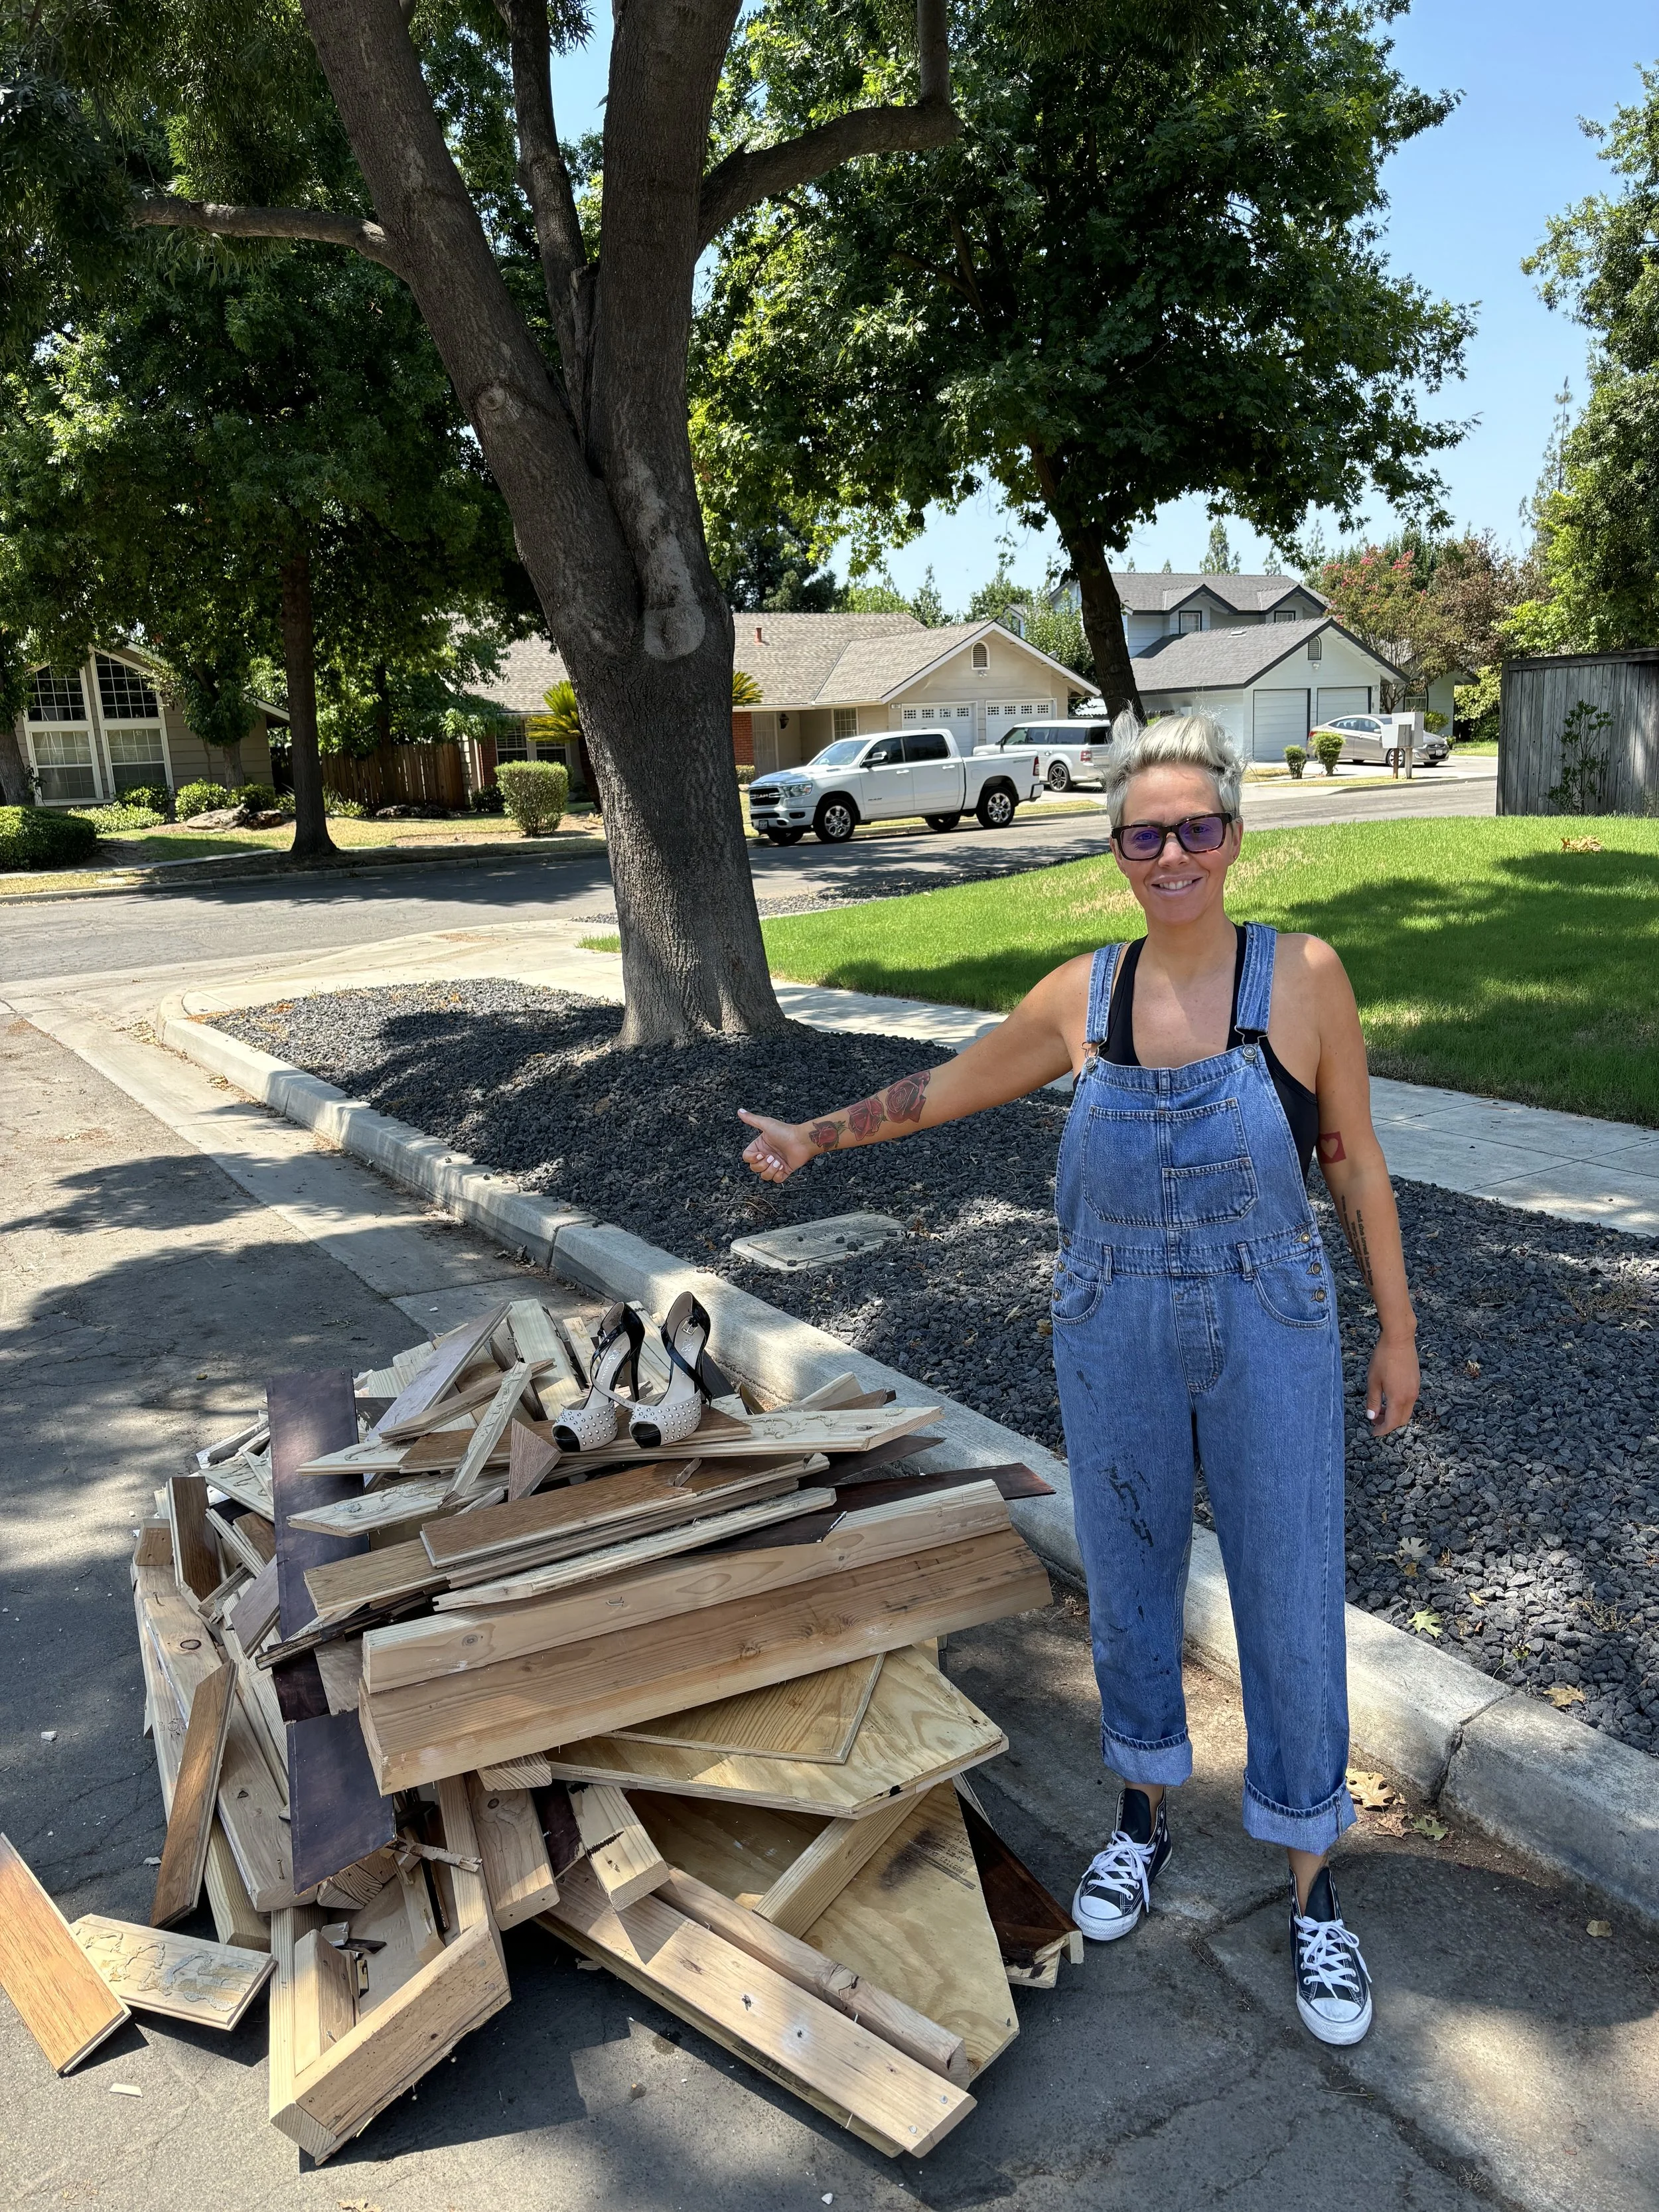
Bar RemovalThe bar removal is our most controversial project…mainly because Jon built the bar from scratch years ago, before we first met, and it was the place he and his closest friends would spend countless hours over the past decade enjoying cocktails and chatting about life, kids, work, and everything else possible. It was an inviting place to meet in good times and the bad. Removing the bar was a sad day - RIP!
Now, before you think I’m heartless for looking so happy after I completely obliterated it, I think it fair to mention I designed and furnished our lounge as a replacement area for our friends and family to gather. Jon wasn’t ready to part with the bar so soon but Fresno’s annual Operation Clean Up had me feeling inspired to pick up my sledgehammer and get to work. BANG..POW..BYE!
Products used:
Sledge hammer
Pry bar
Construction gloves
Total project time = 4 hours
Total project cost = $0
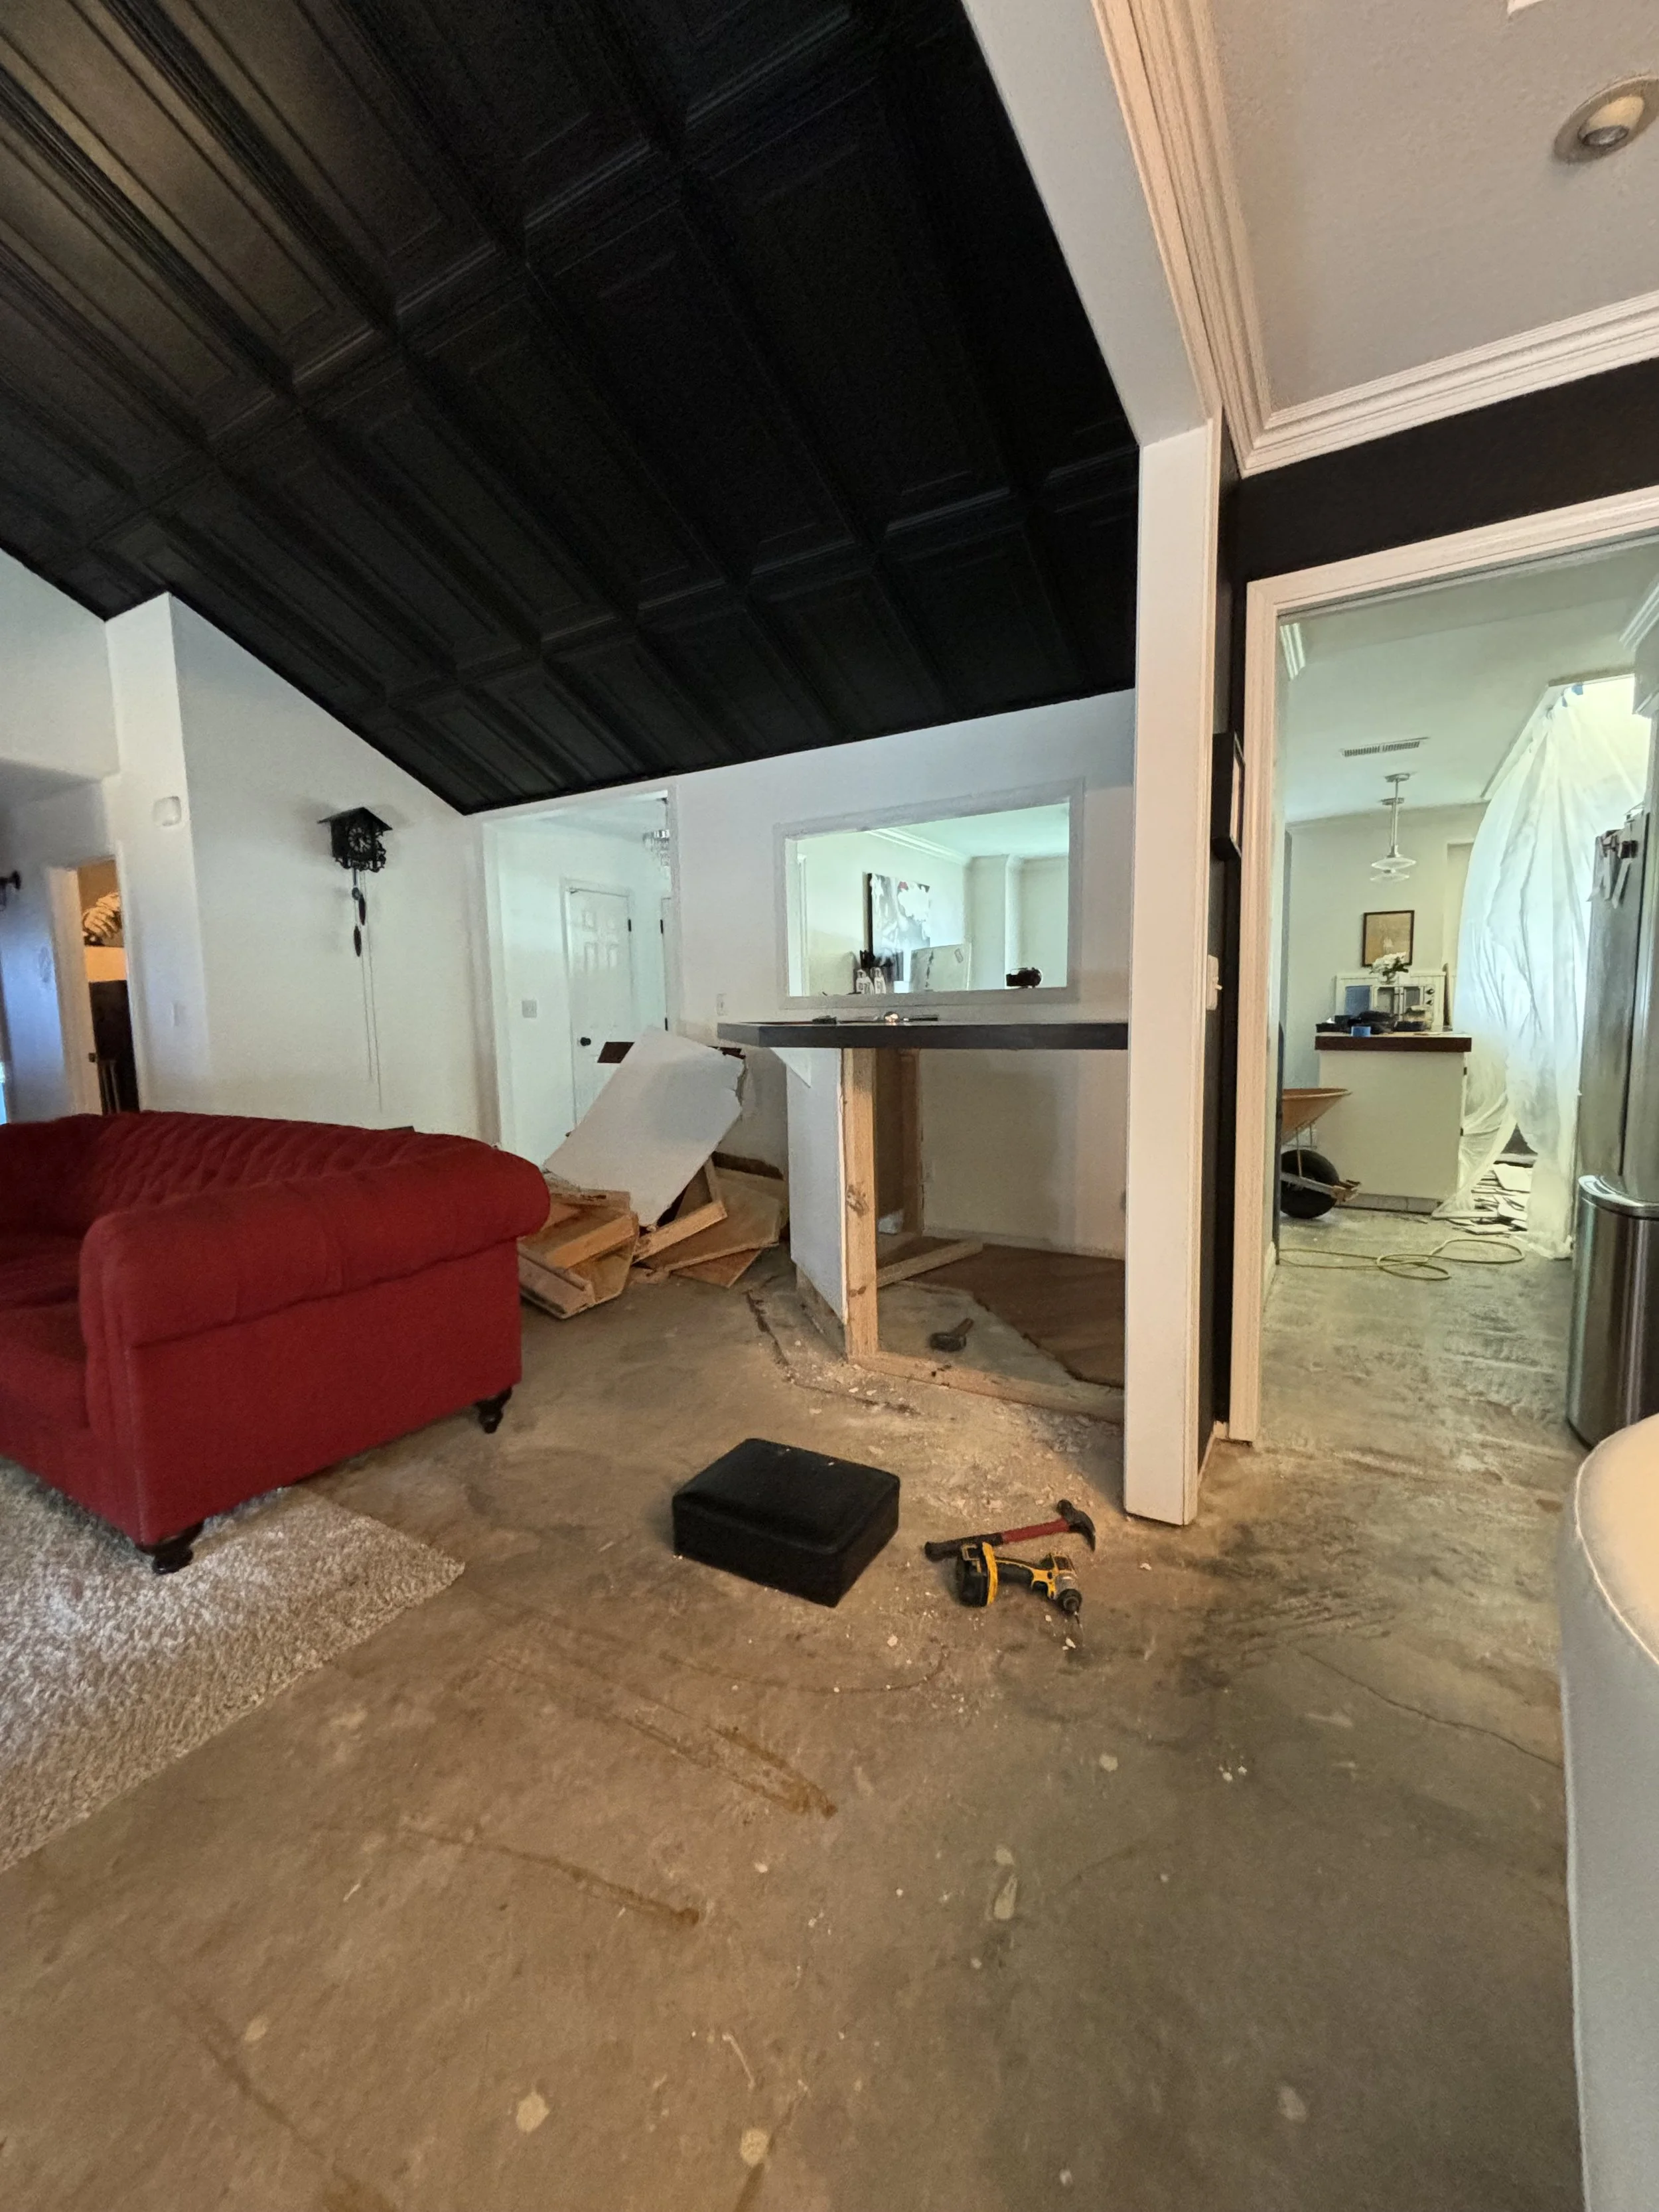
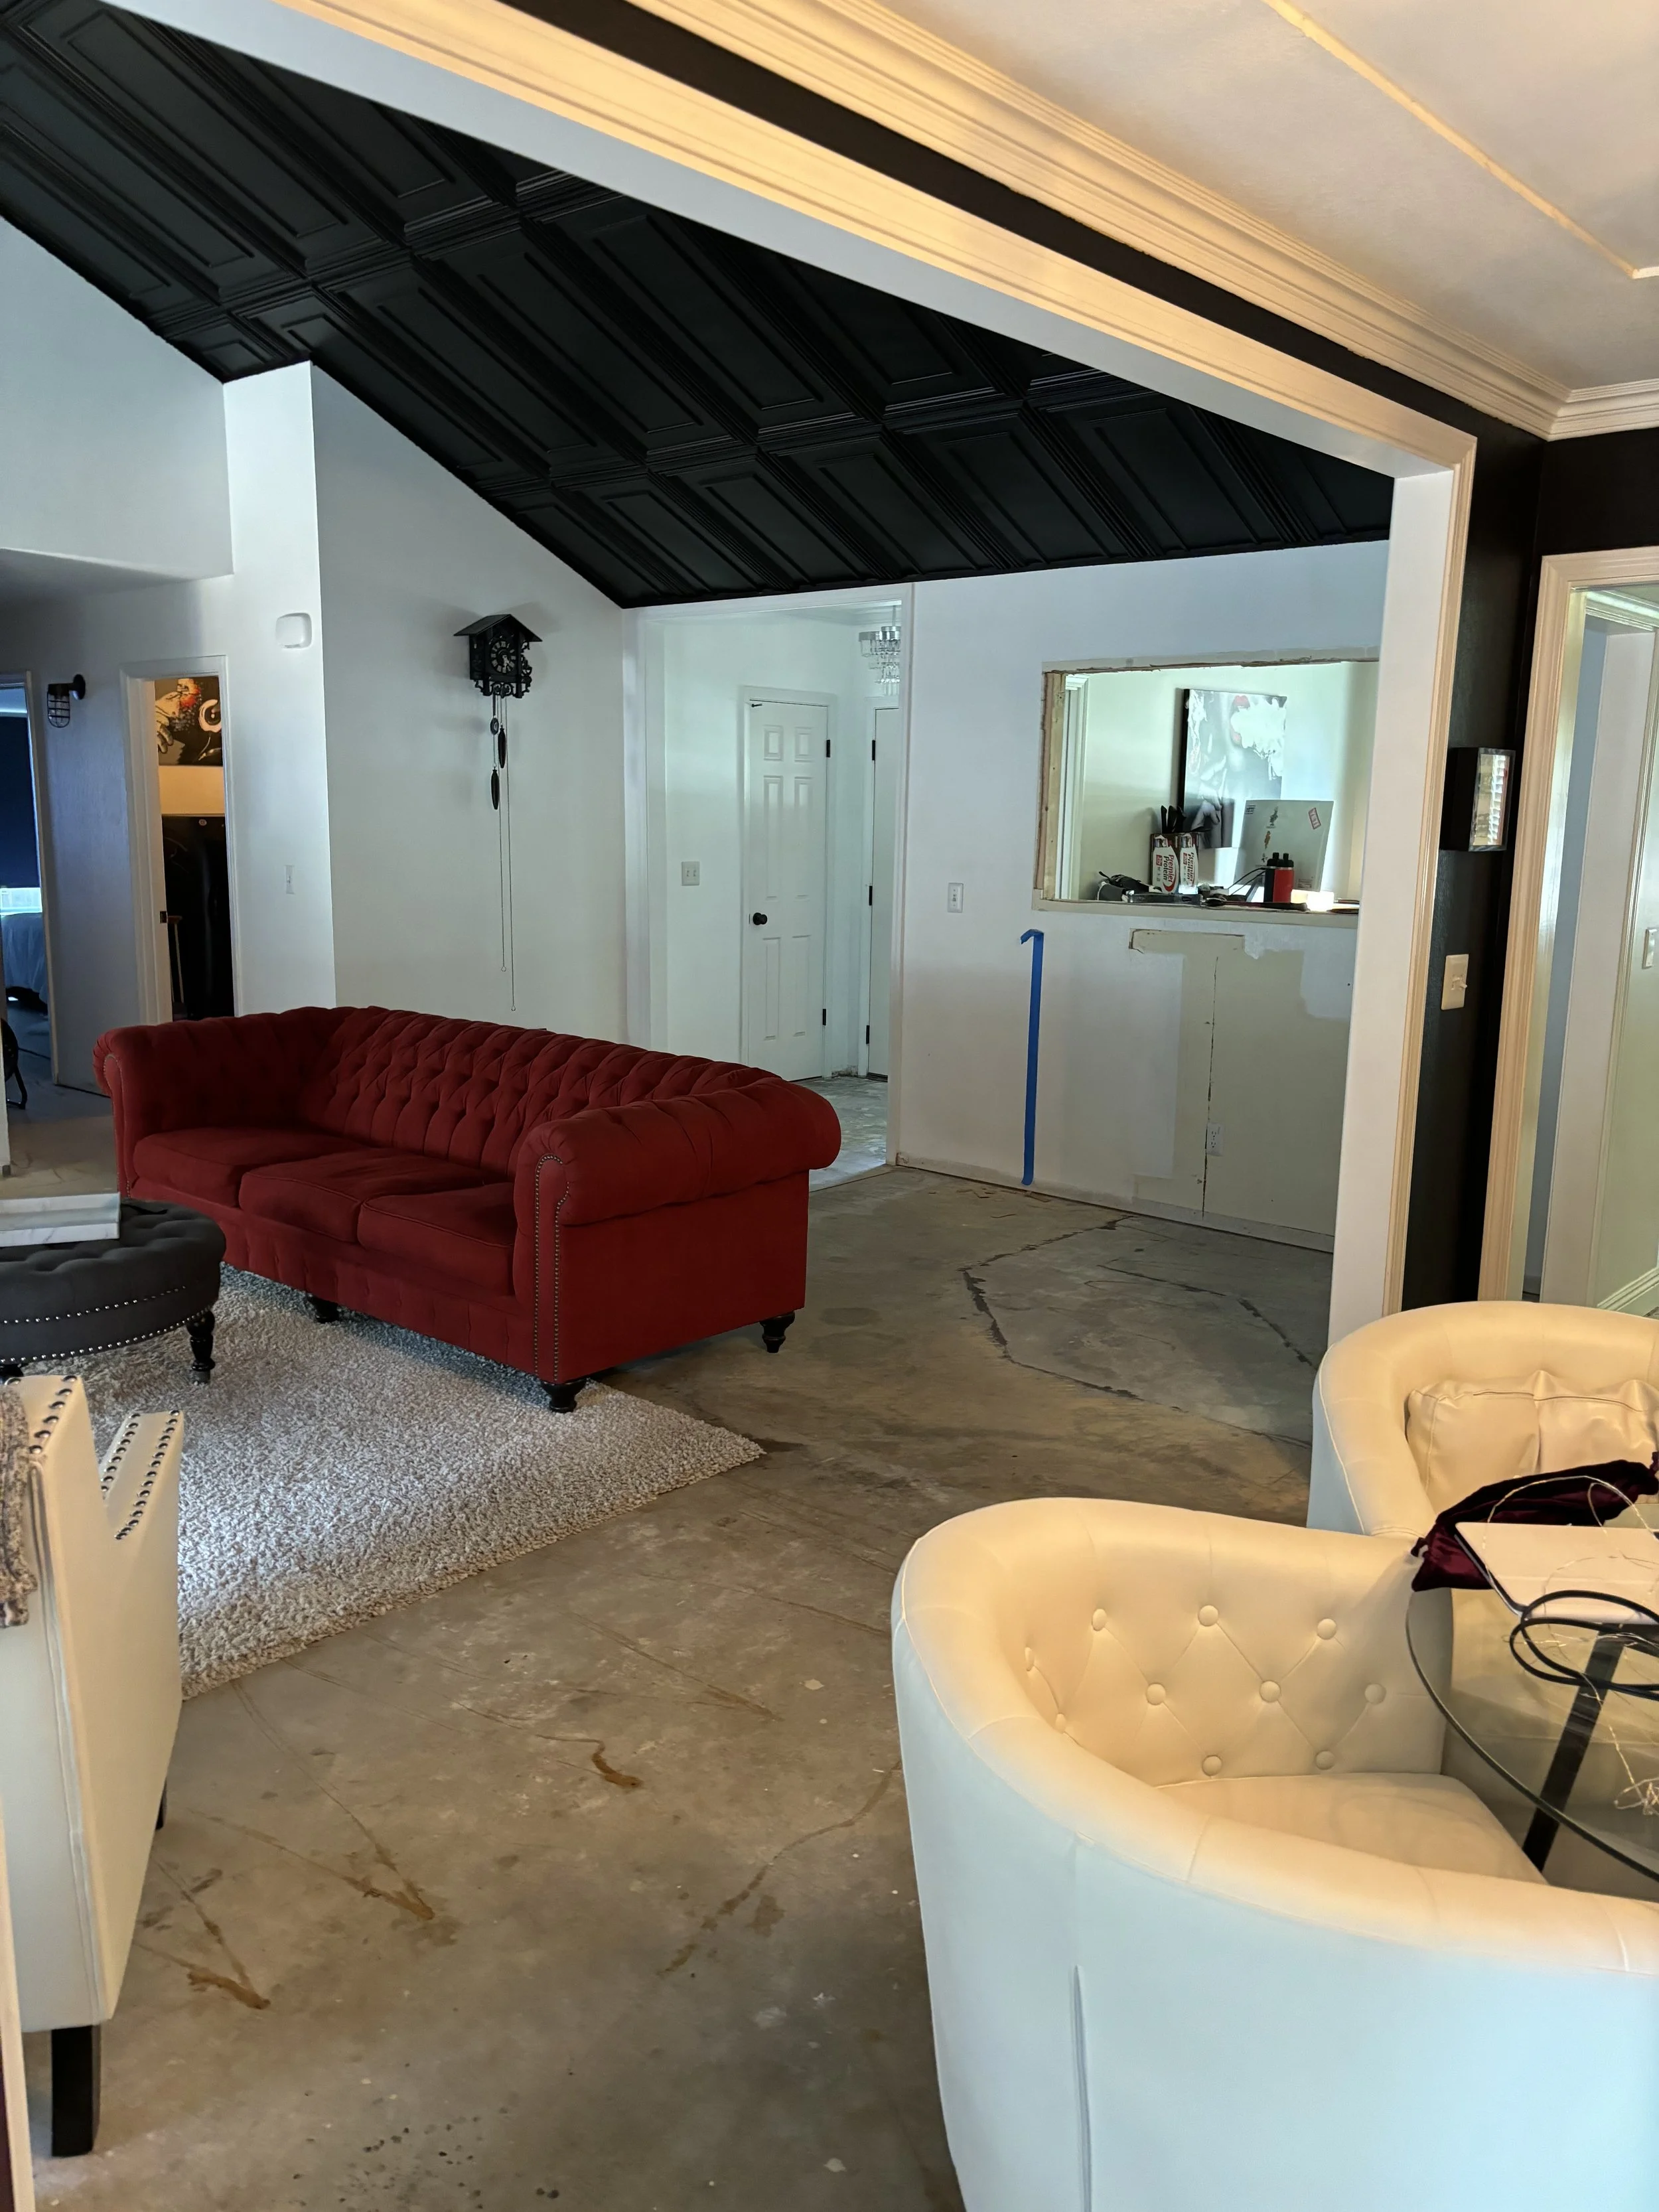
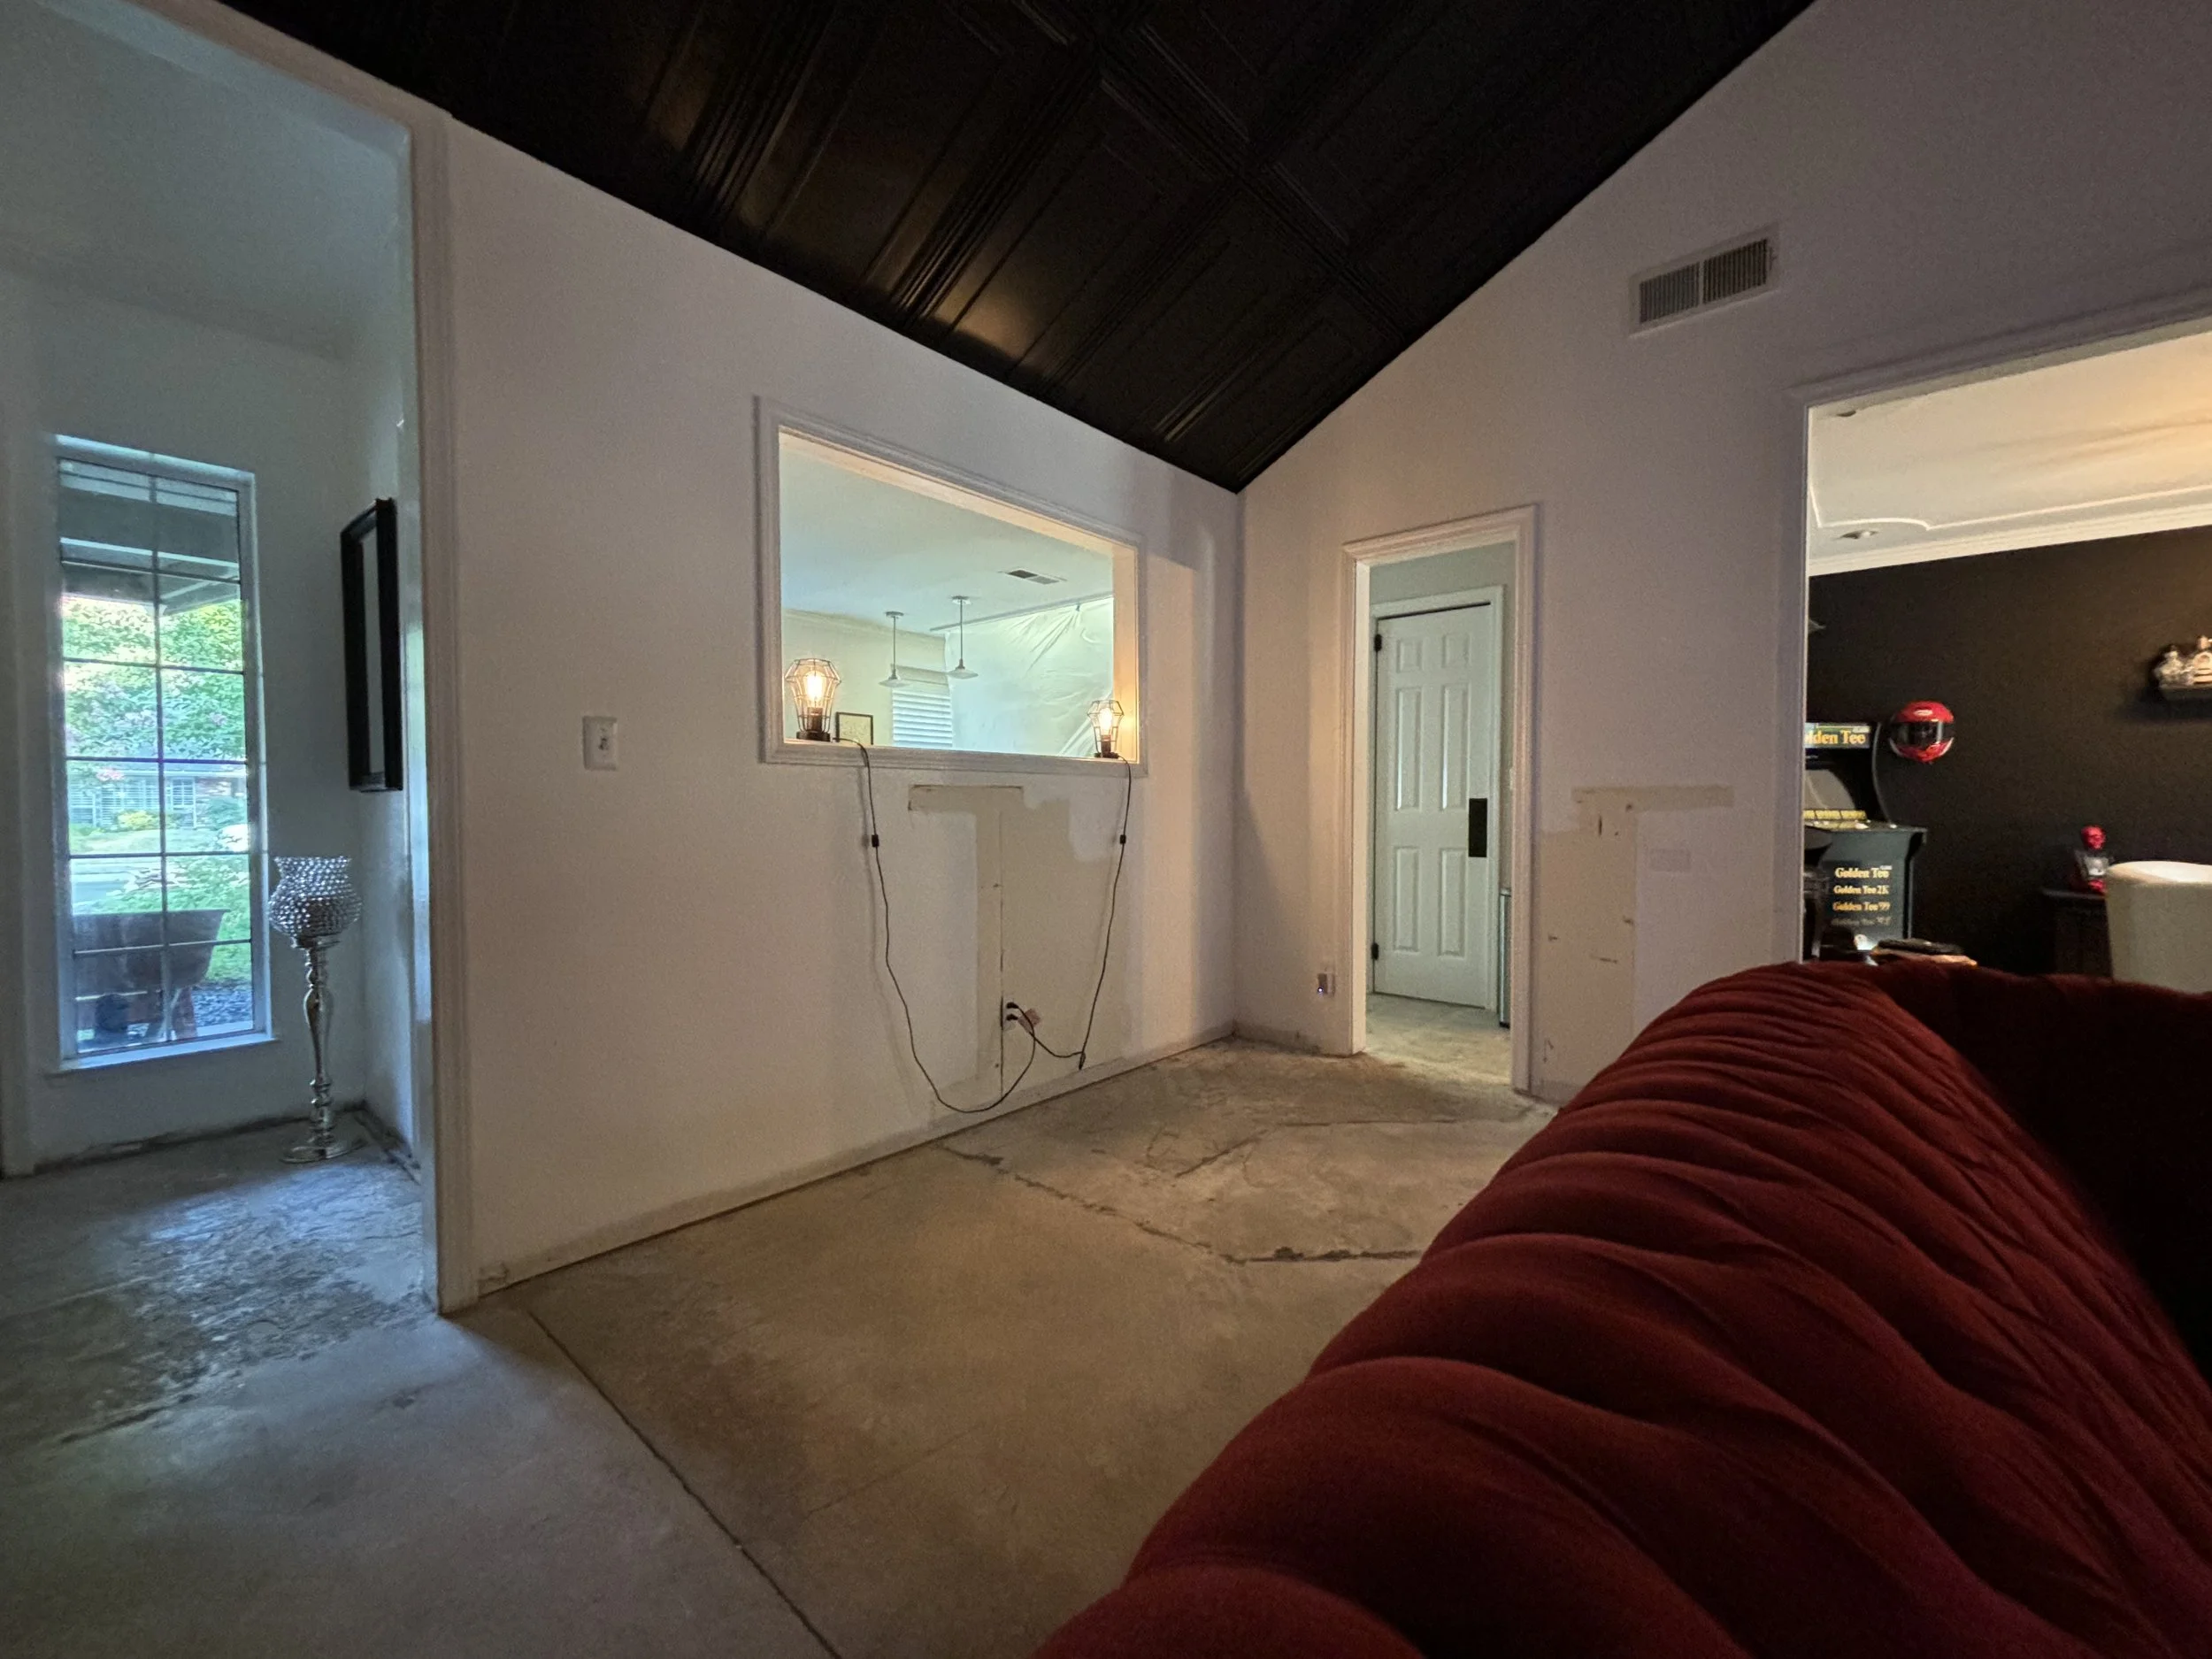
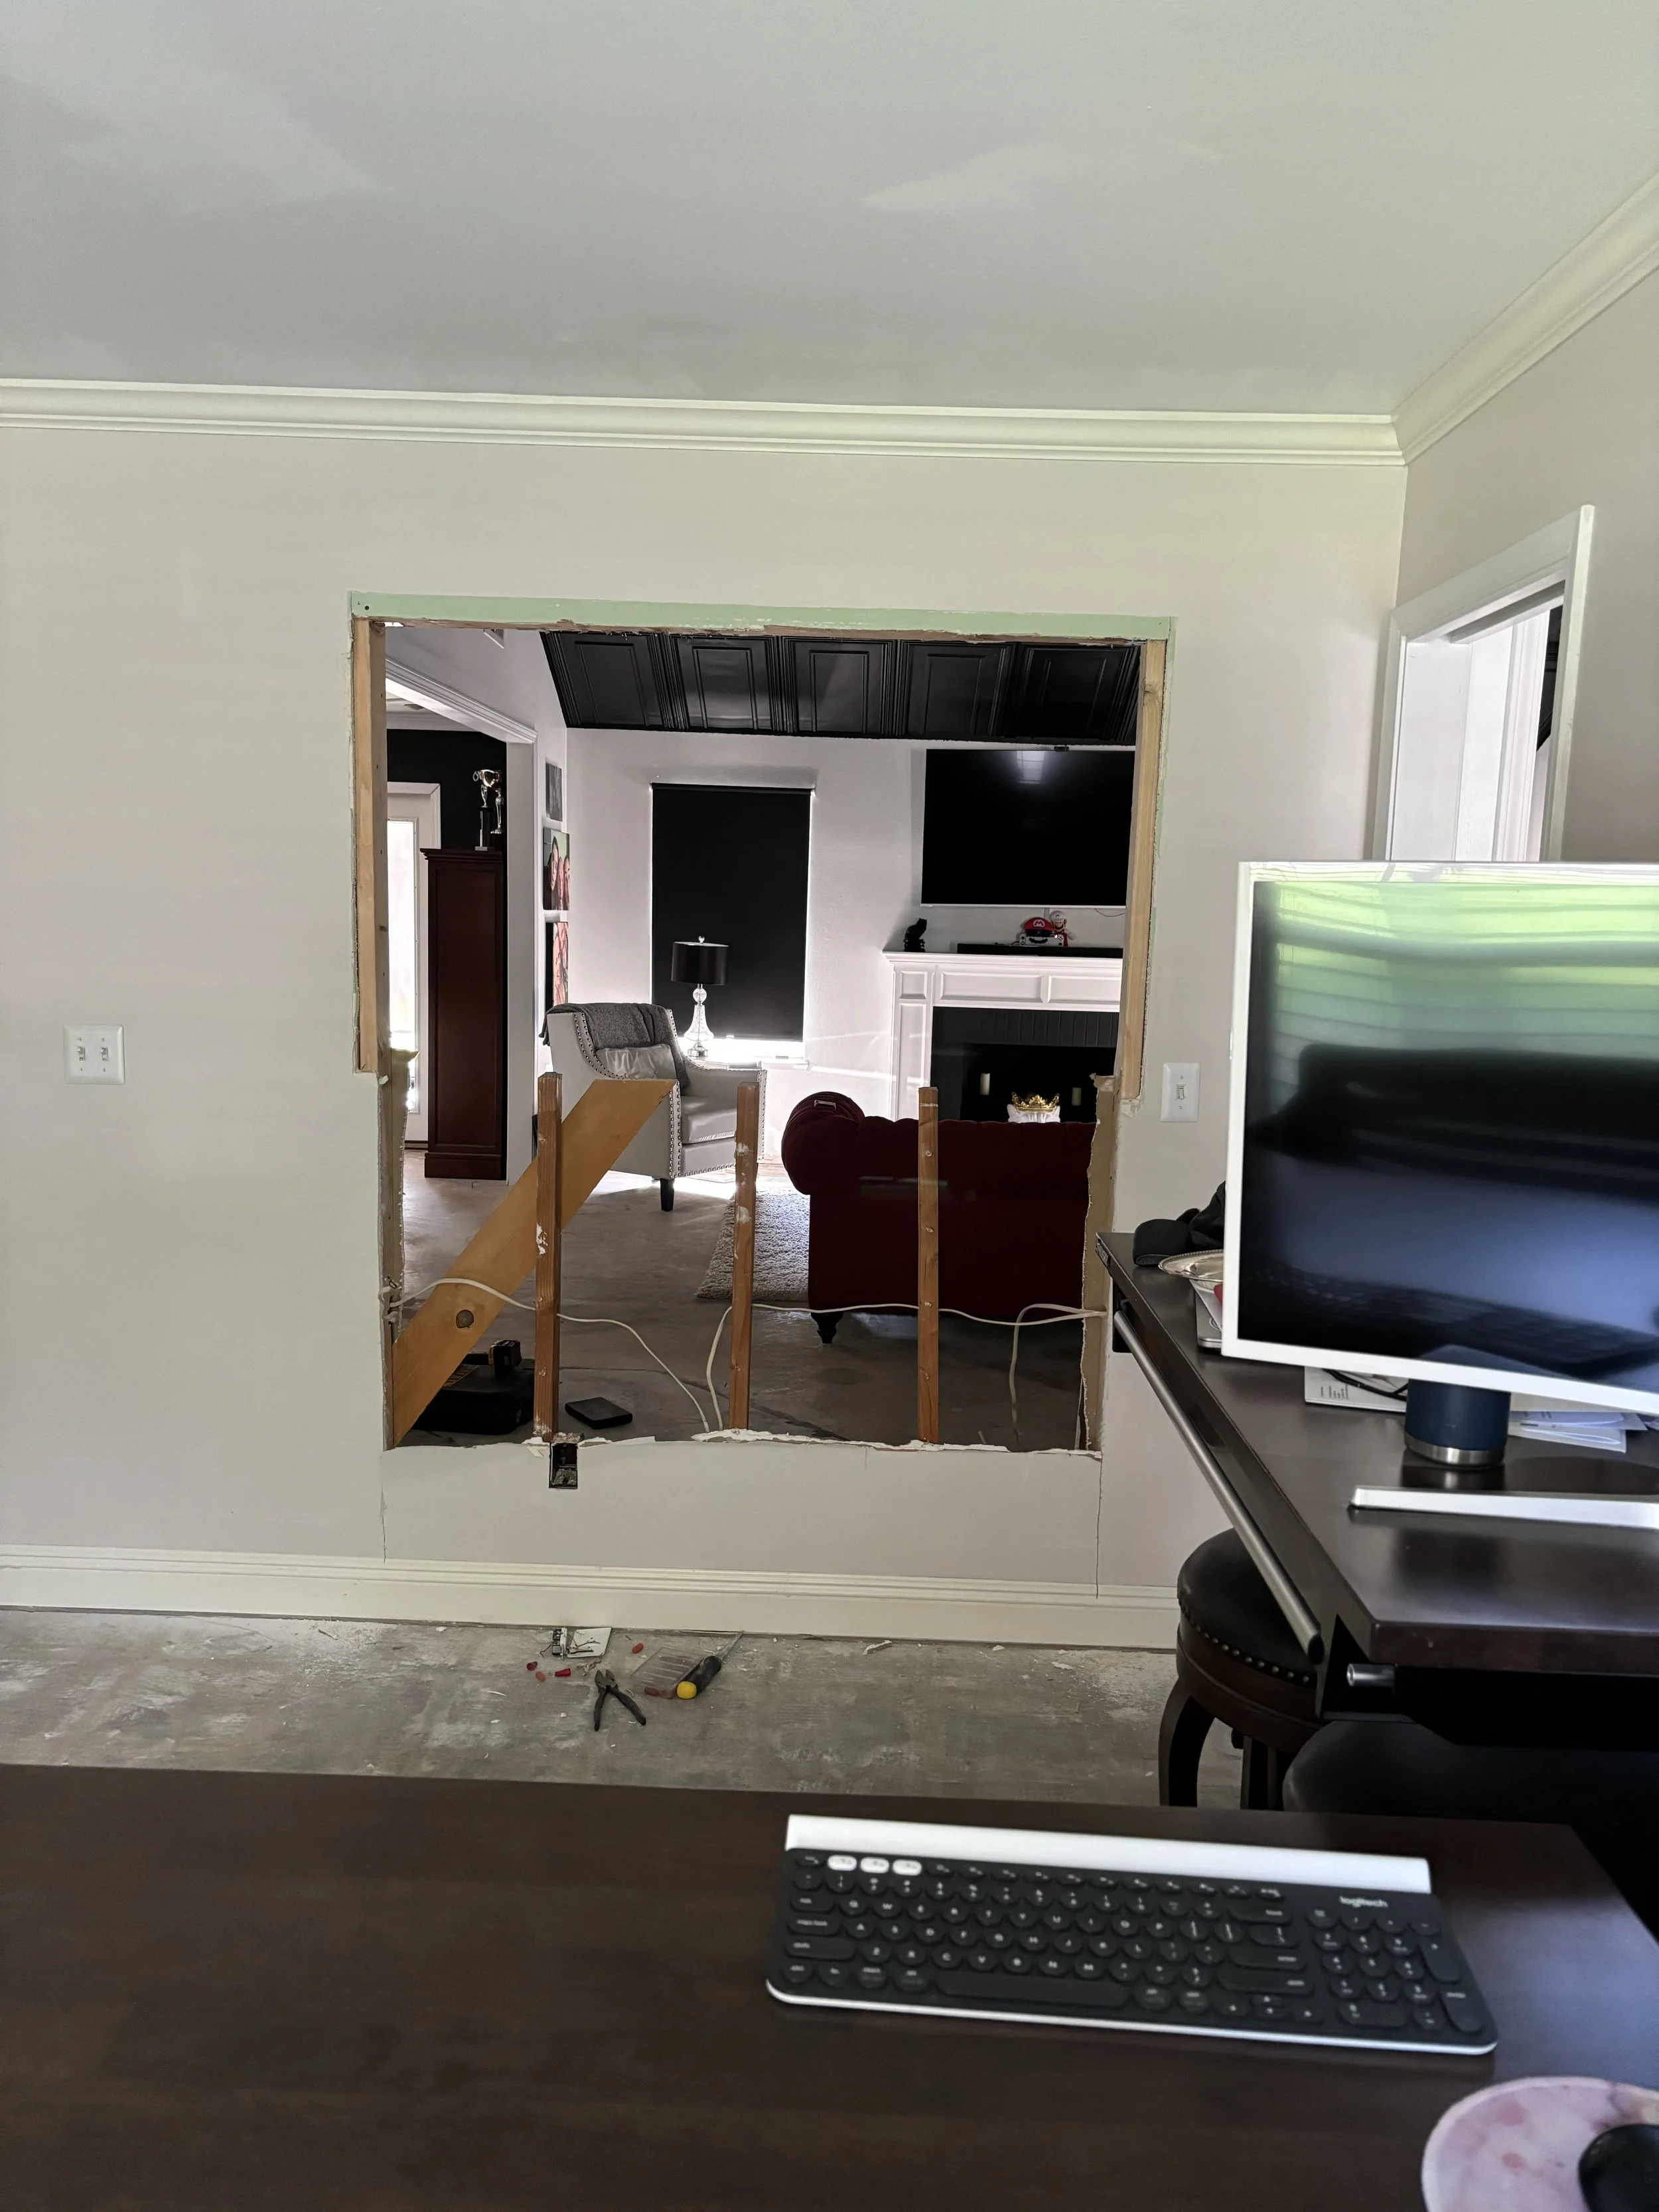
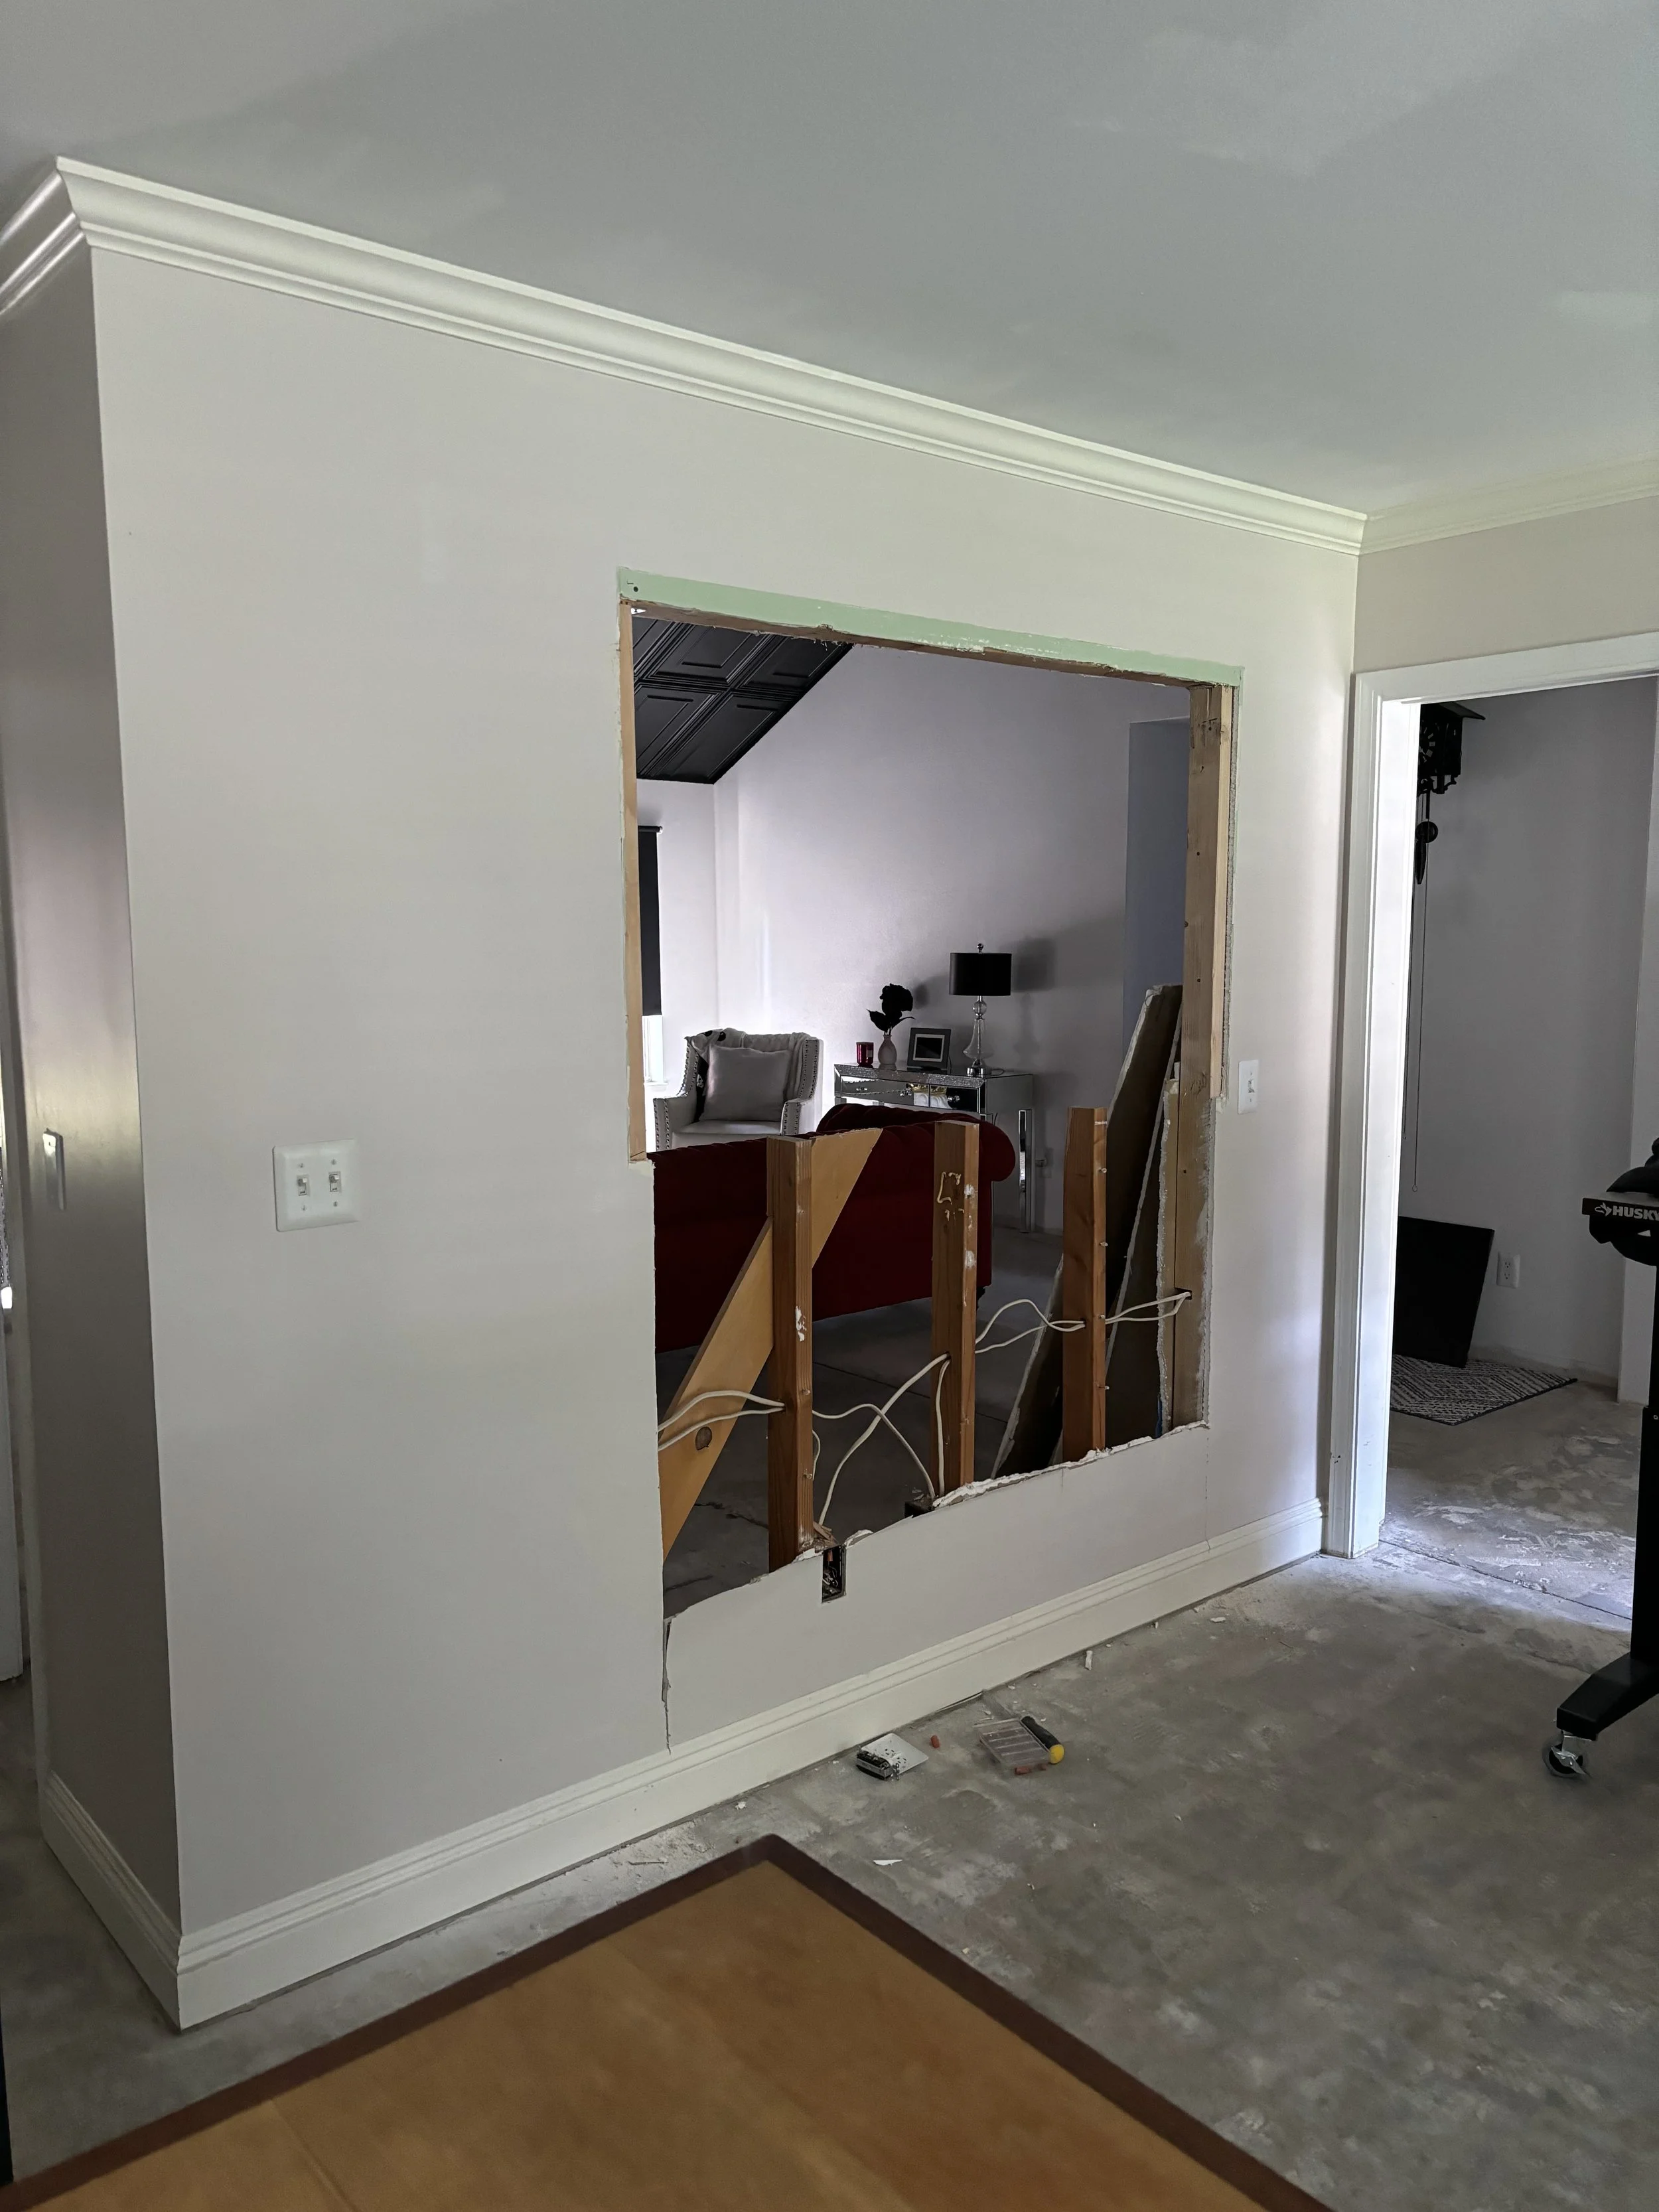
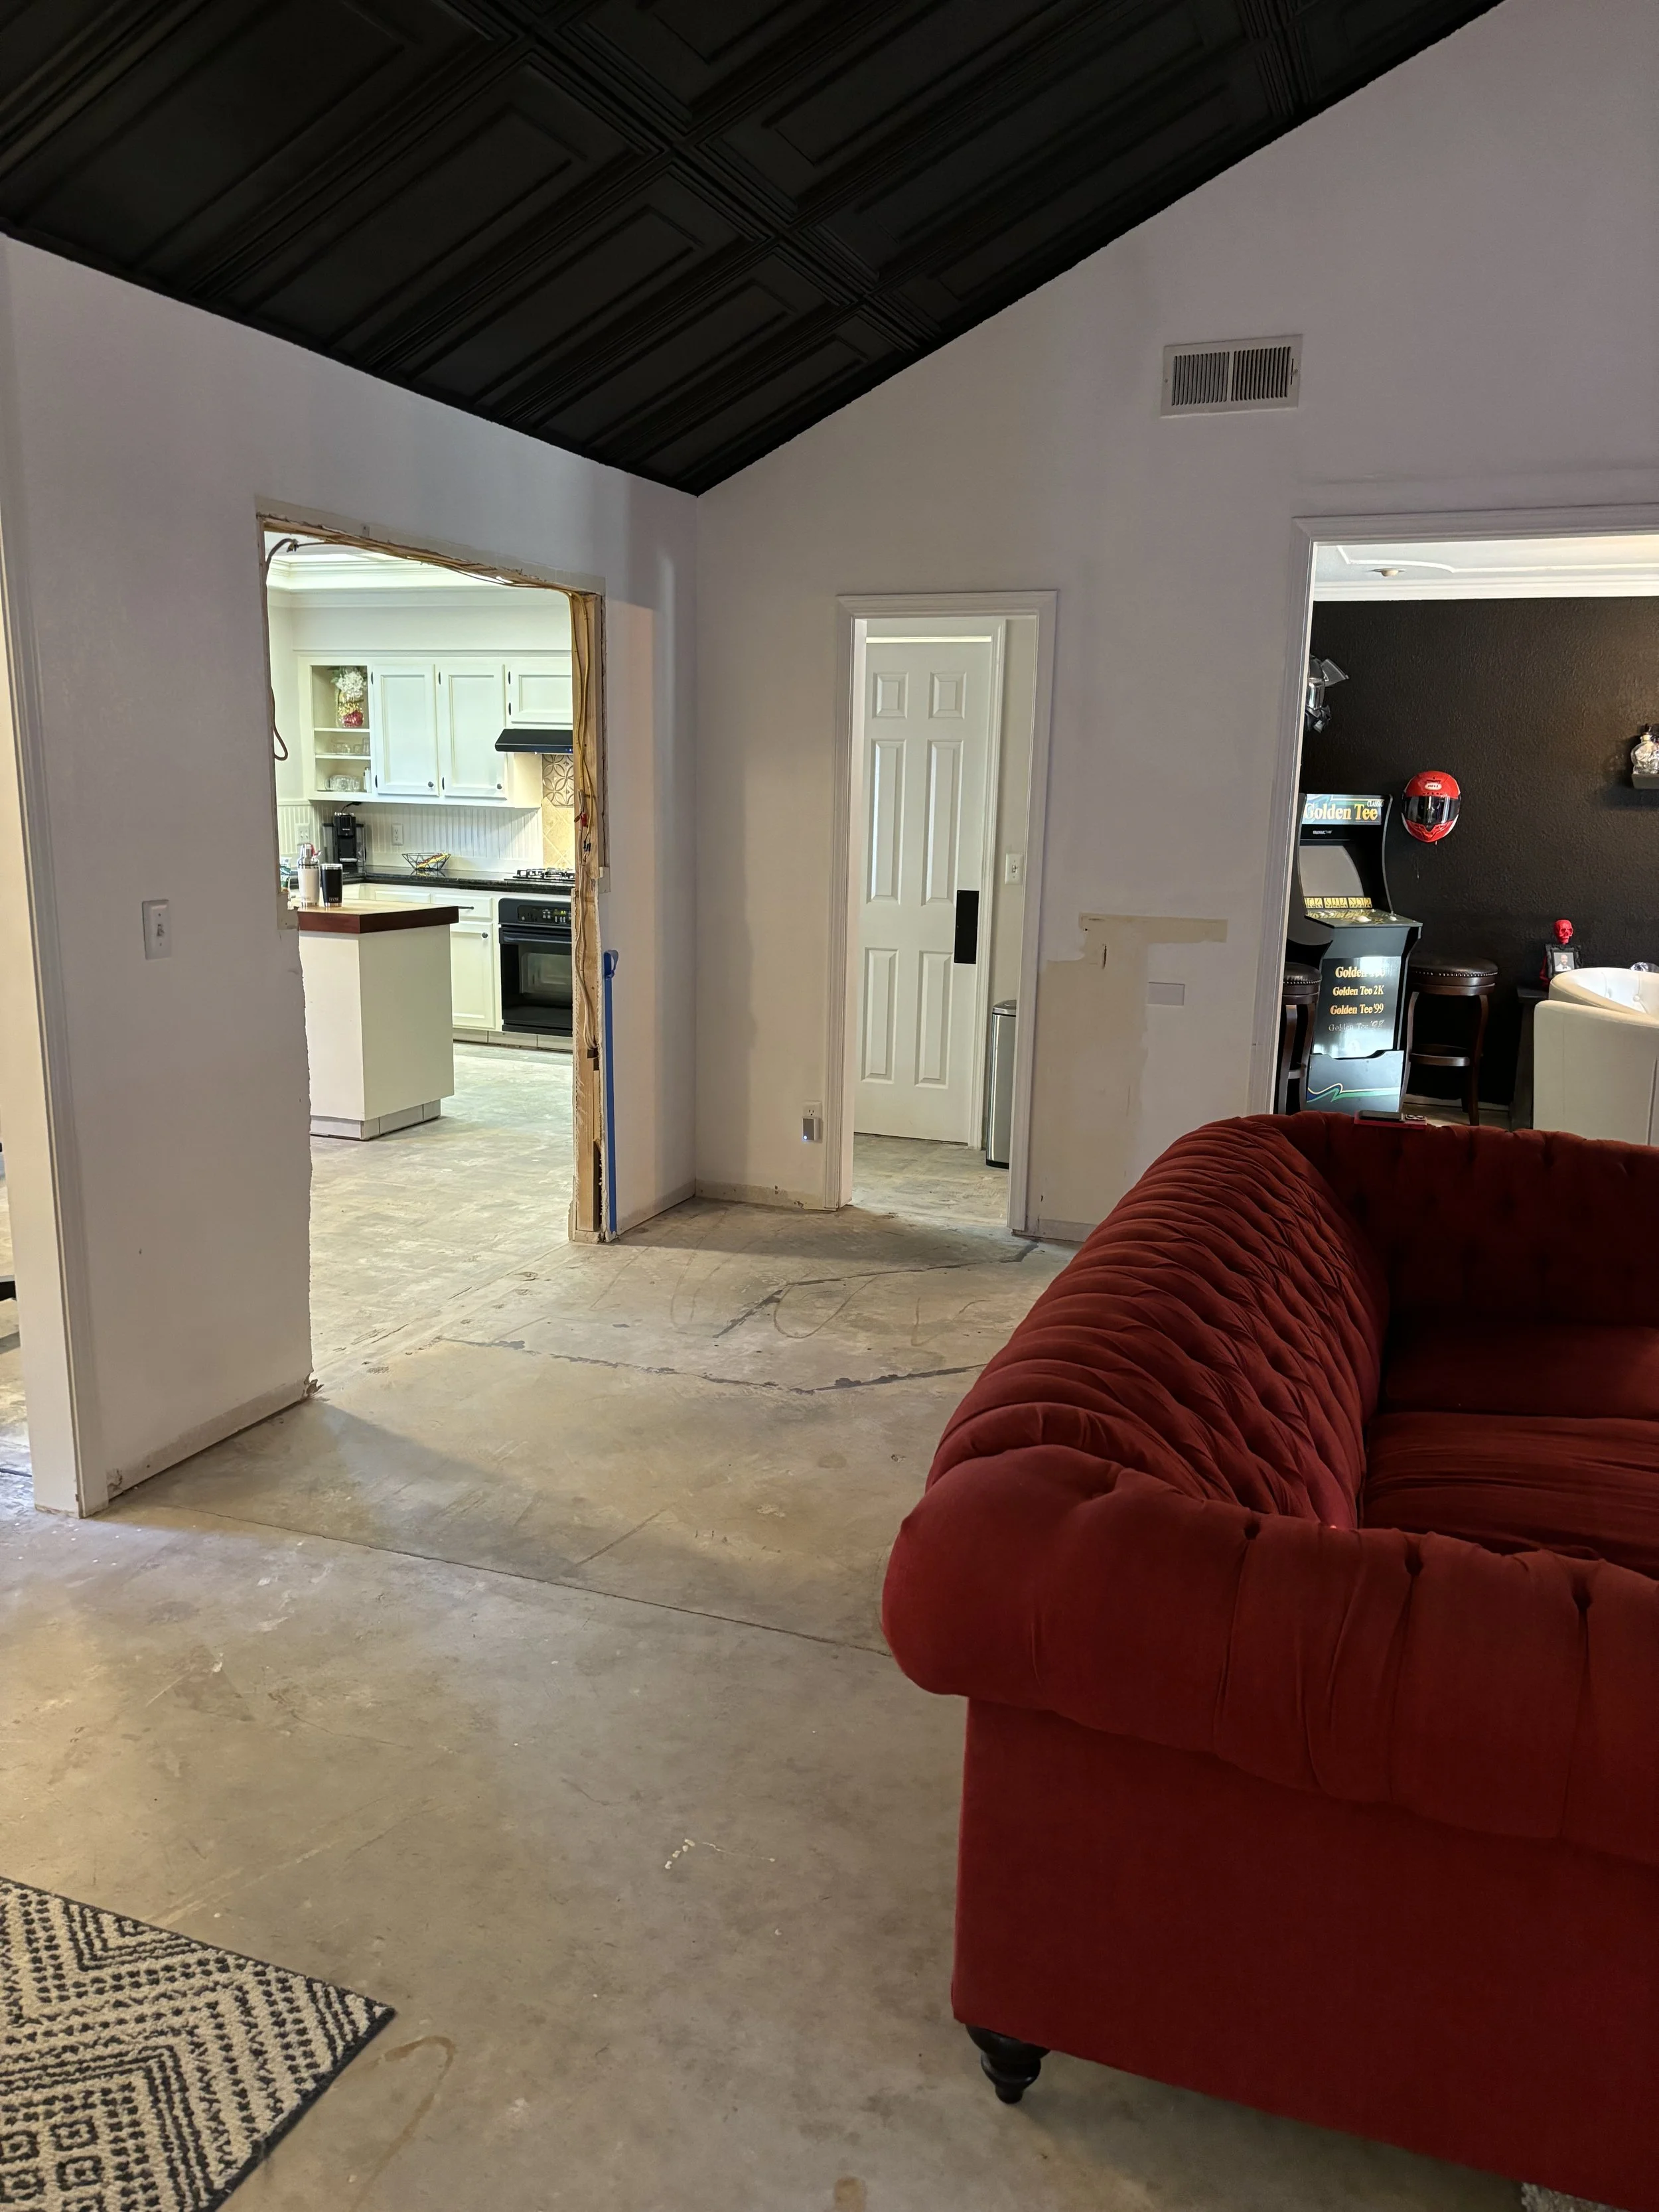
Kitchen wall RemovalMajor kitchen remodel in progress…
The kitchen wall removal was just the first step in what will be our largest remodel project: The Kitchen. The wall removal took place in conjunction with the bar removal so we could take advantage of Fresno’s annual Operation Clean Up where the city picks up bulky items that are too big for standard collection bins (I have never heard or seen of a city that does this, so kudos to the City of Fresno!).
Our ultimate goal is to create an open space between the kitchen, dining area (currently my office), and the living room. Removing the wall significantly increased the overall flow of the area bringing more natural light into the living room. This project will continue as time and funding permit but as we always say: Demolition is free and gets us one step closer to our home improvement goals!
Side note: Demolition is my FAVORITE way to blow off steam or decompress so, win-win!
Products used:
Demolition
Sledge hammer
Pry bar
Construction gloves
Total project time = 2 hours
Total project cost = $0
(so far…)
Click any image to see more projects!Questions? Comments? Suggestions?